

Today you will learn how to create a catalog on the e-commerce manager and assign it to your WhatsApp account. It’s very easy and simple. Let’s see how to do that.
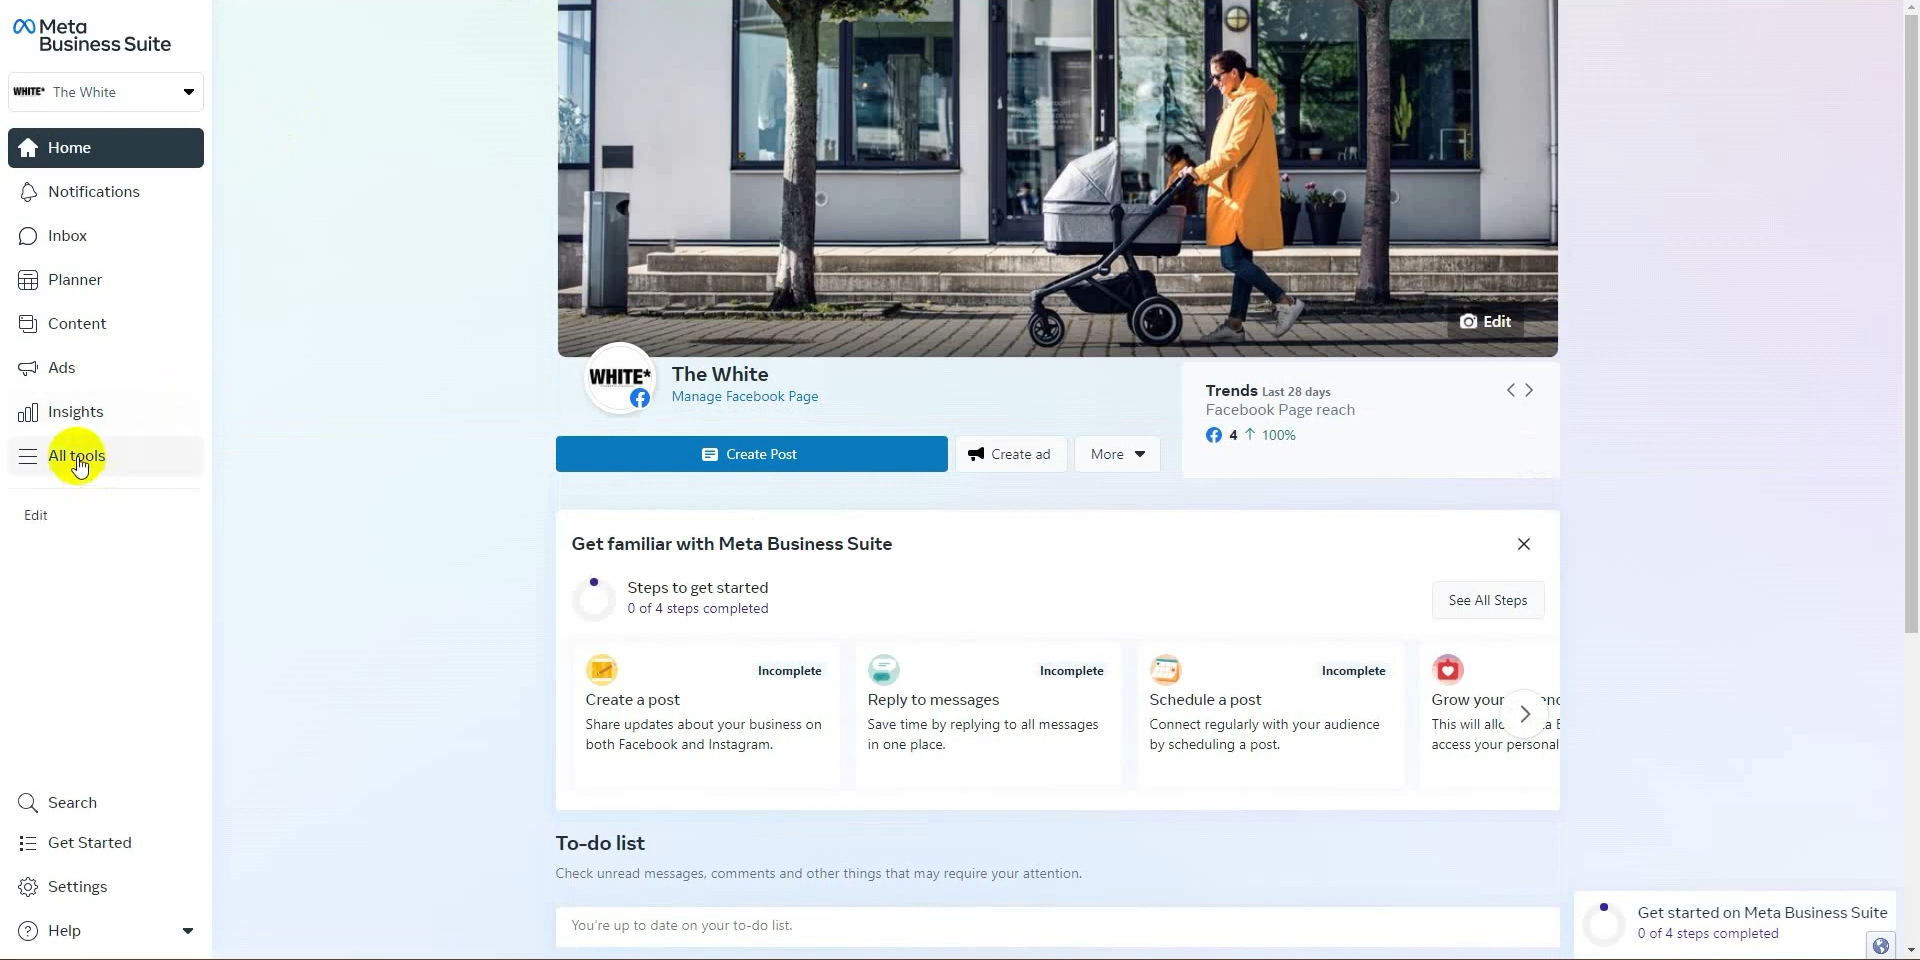
First, we will create a catalog in the e-commerce manager. Go to business.facebook.com. Click on the tool’s menu.
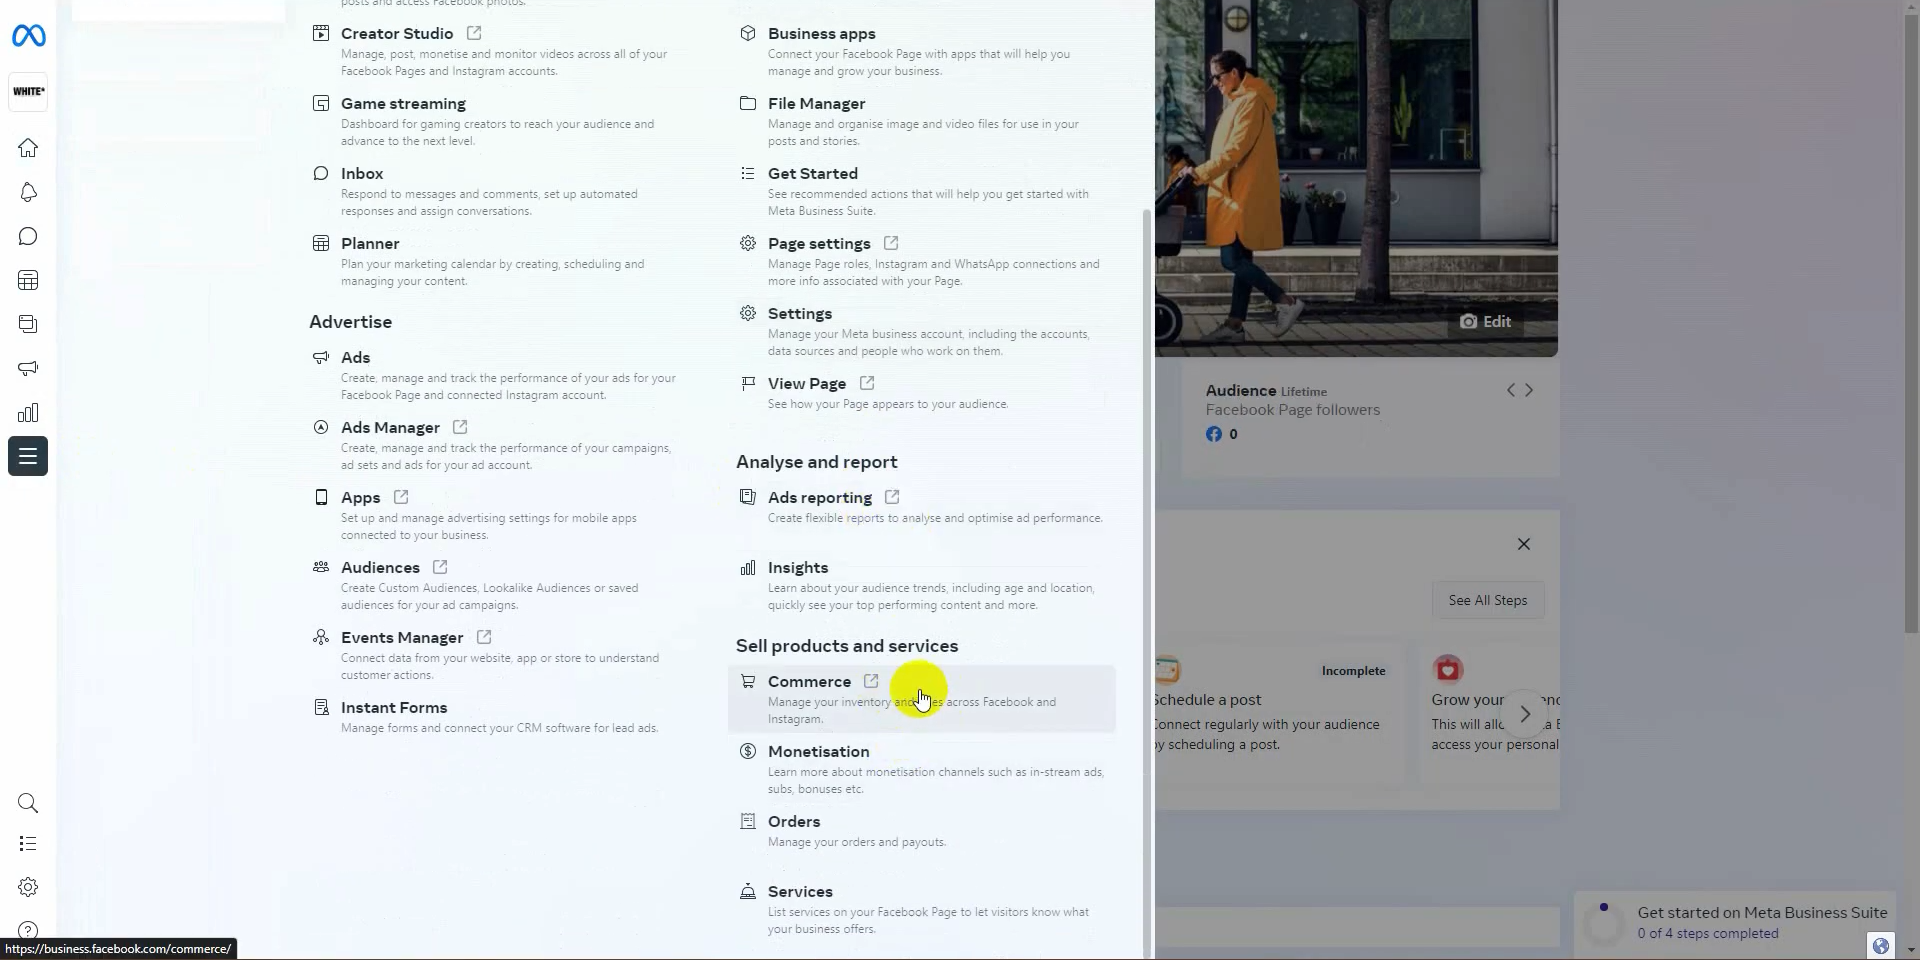
 then select Commerce. It will redirect you to the Commerce Manager from the top right corner.
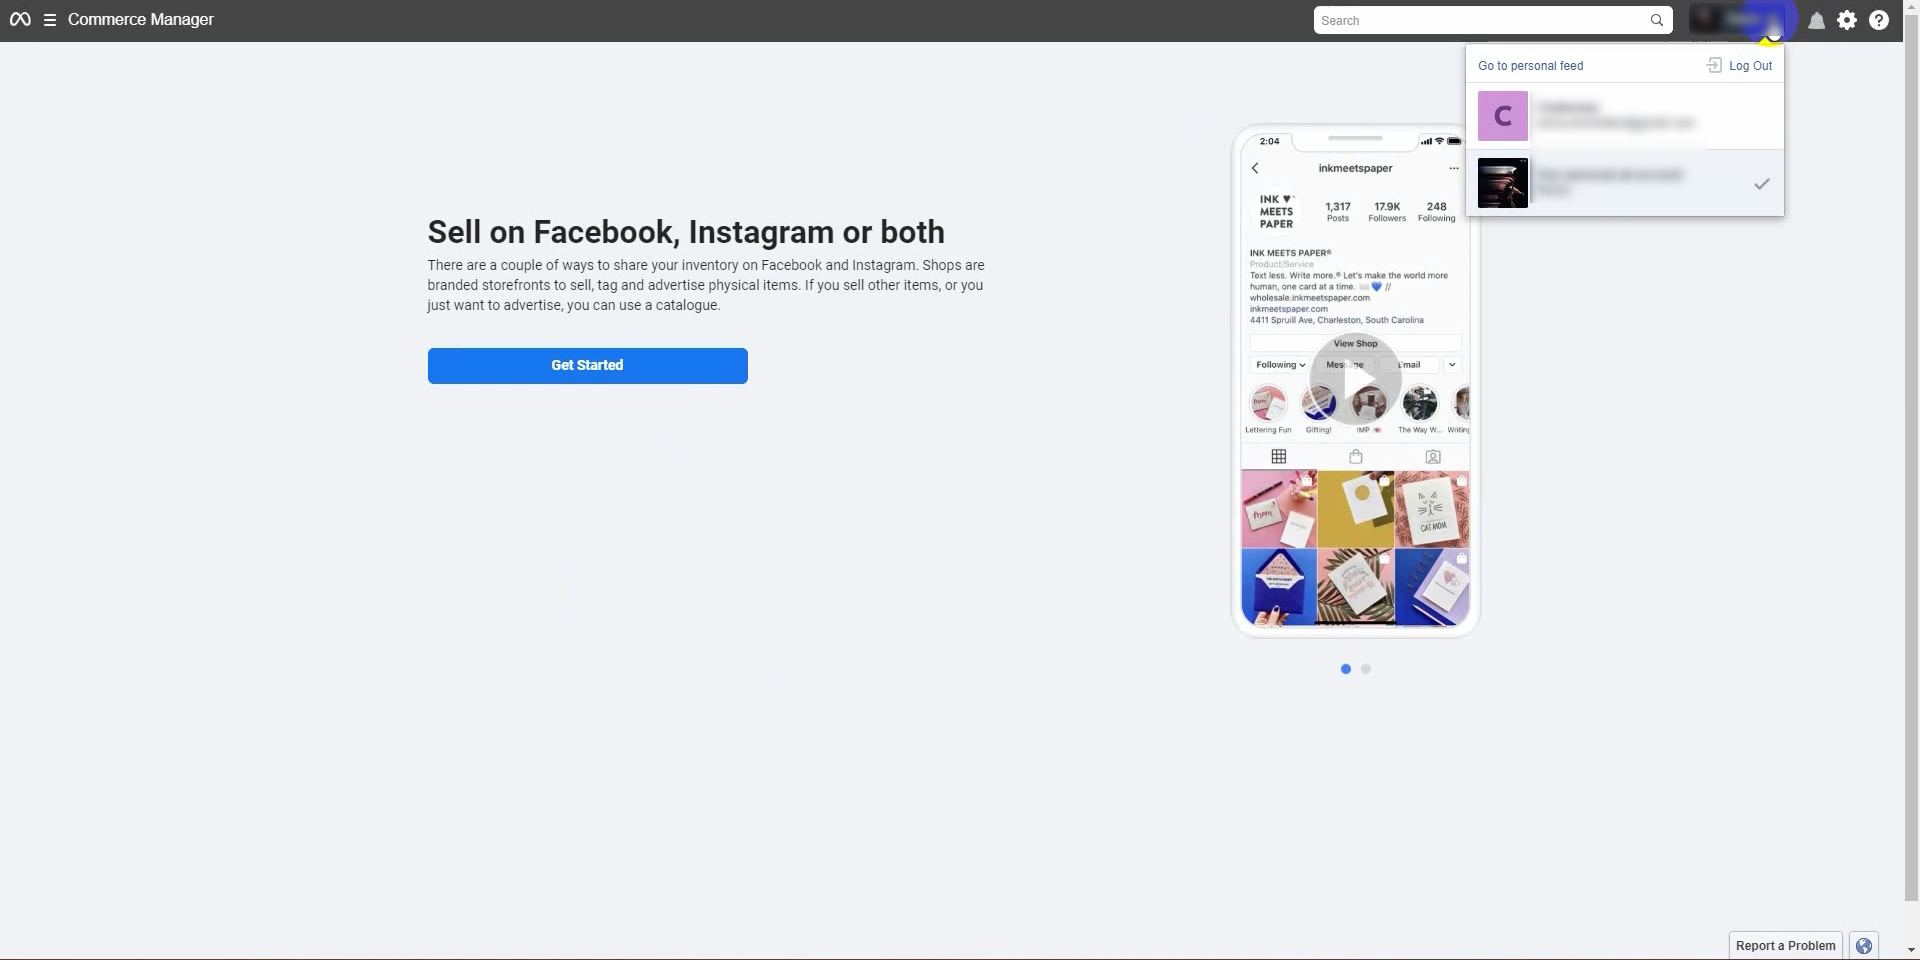
 Click on the profile and select your business account.
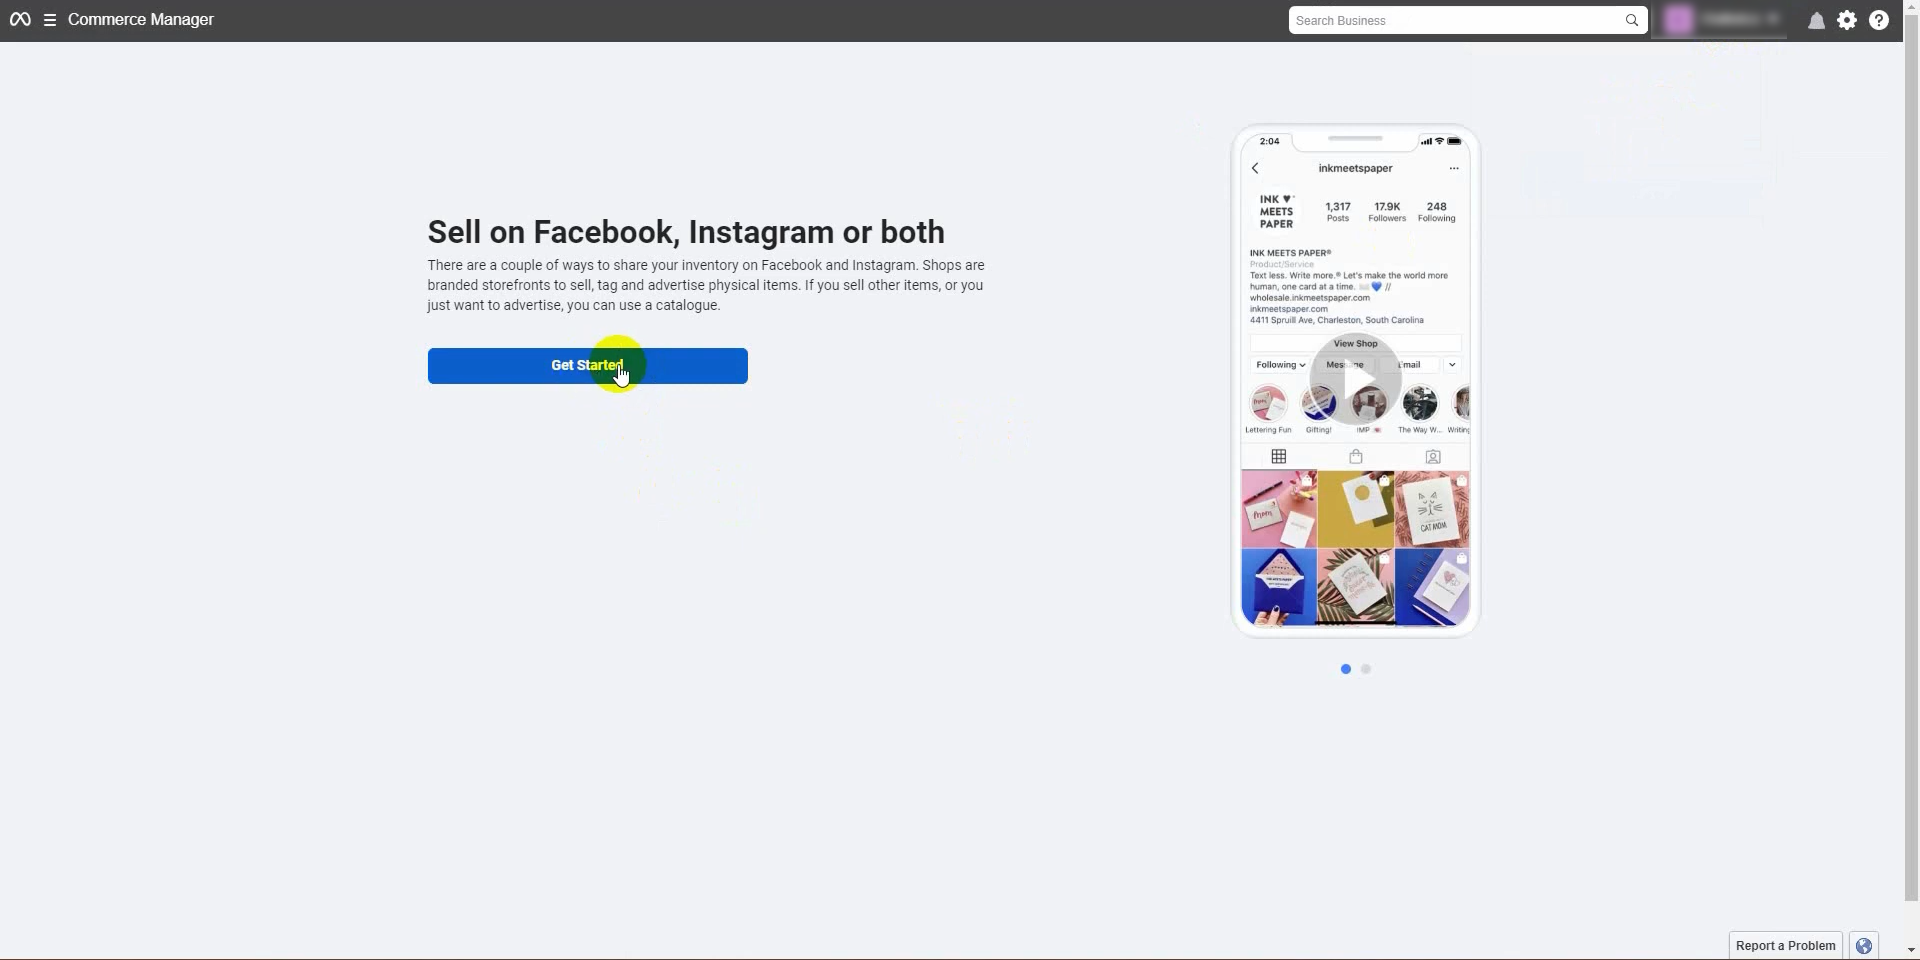
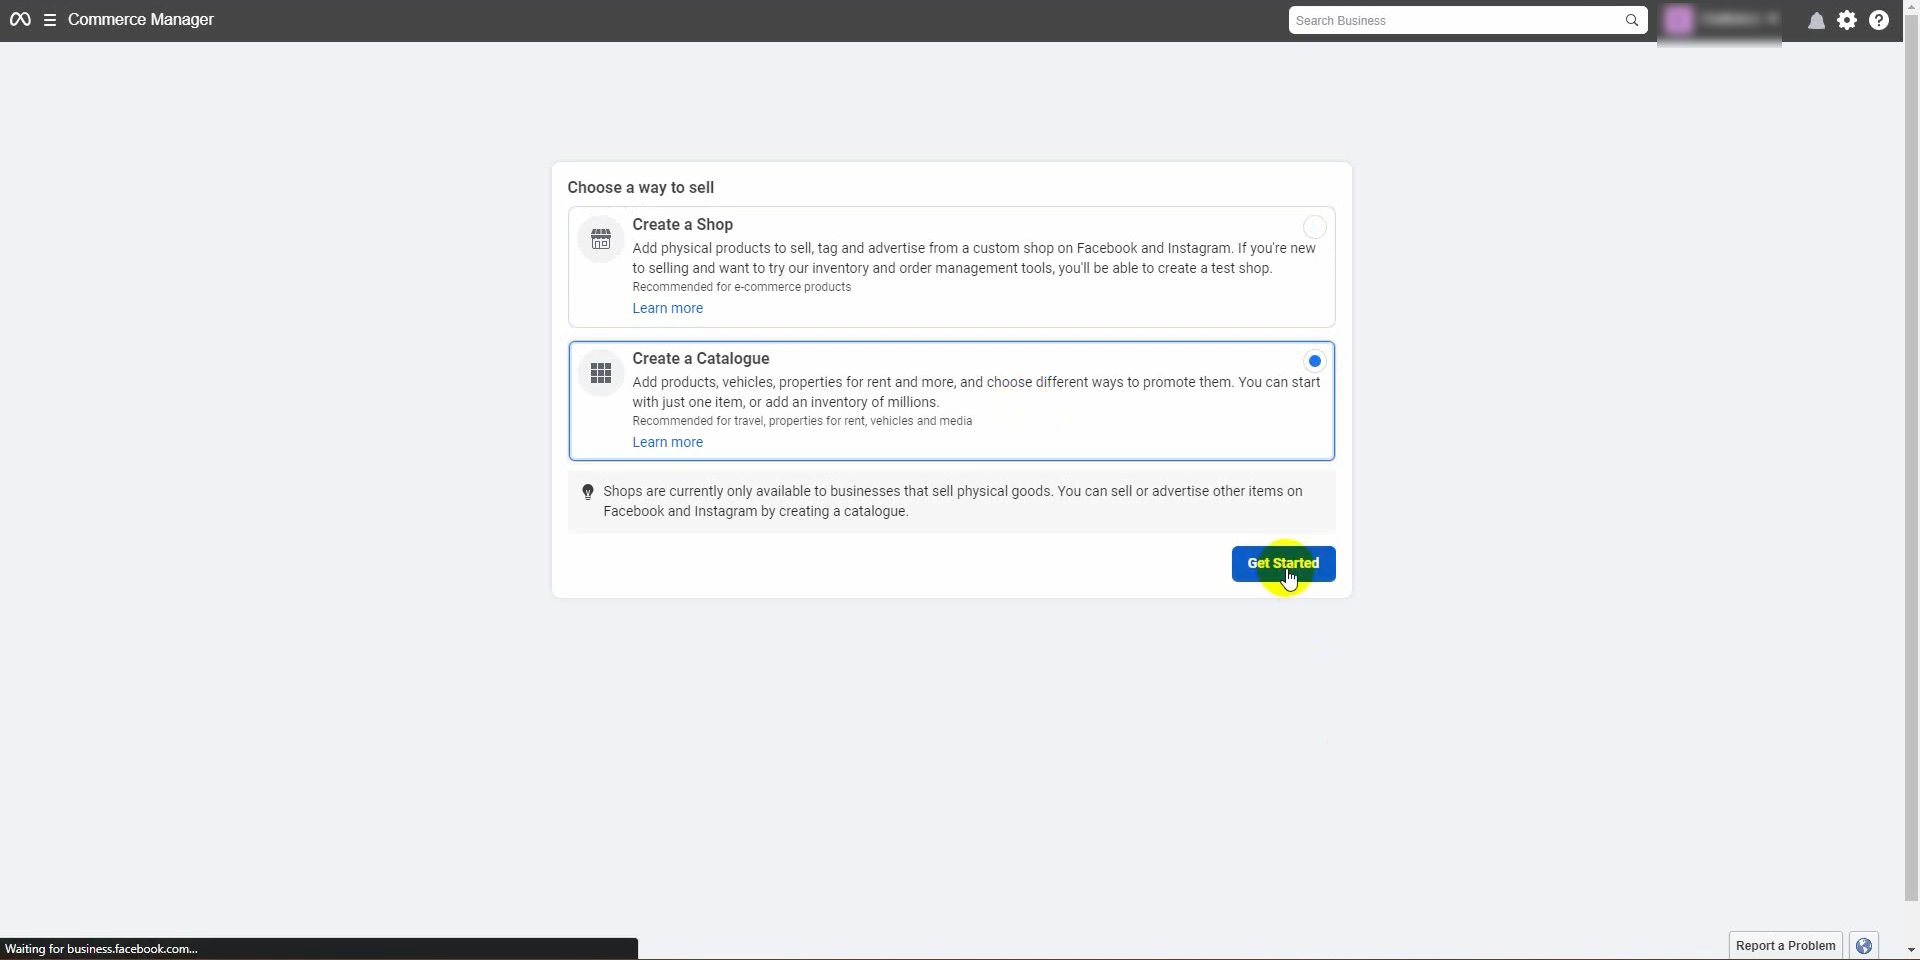
 Next, click on the Get Started button.
 Select the Create a Catalog option, and then click on the Get Started button again.
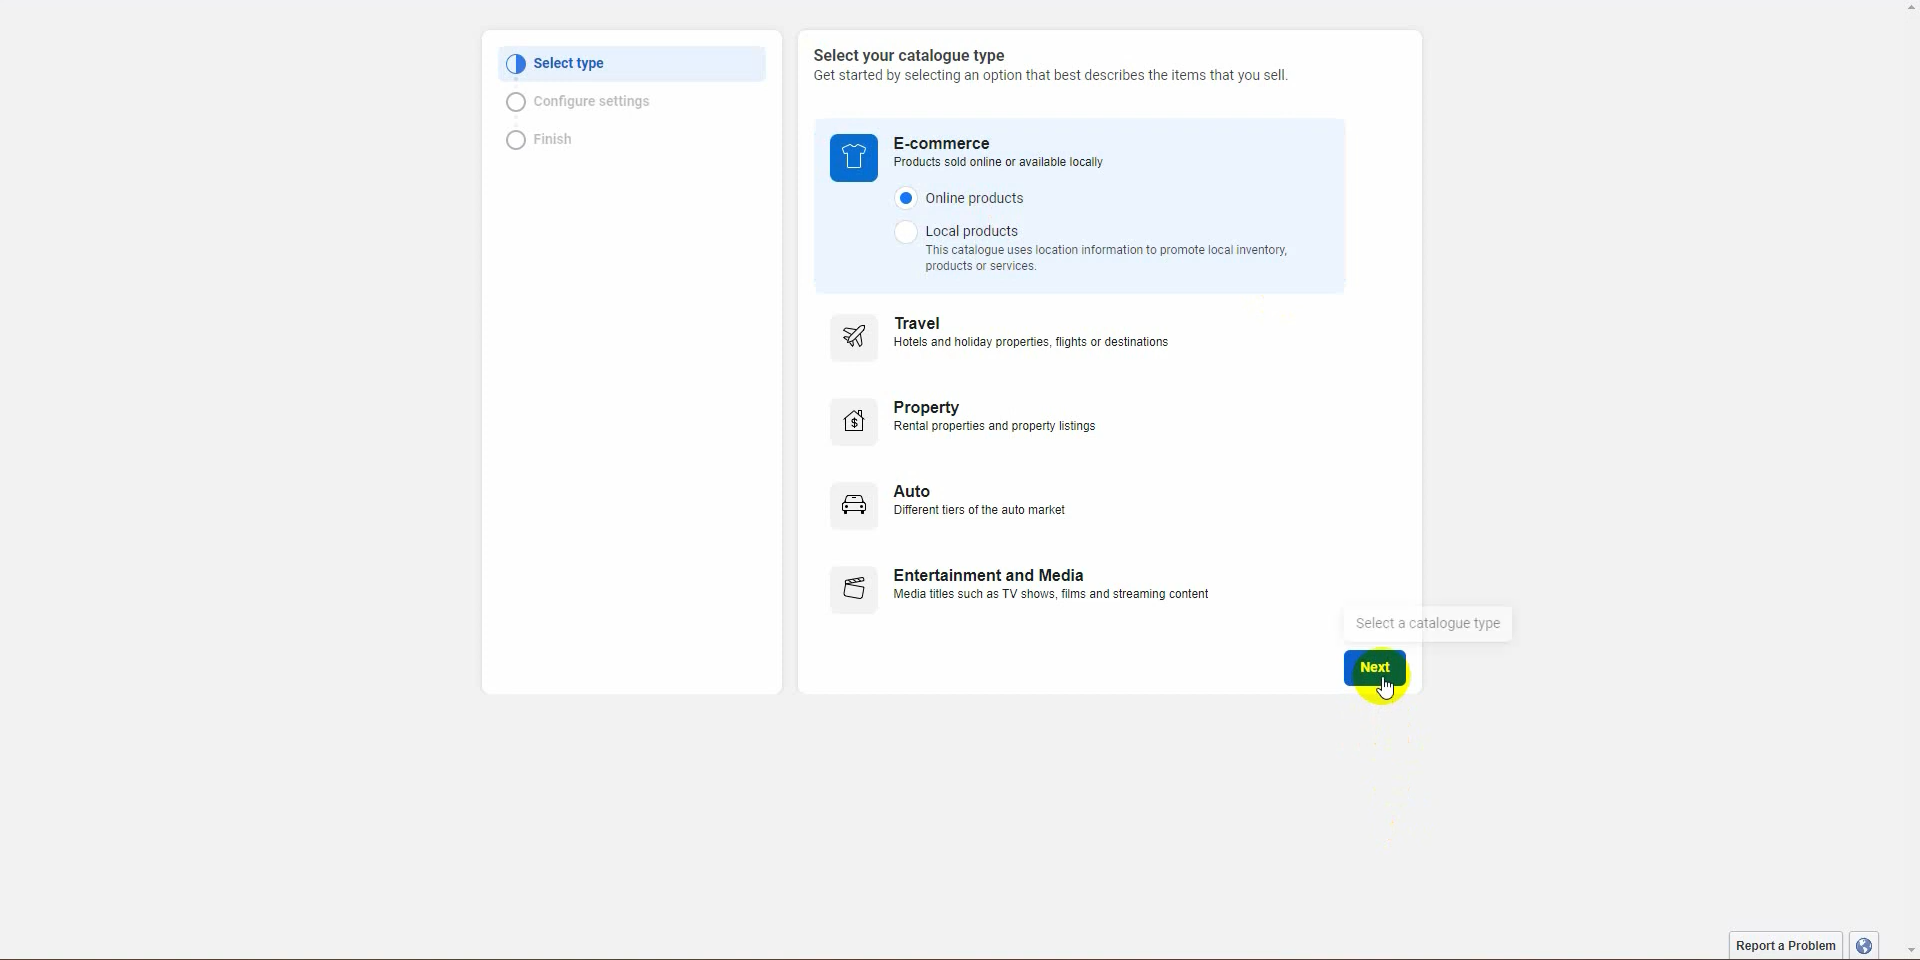
 Choose the catalog type as e-commerce. Select online or local products based on your business type. Then click next.
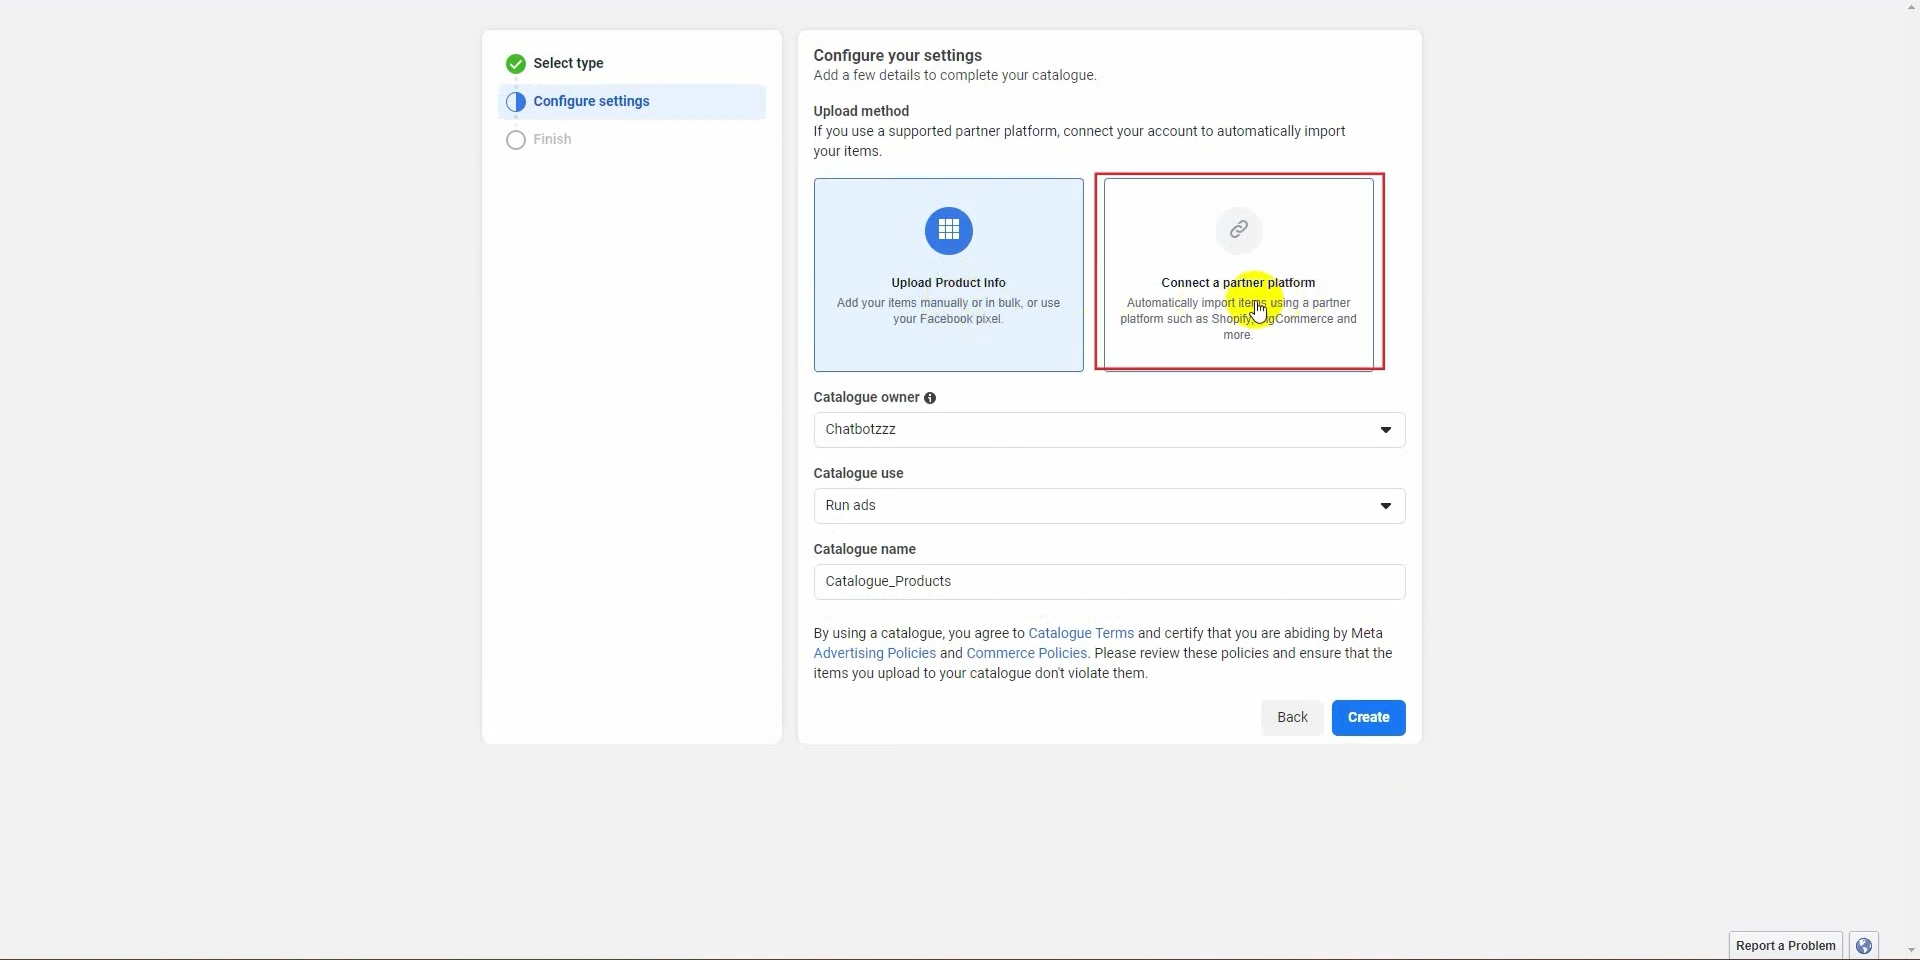
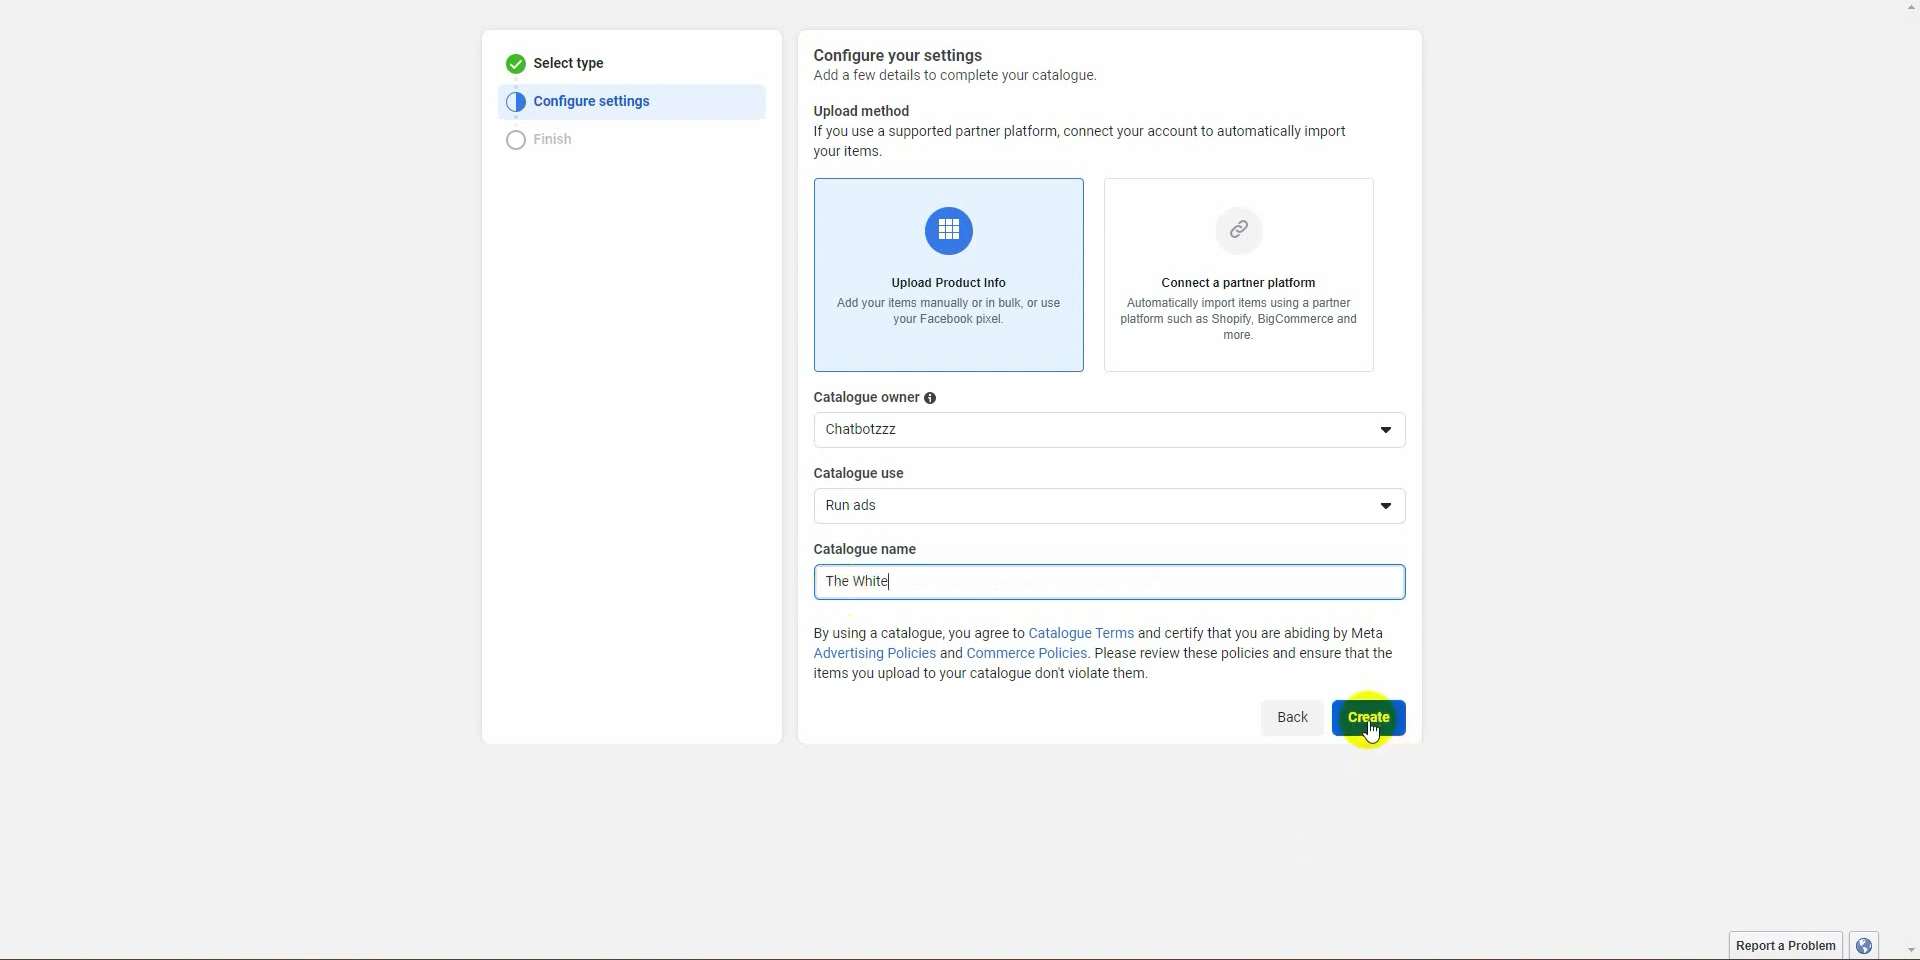
 There are two upload methods available. The first one is to manually upload products, and the other one is to connect to partner platform. You can connect your stores, like Shopify and BigCommerce, to import products automatically.
 For now, we will use the manual method in the Catalog Owner section.
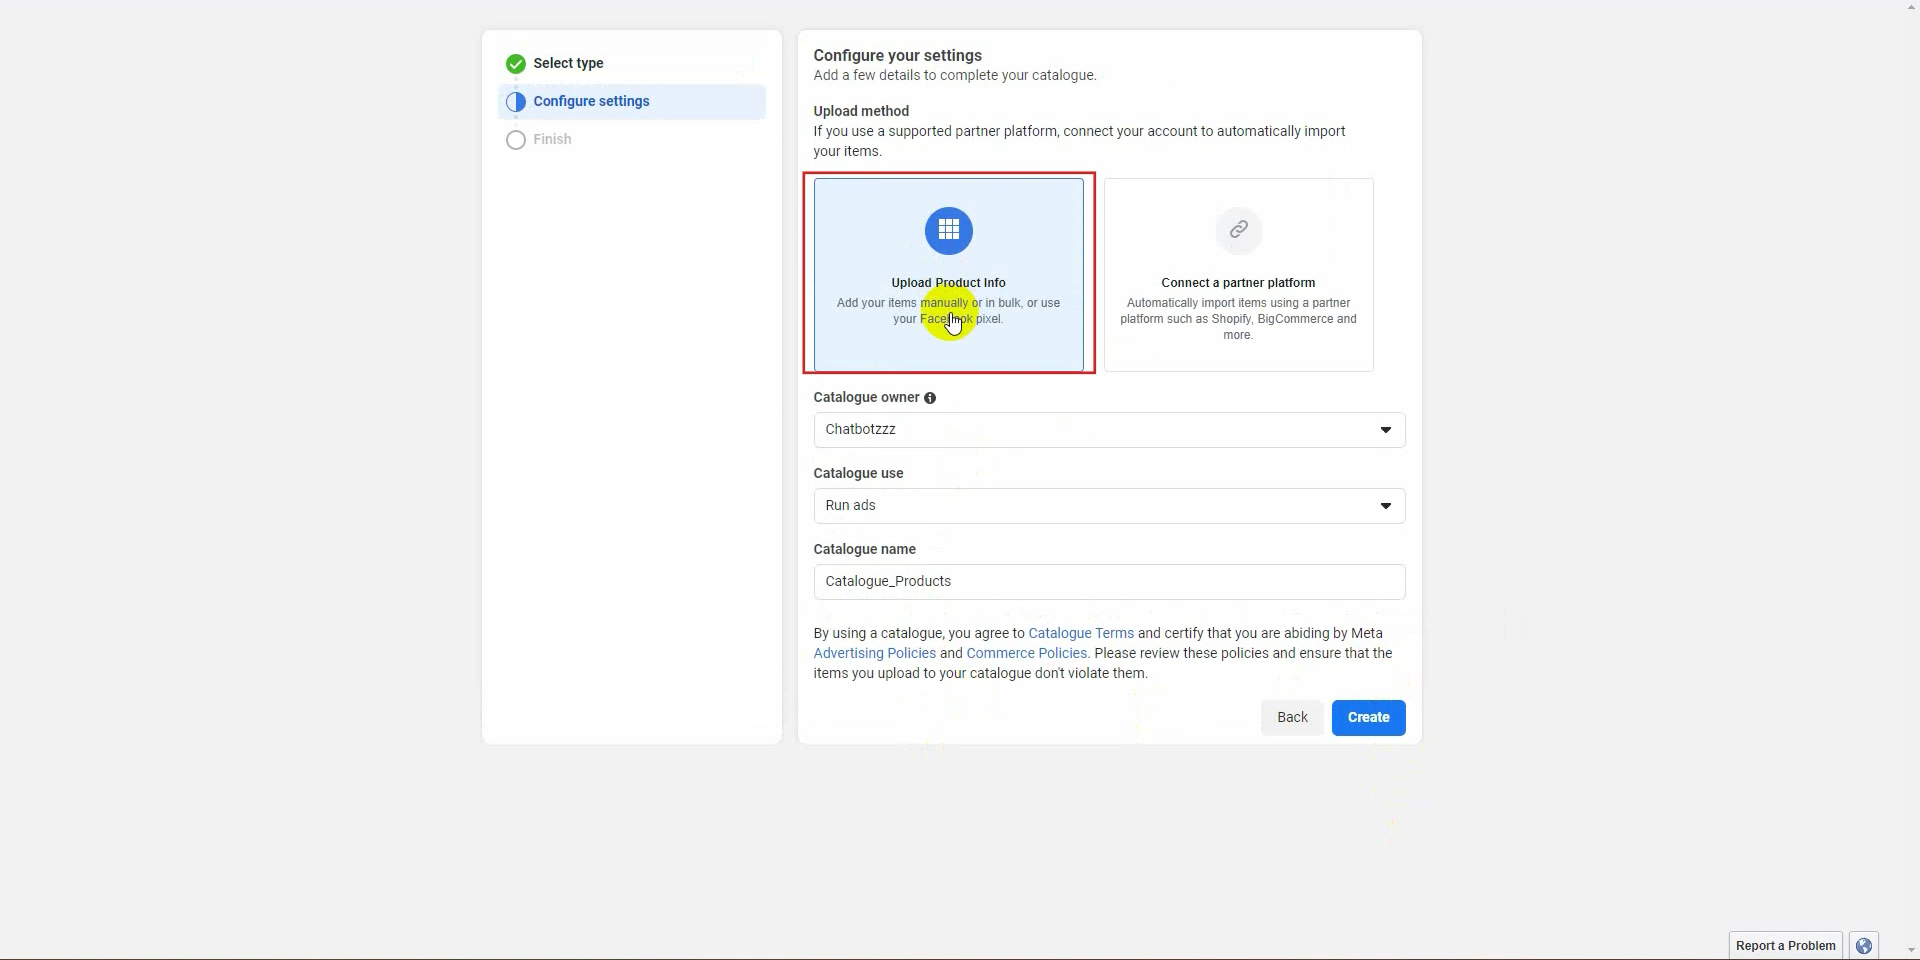 Select your business. If you have multiple businesses in the catalog use section, select Run Ads. Then give a name to the catalog and click on the create button.
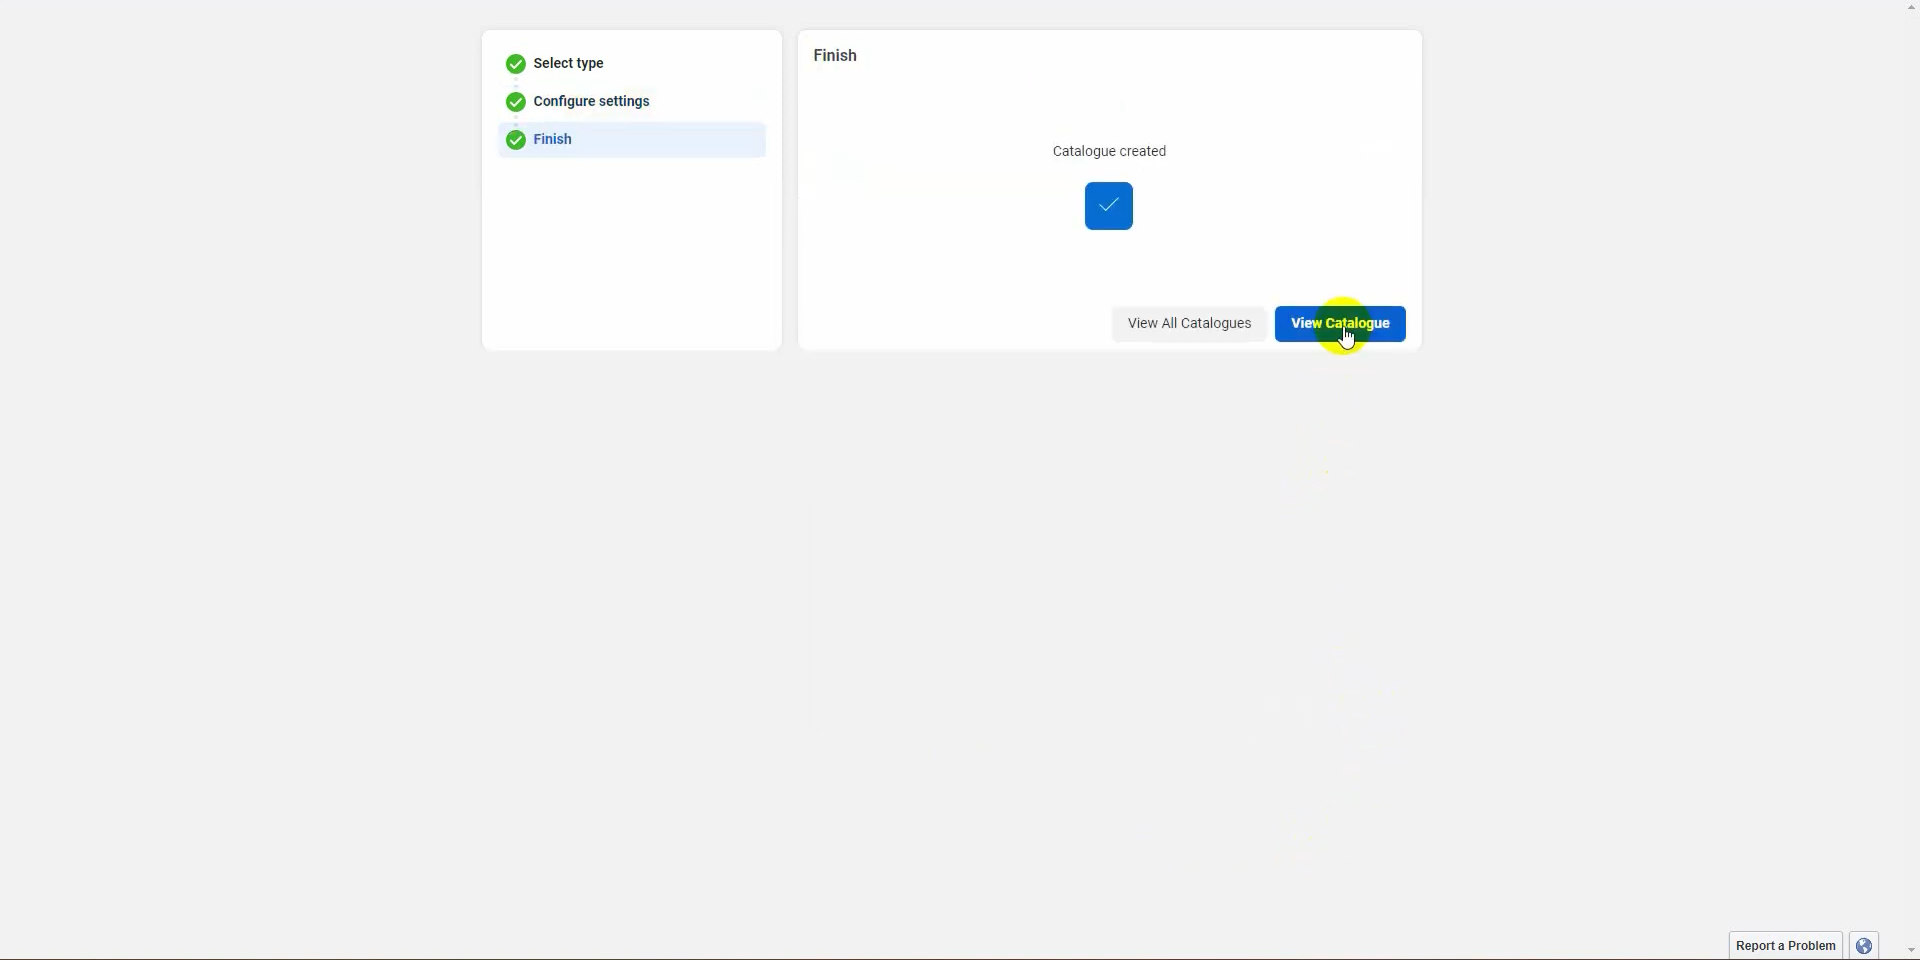
 Now click on View Catalog.
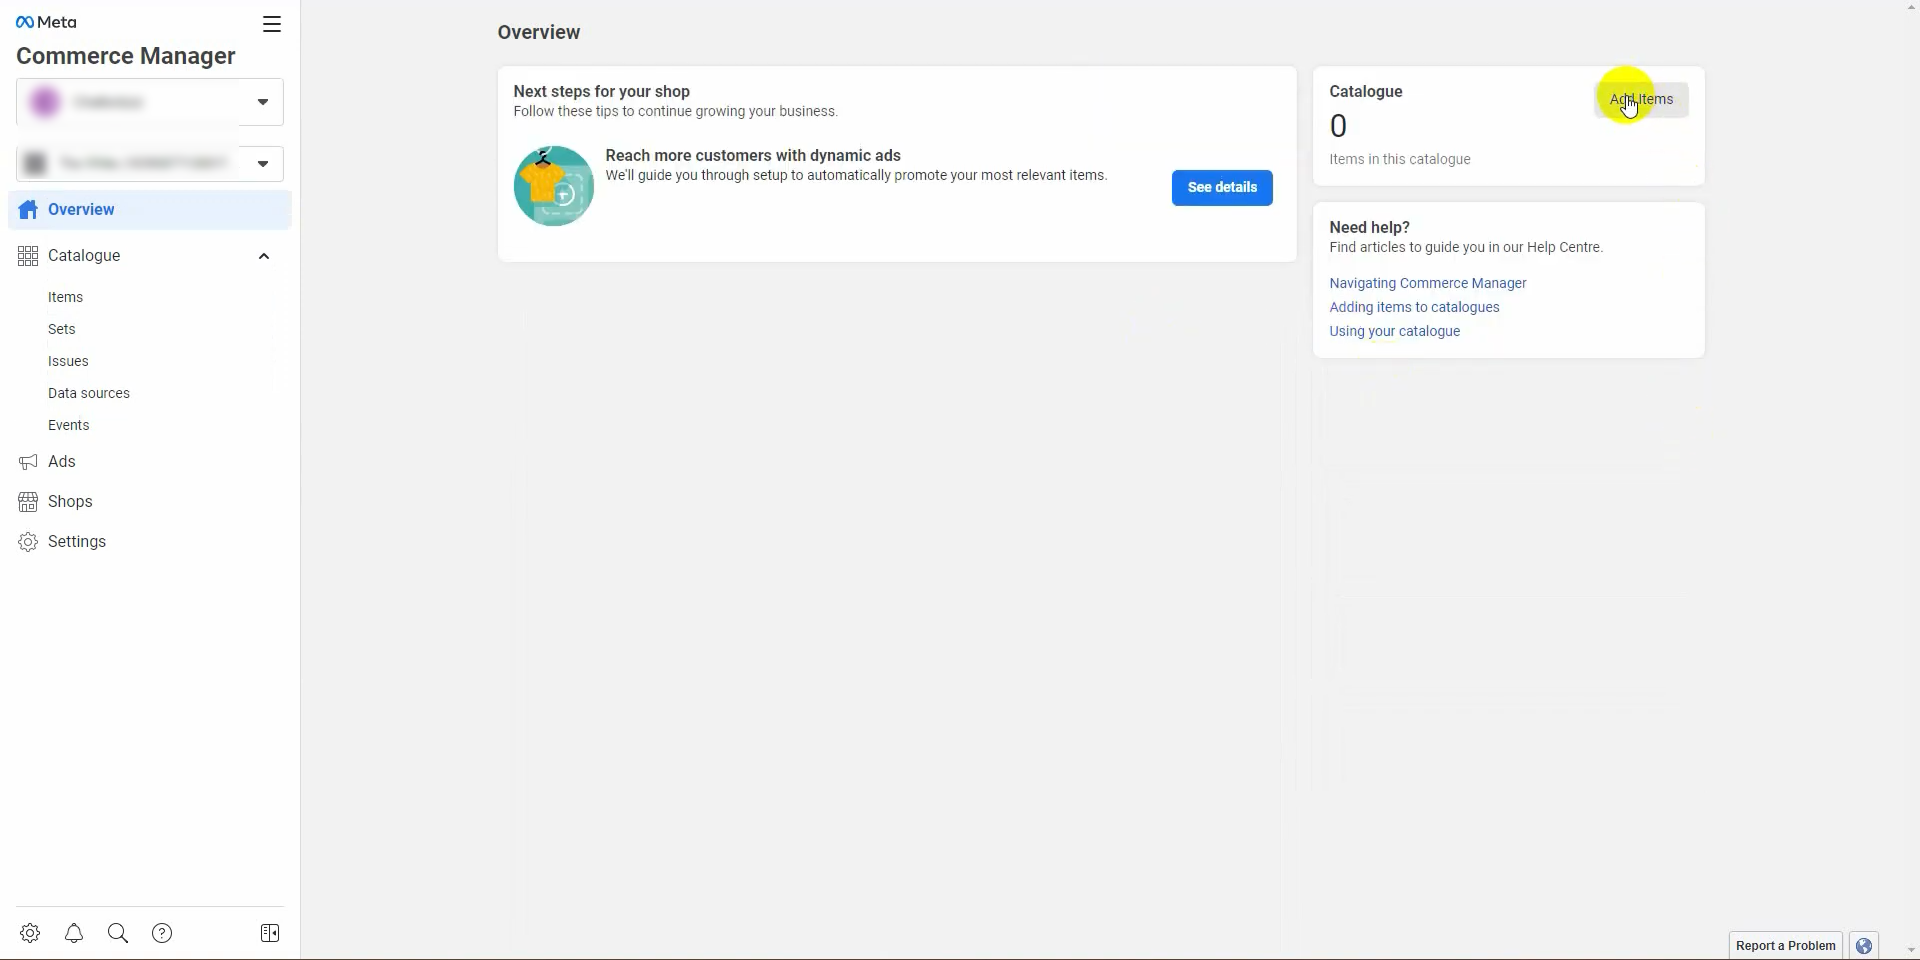
 Then click on the Add Items button to add products to your catalog.
 You can choose any of the options provided to add products.
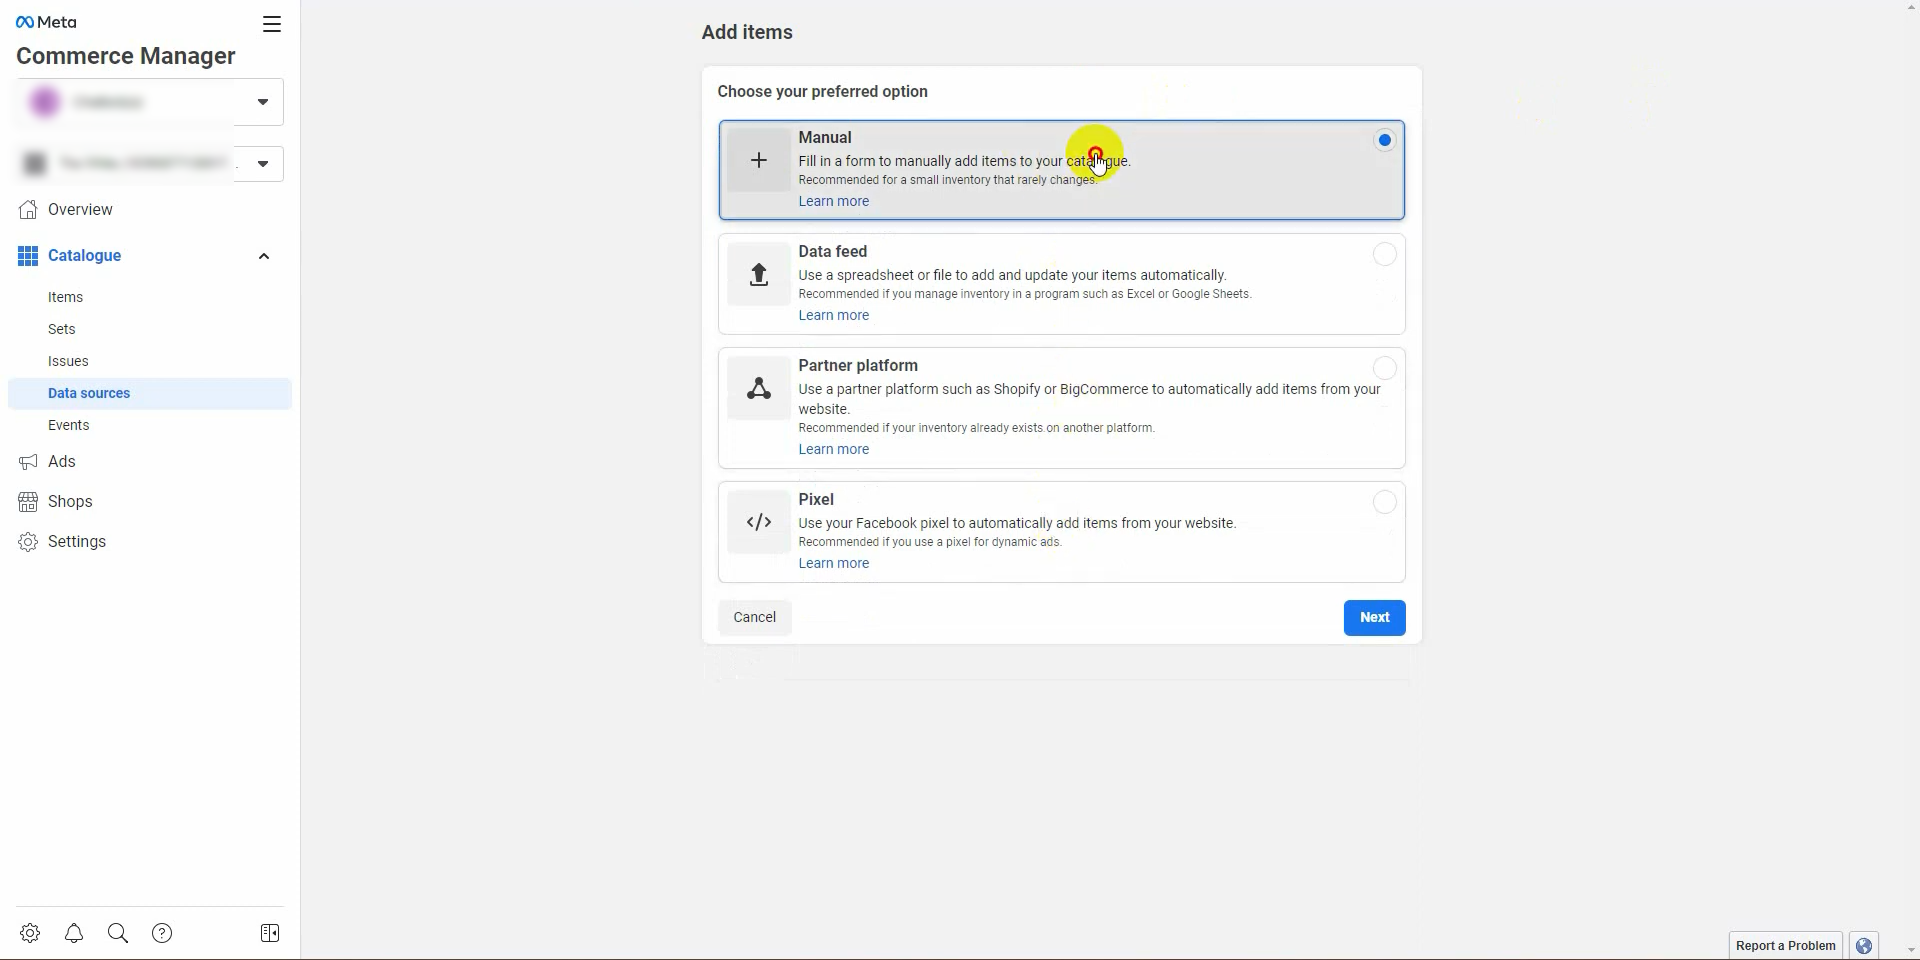 Let’s add products manually. Click on the next button.
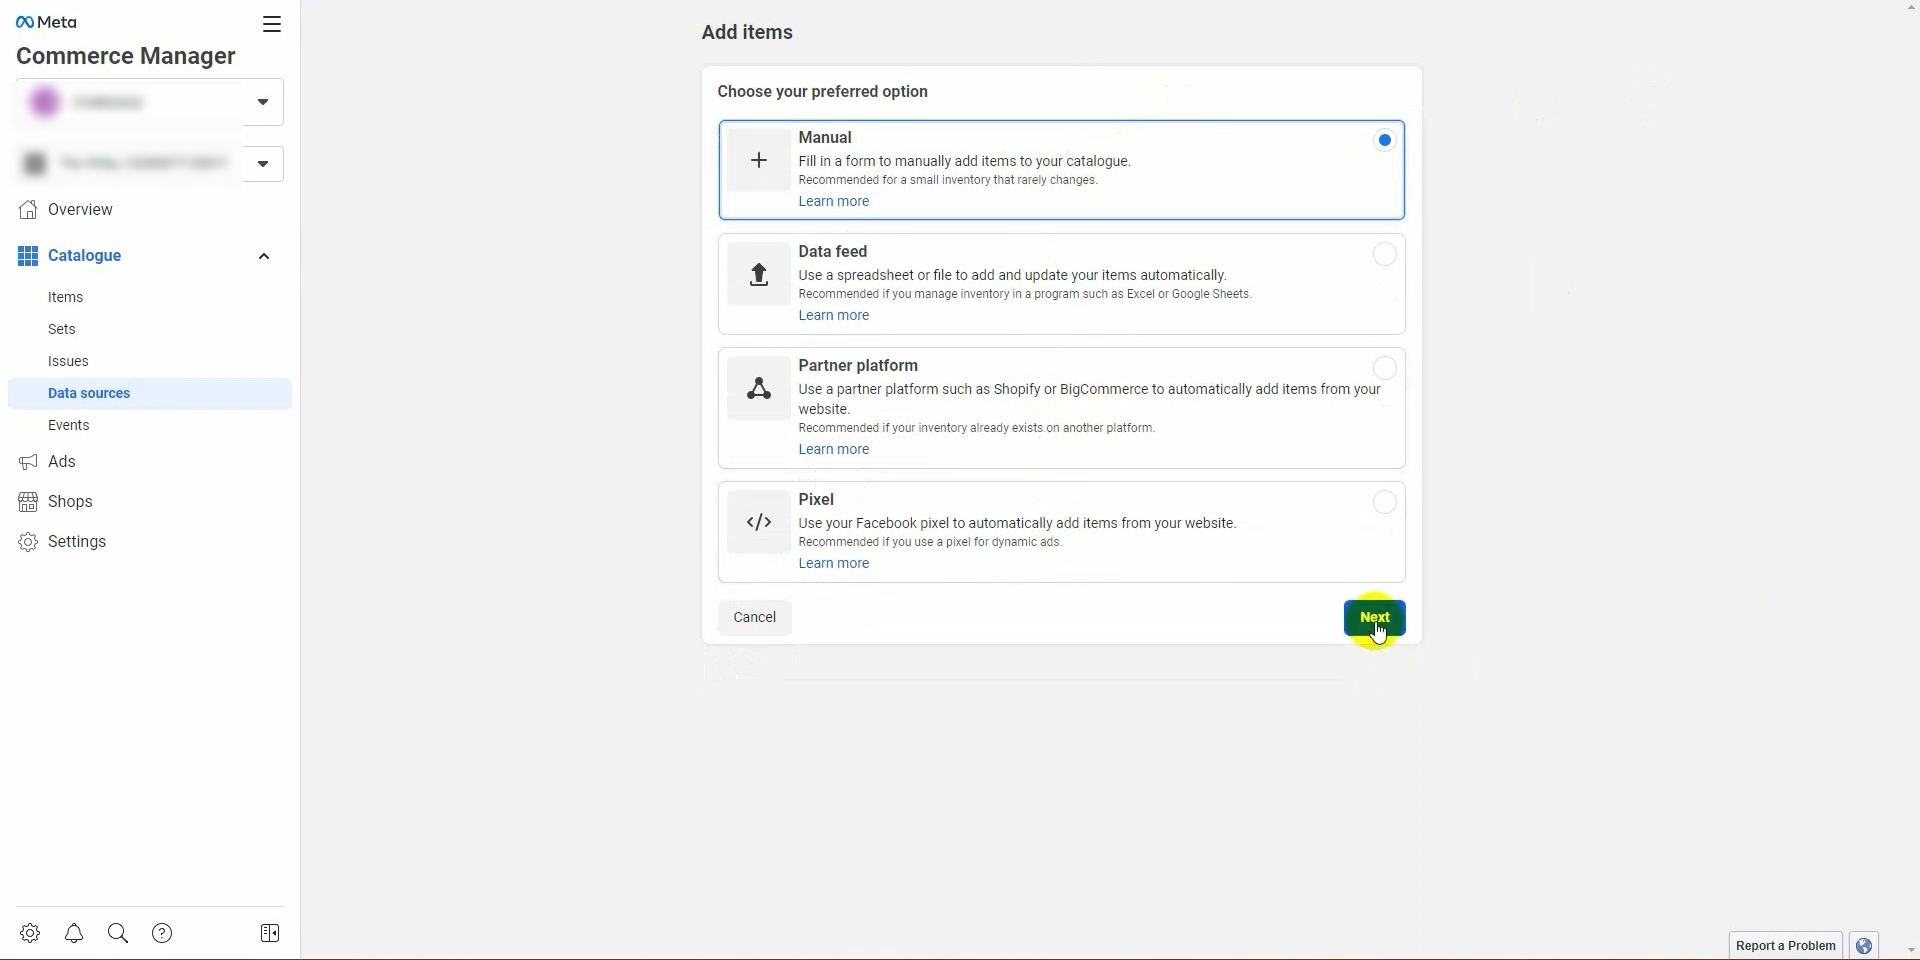 Click on the image button to upload images.
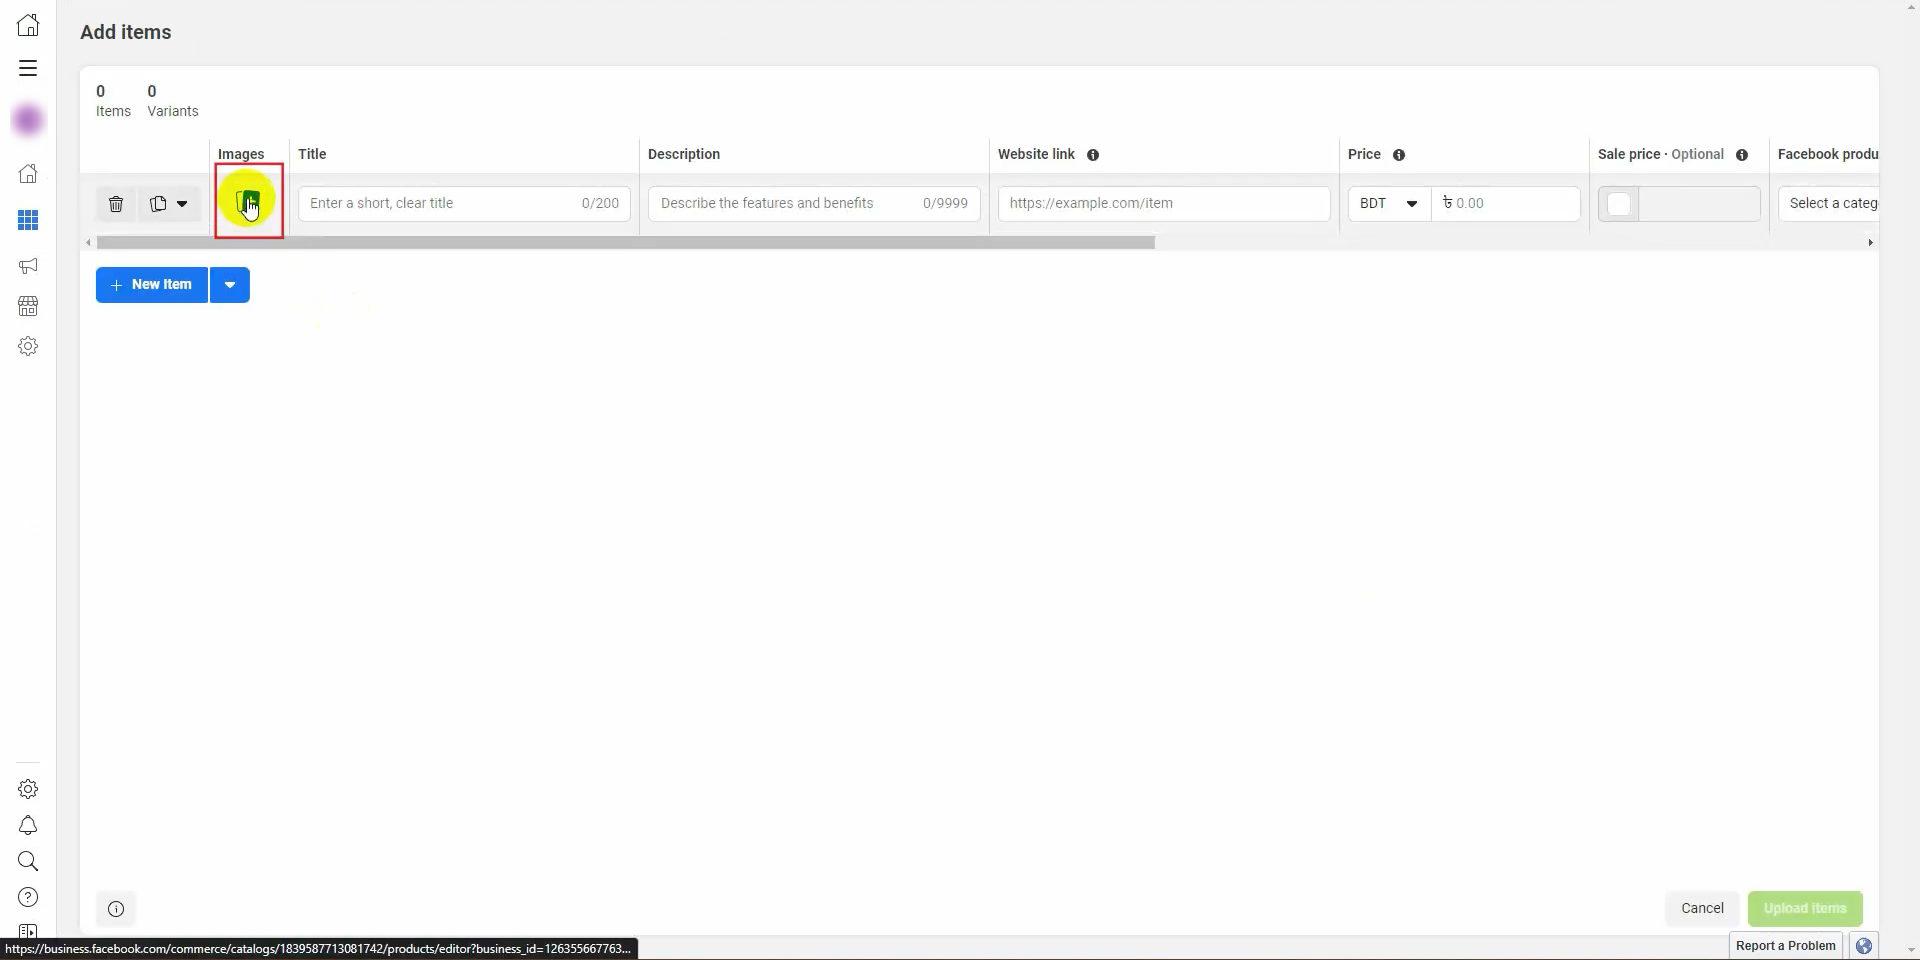 You can upload multiple images. You can also add more images later, if needed.
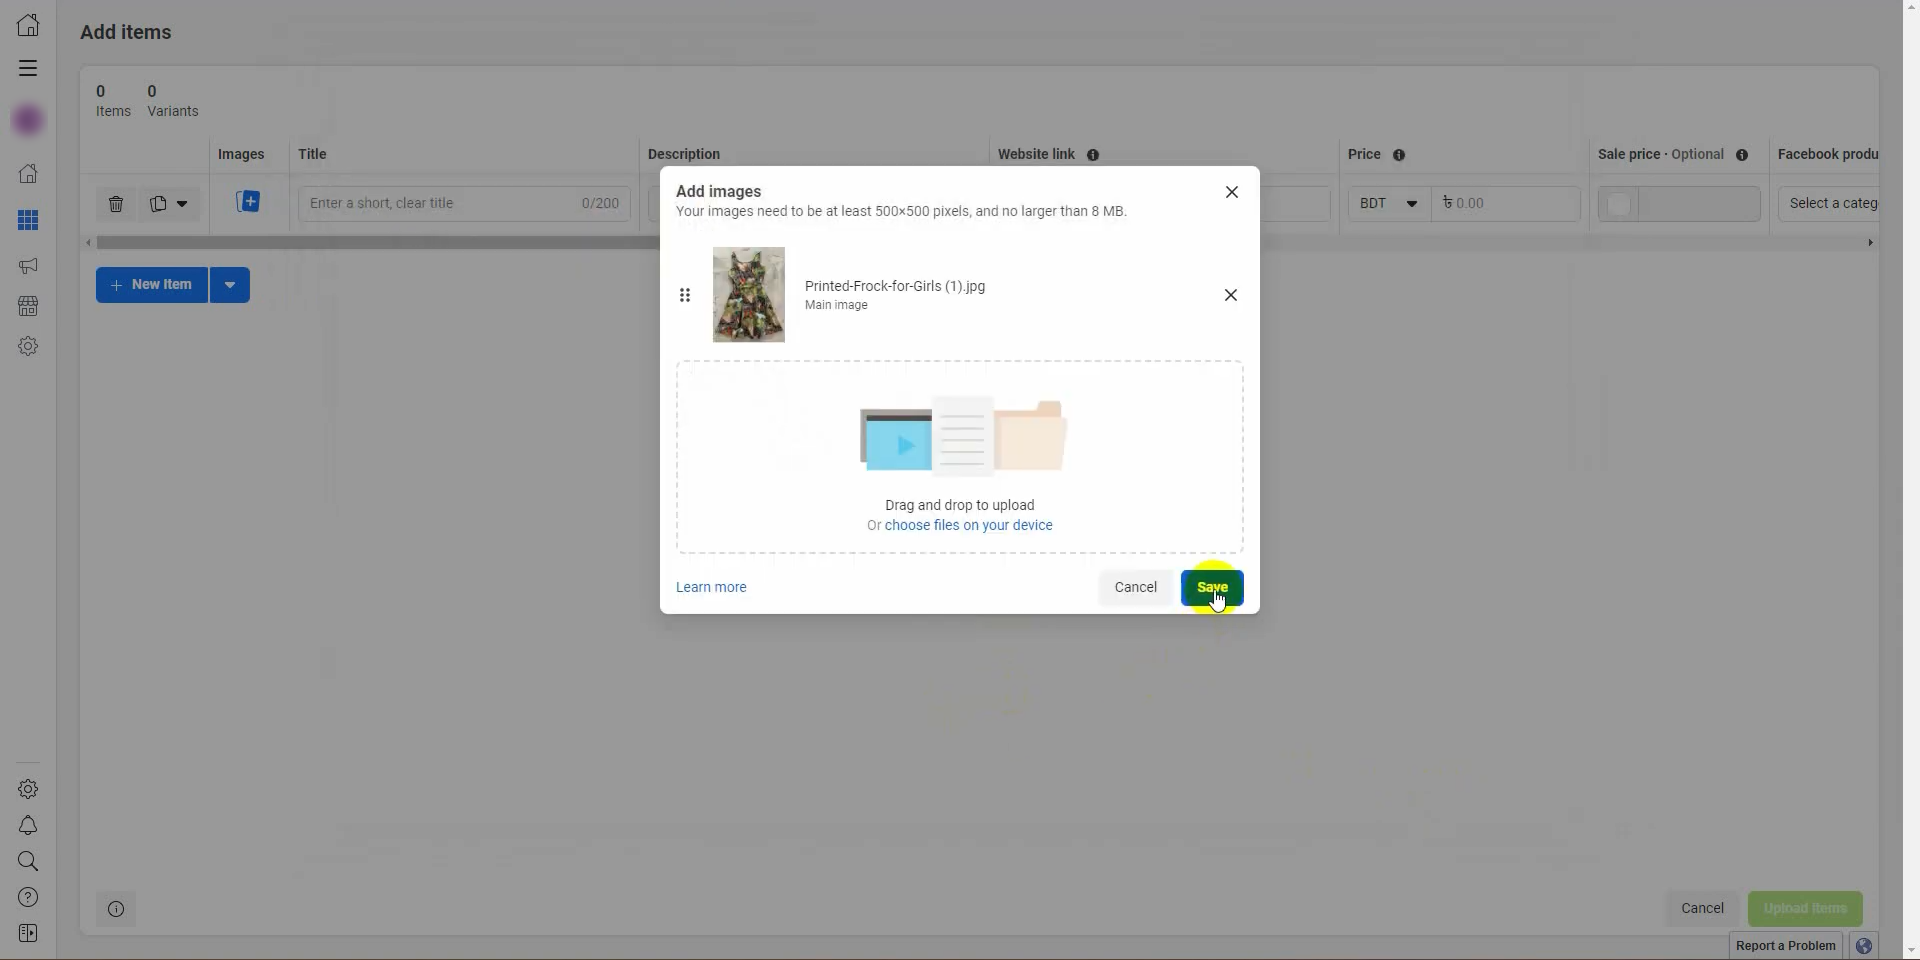 Then enter the title and description of the product. We will use the same title as on our website.
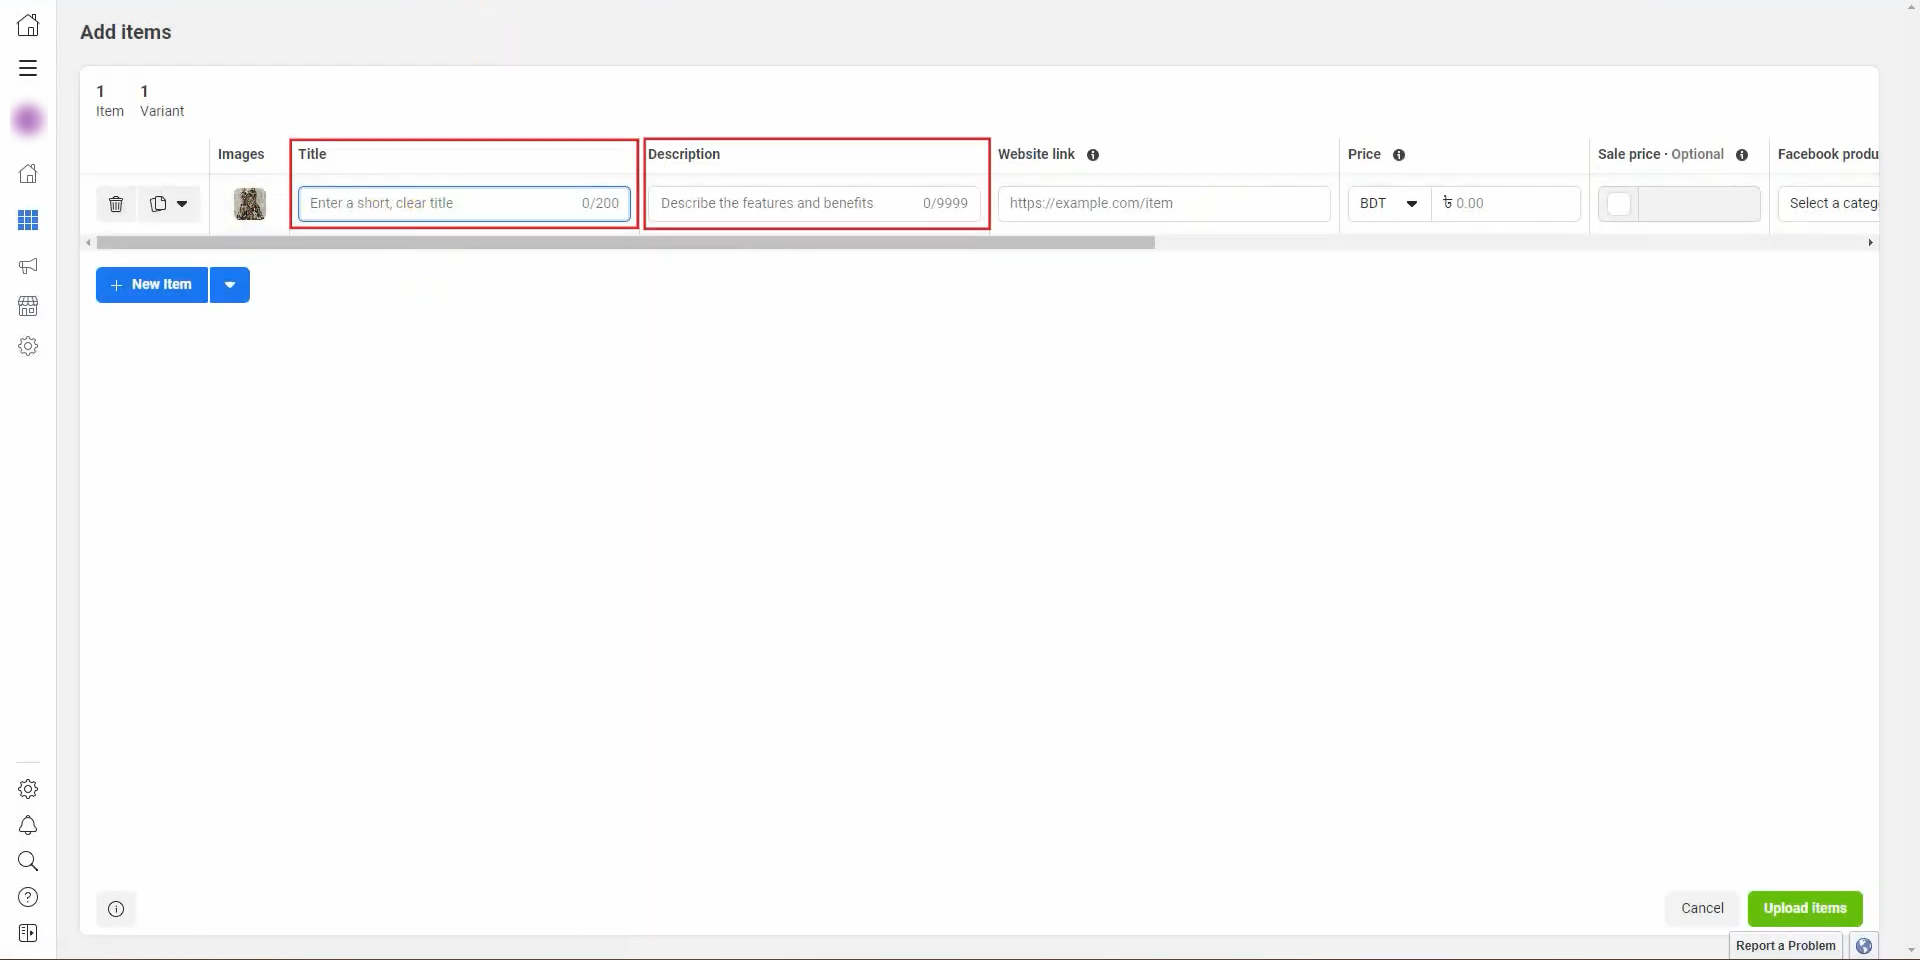 Enter the website link where your product exists.
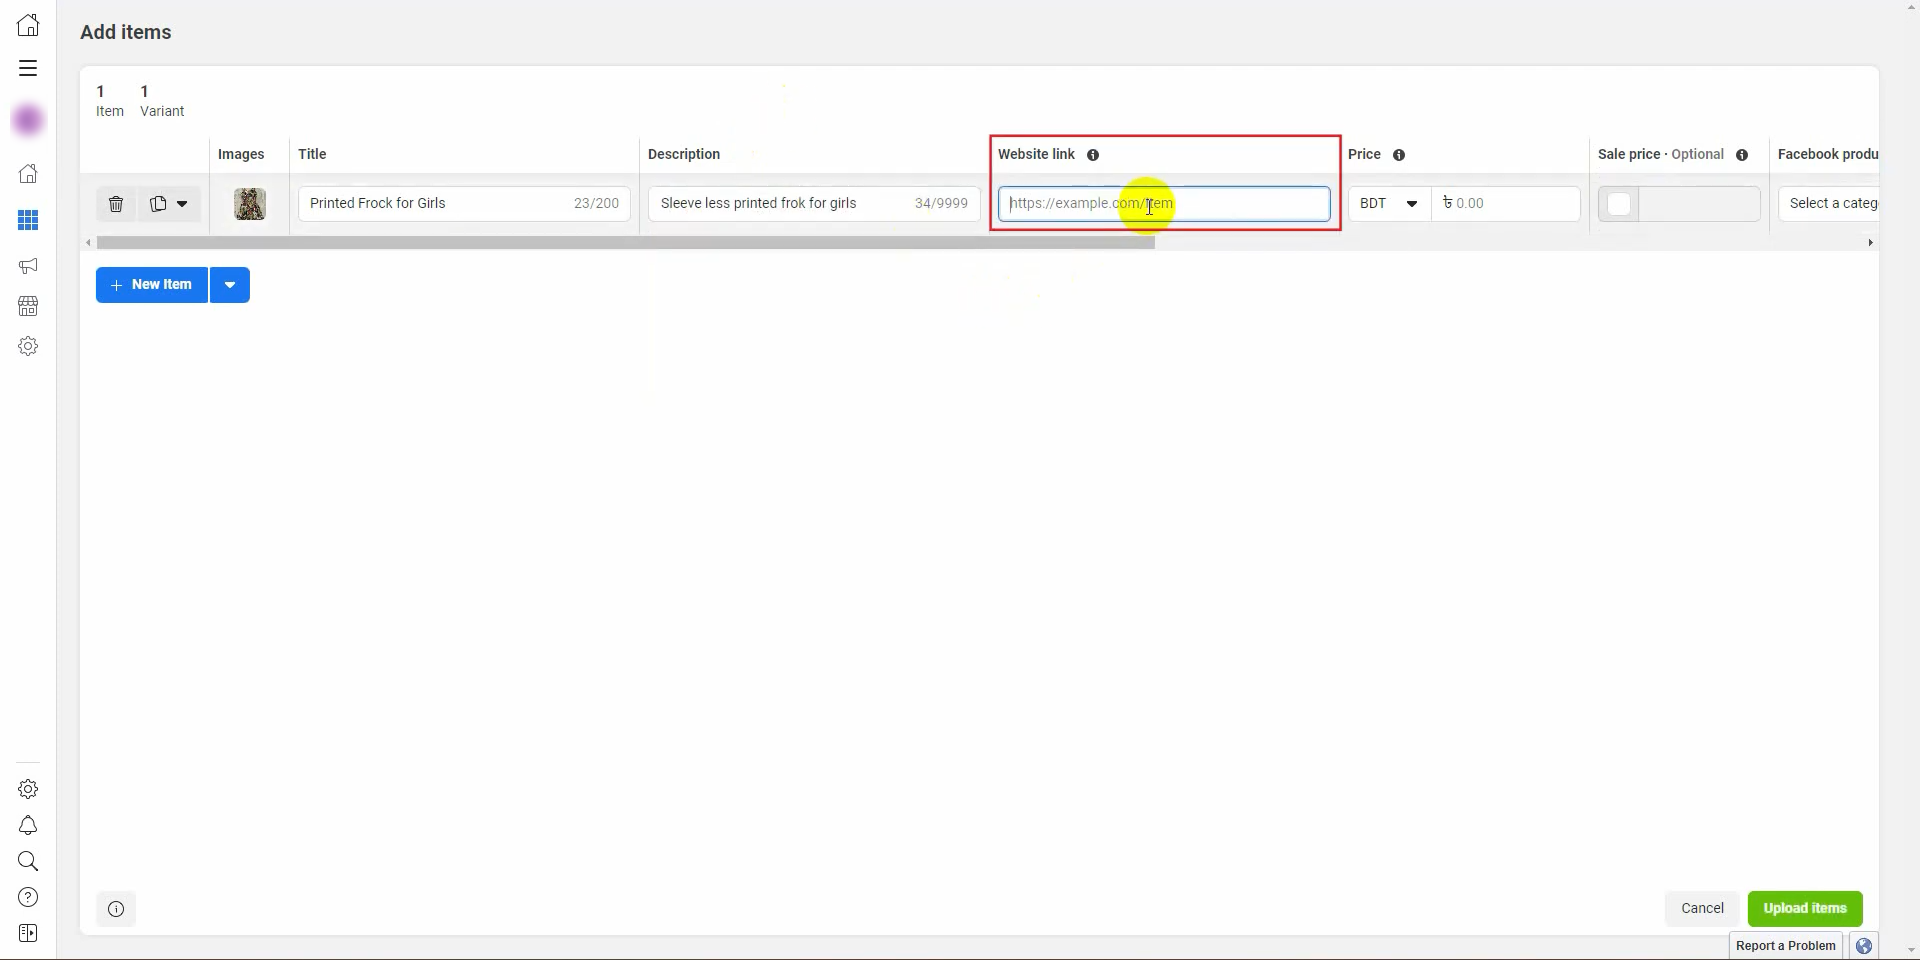
Provide the price. You can also use a sale price, if applicable.
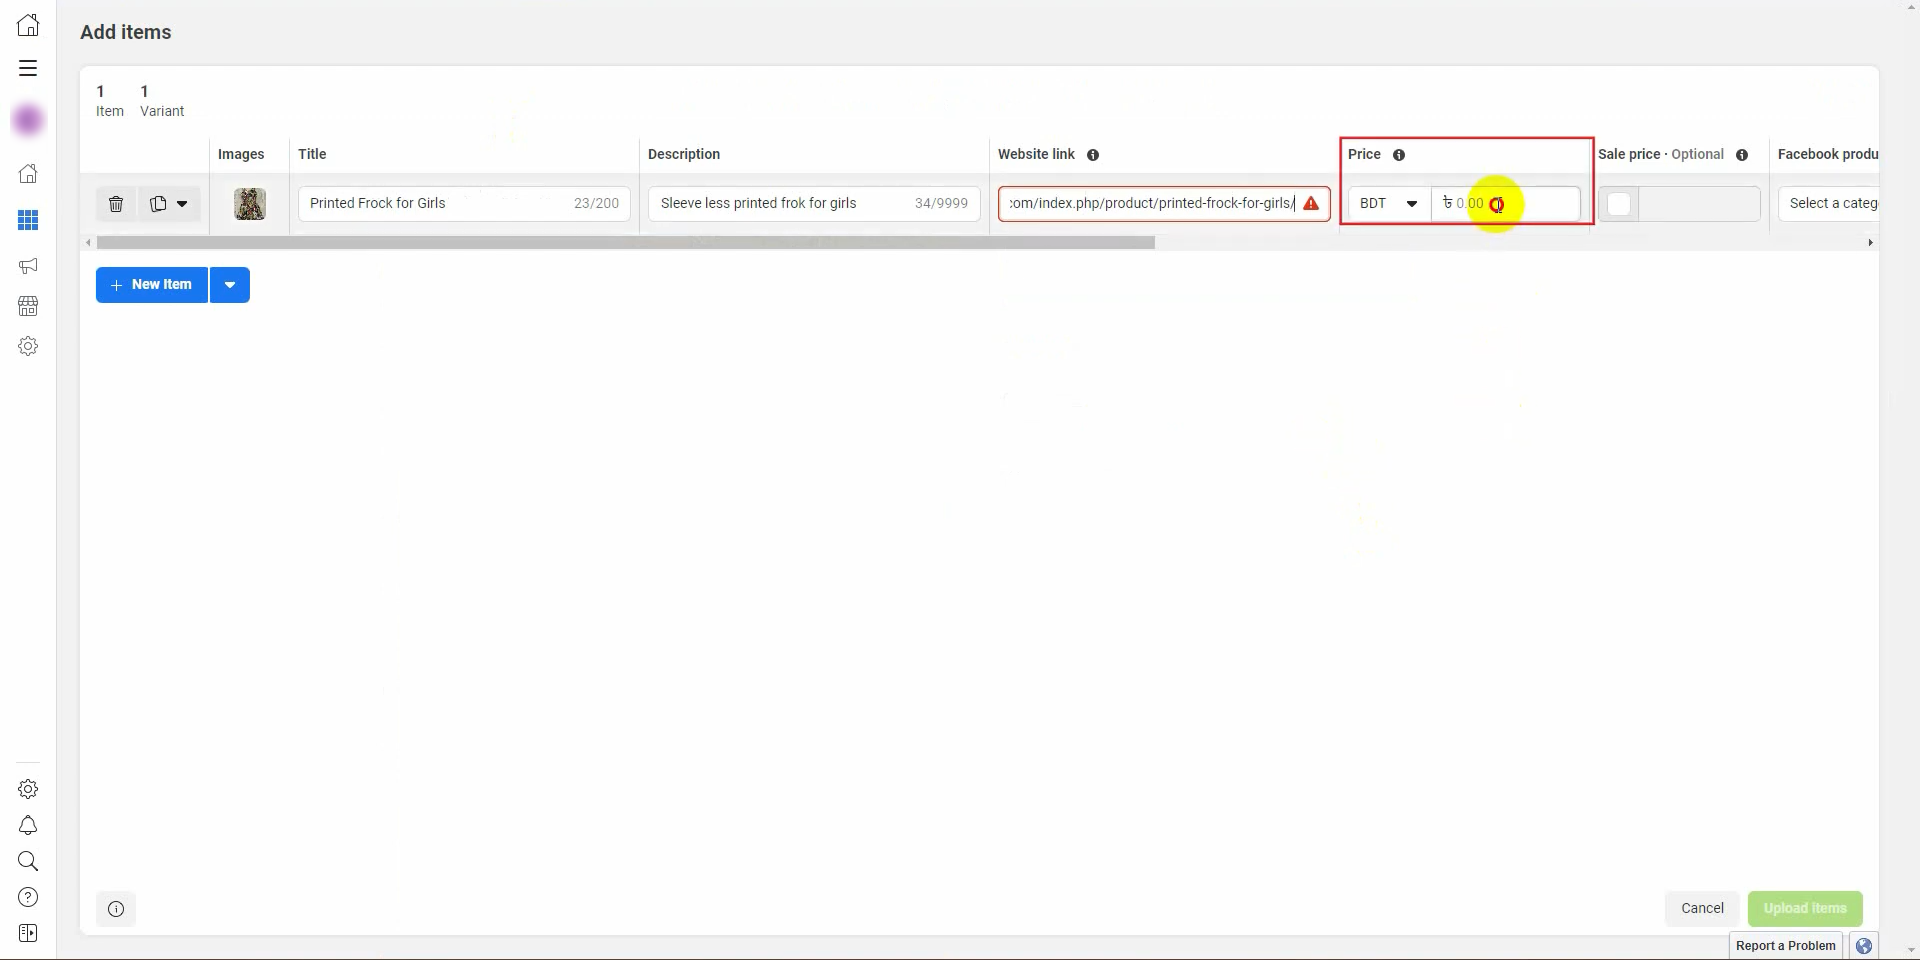 Then select a Facebook product category, but it’s optional.
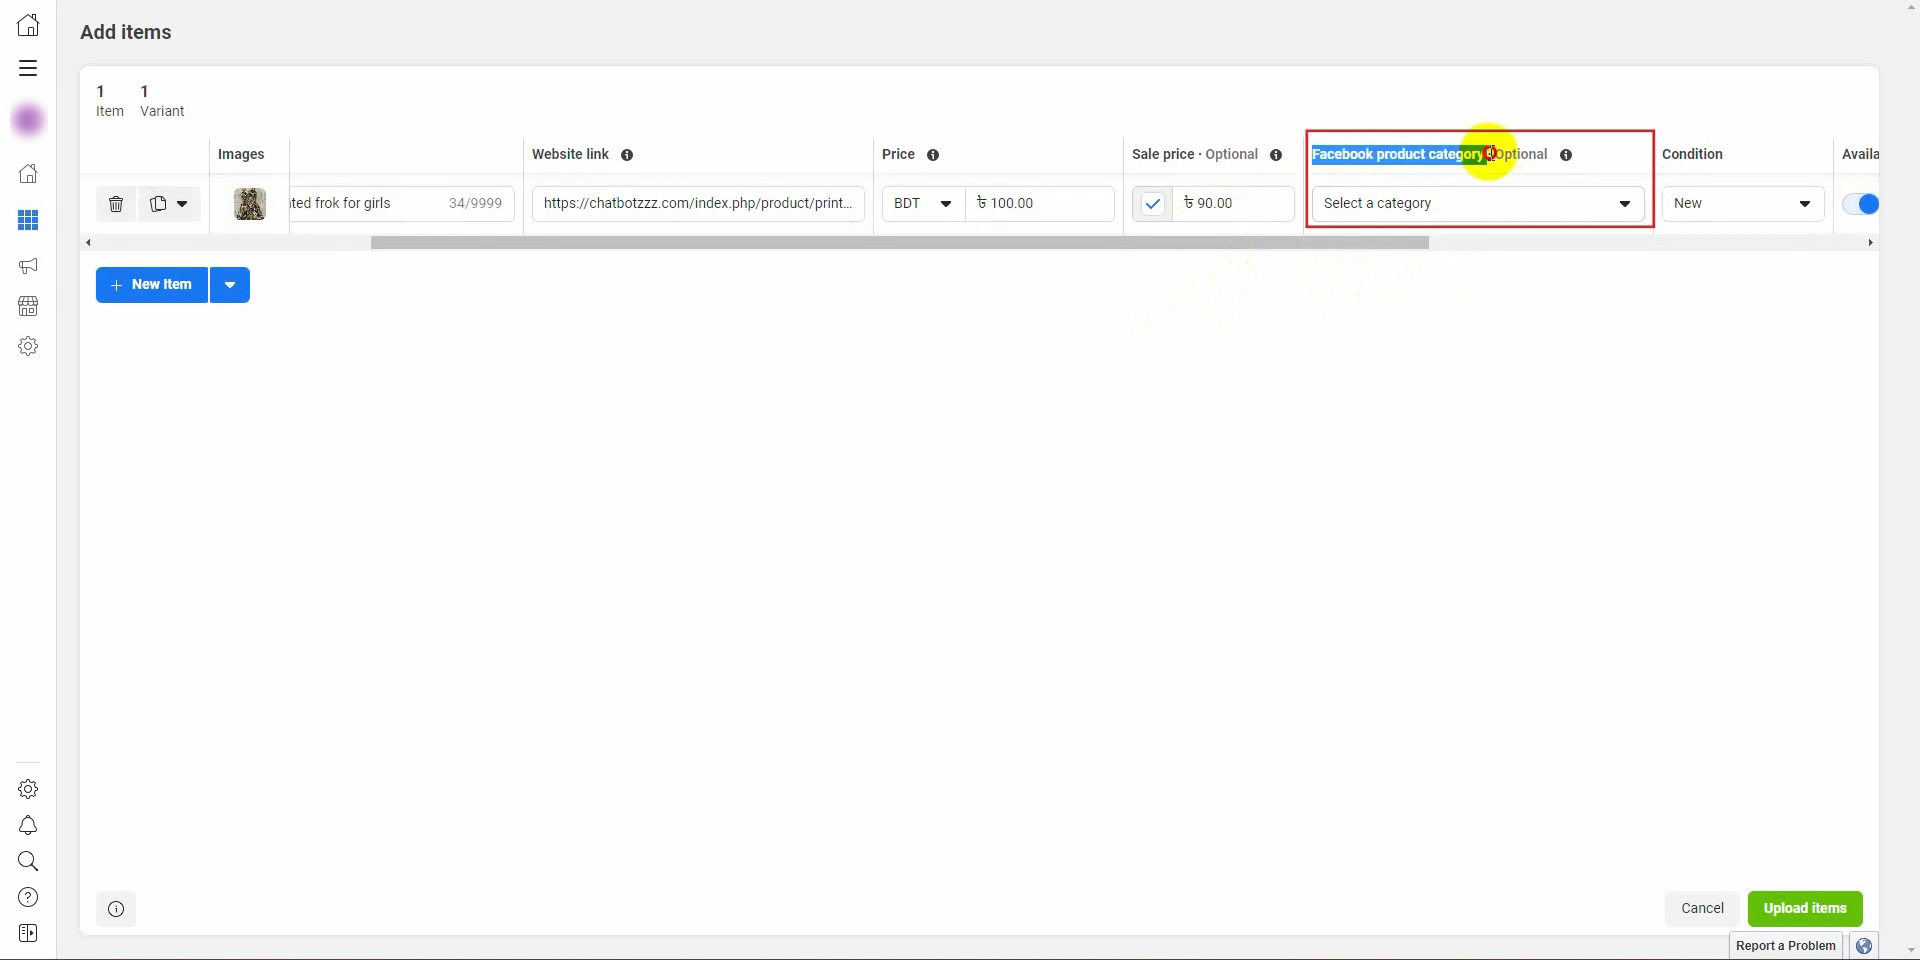 Then select condition. Brand name and content IDs are optional.
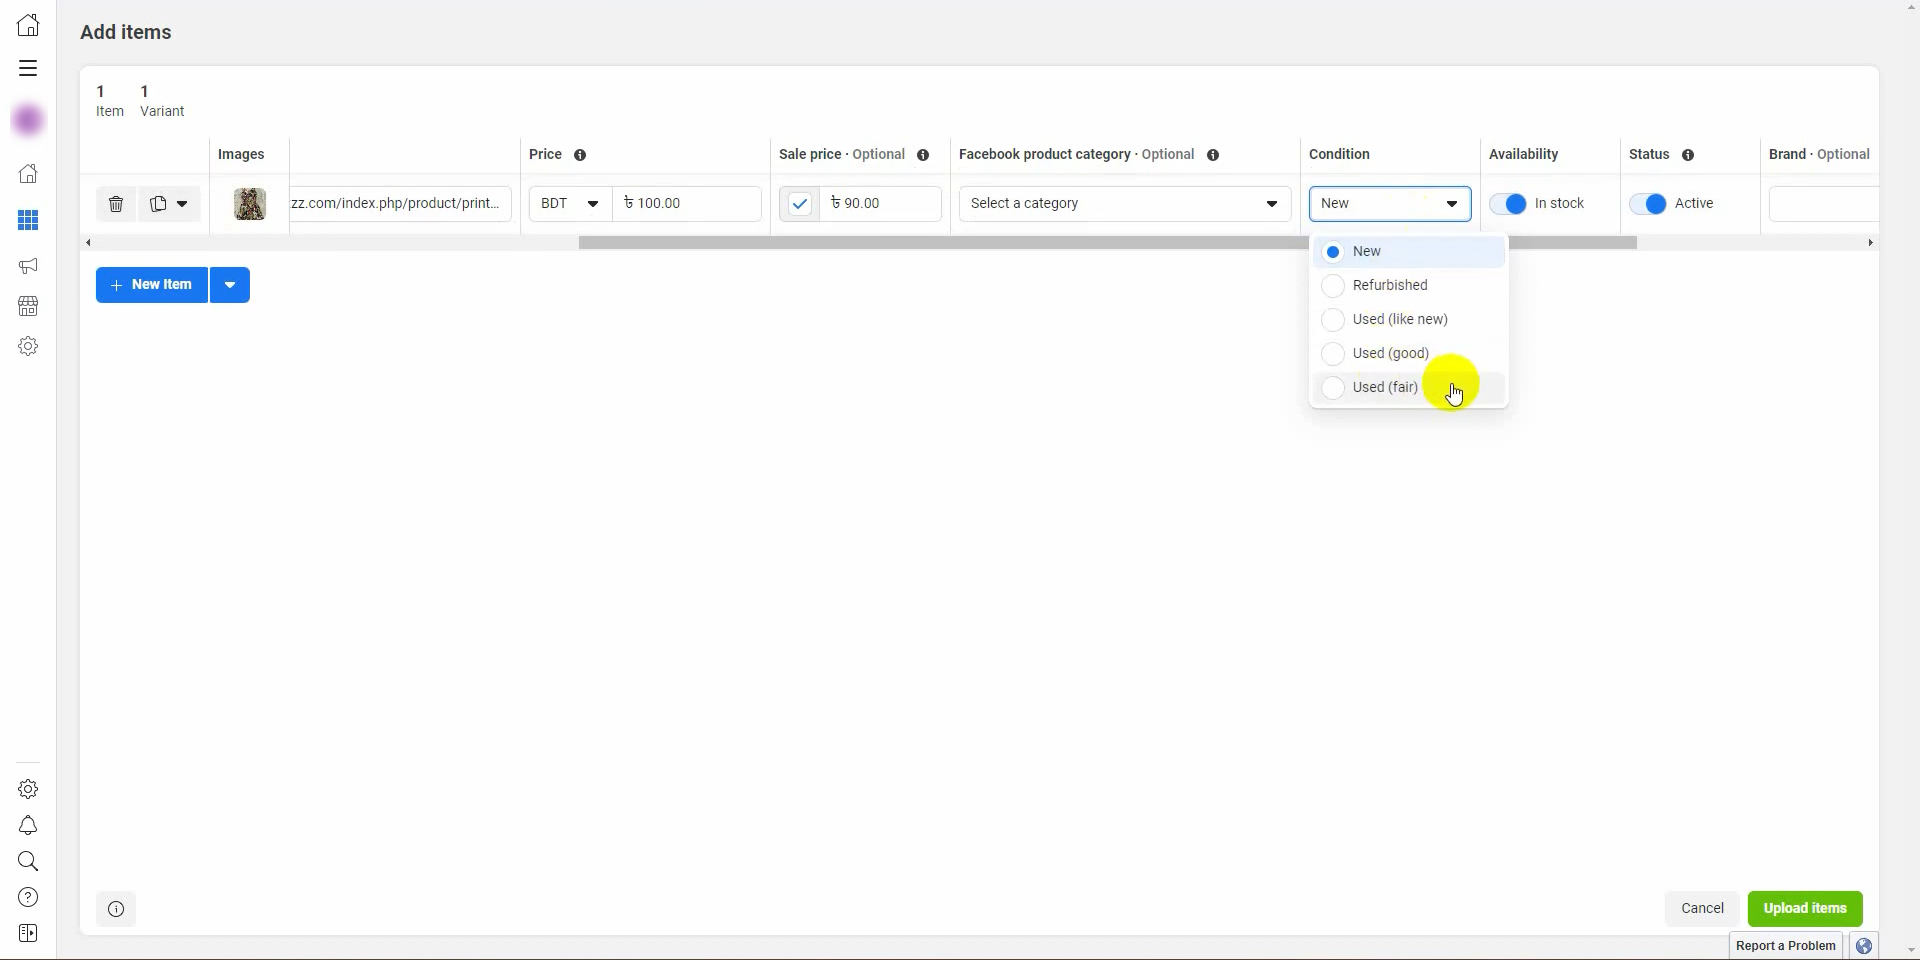 Finally, click on the Upload Items button.
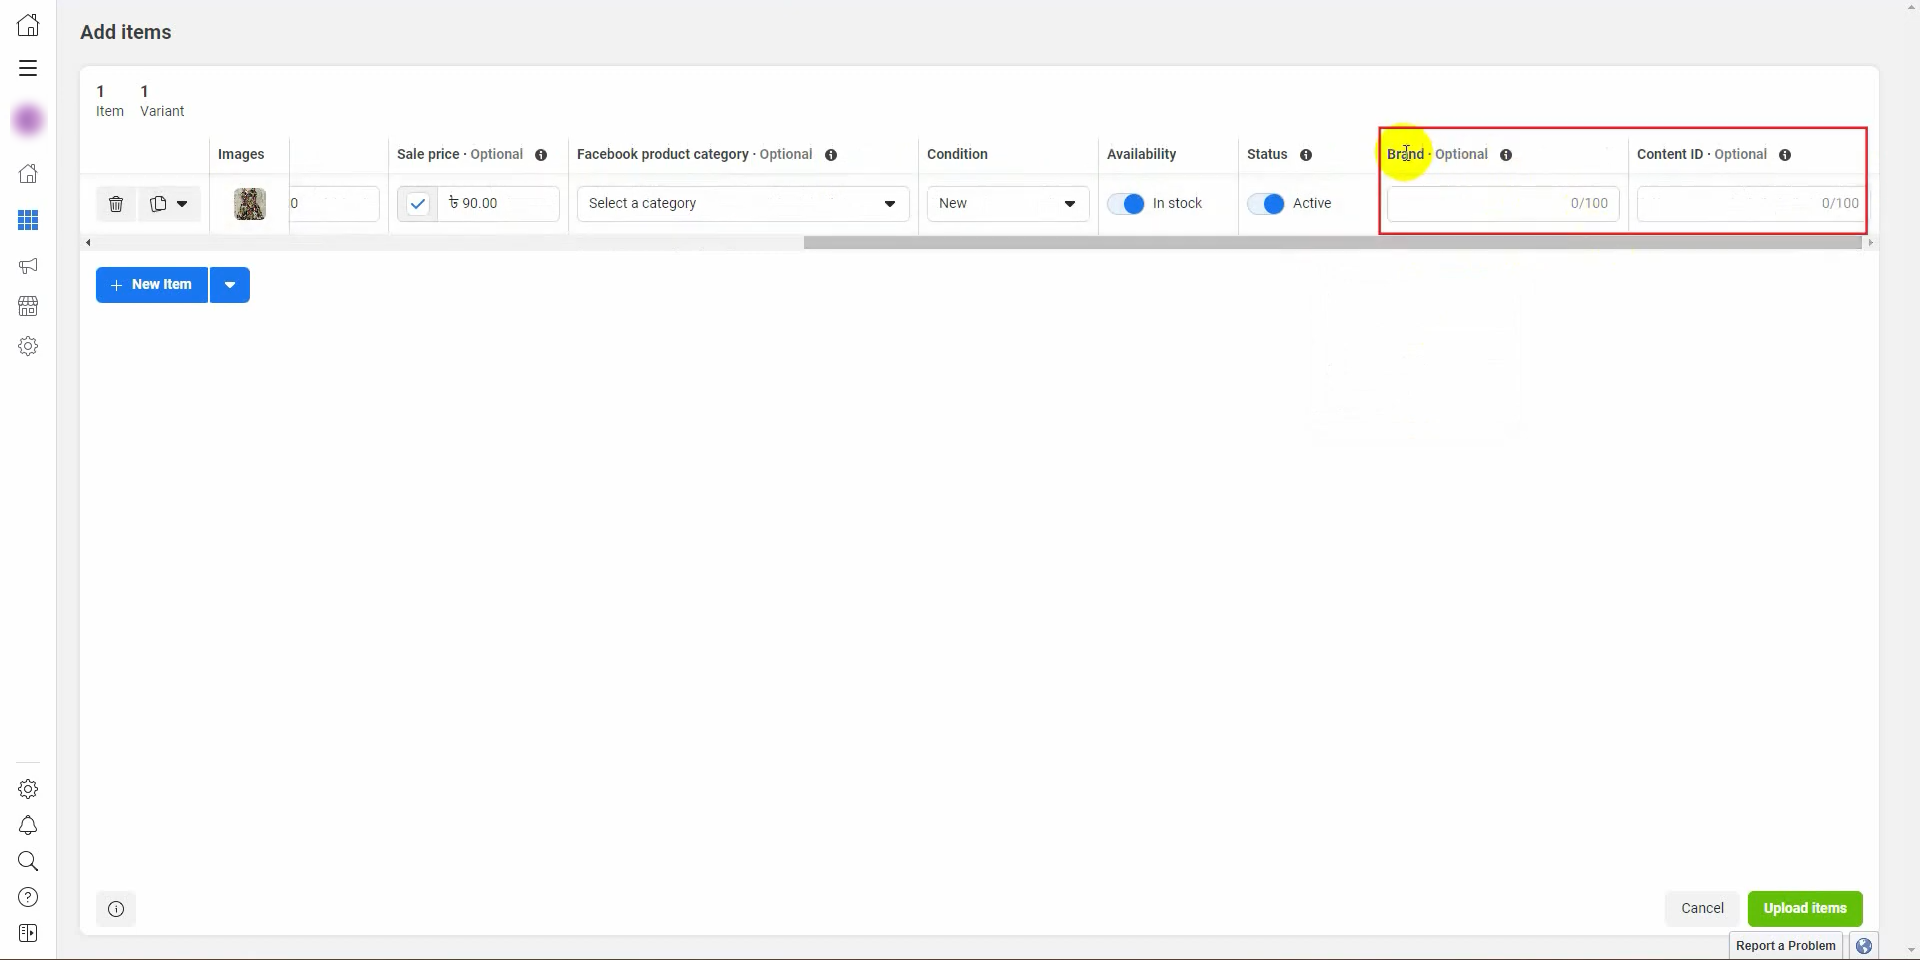 Let’s add one more product.
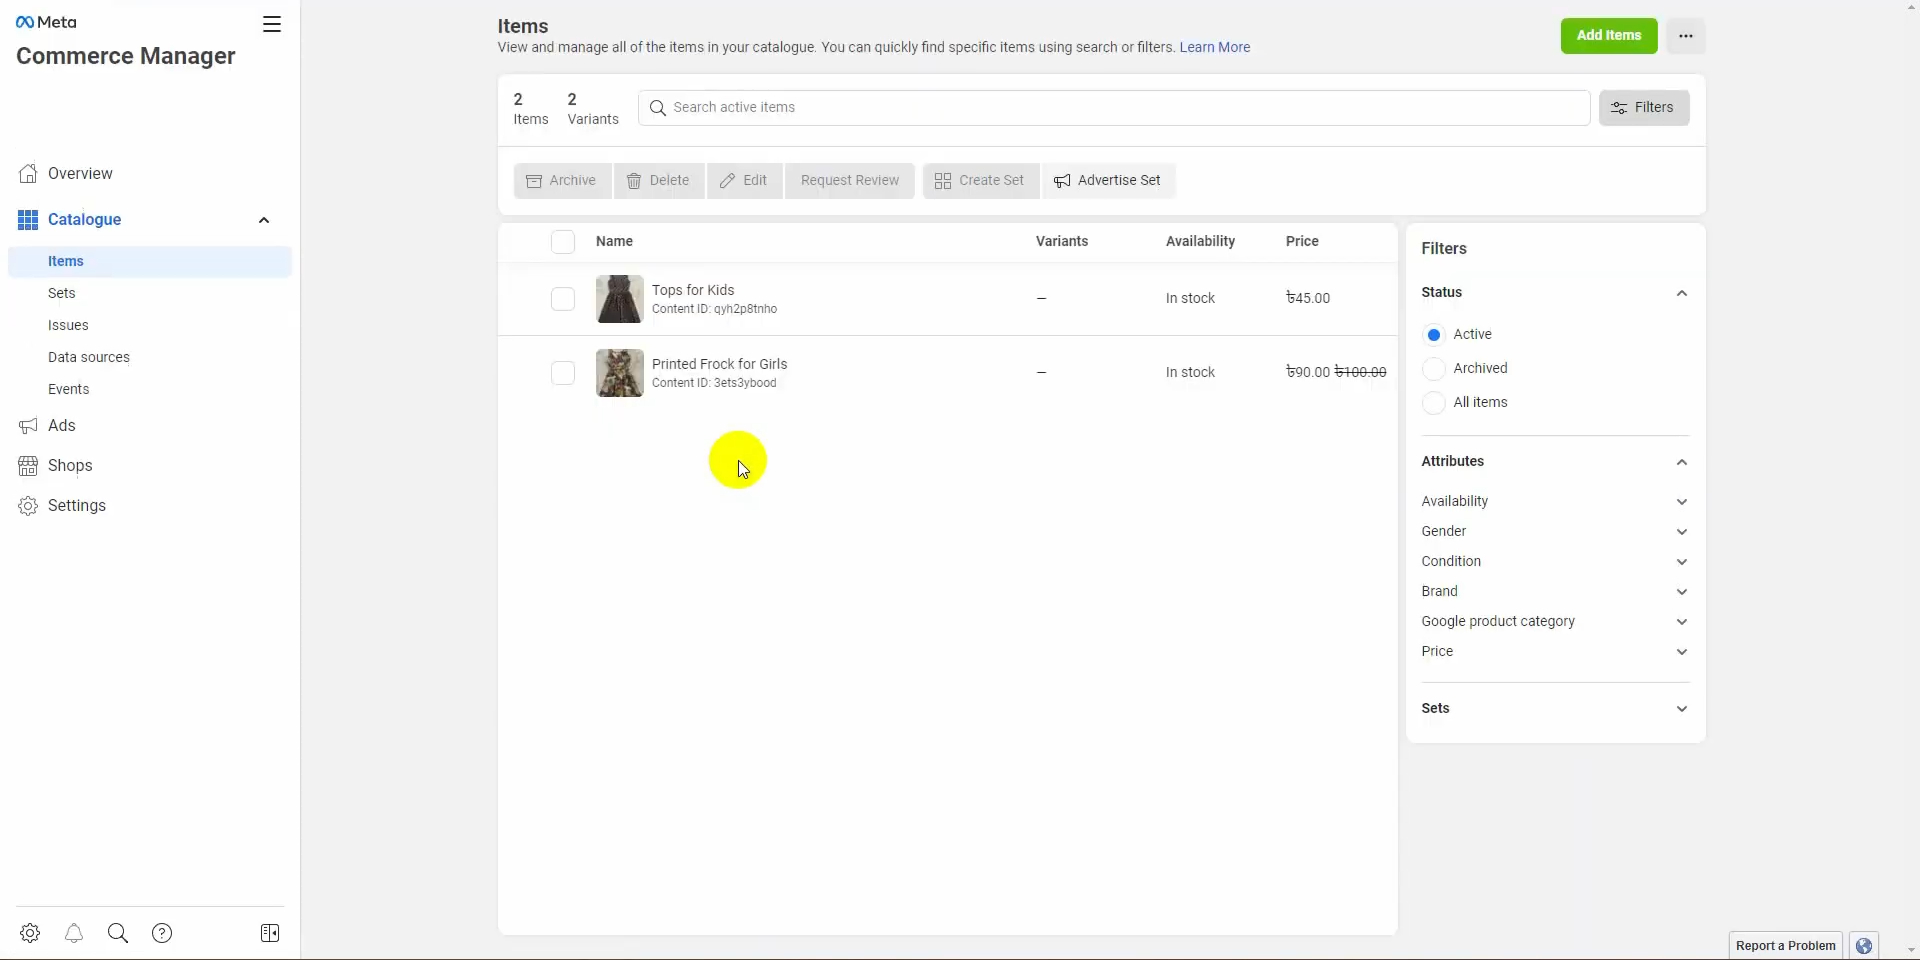 Now, from the All Tools menu, select WhatsApp Manager.
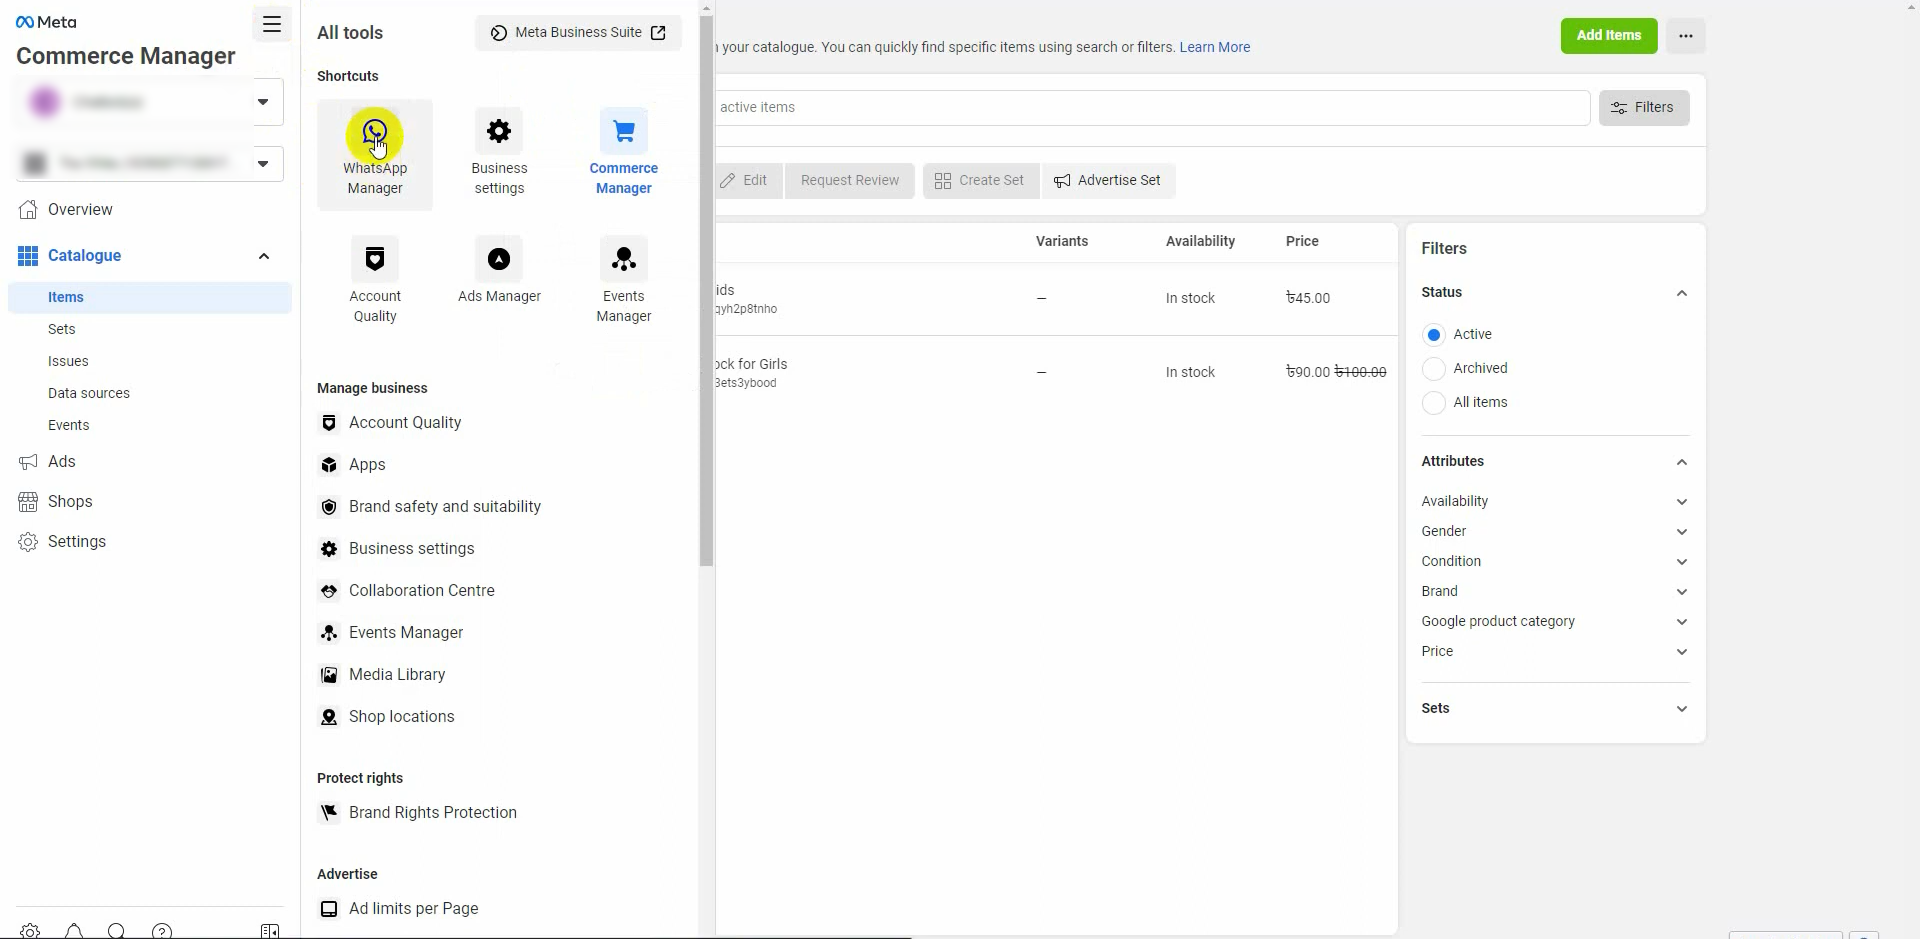 From the account tools, click on the catalog,
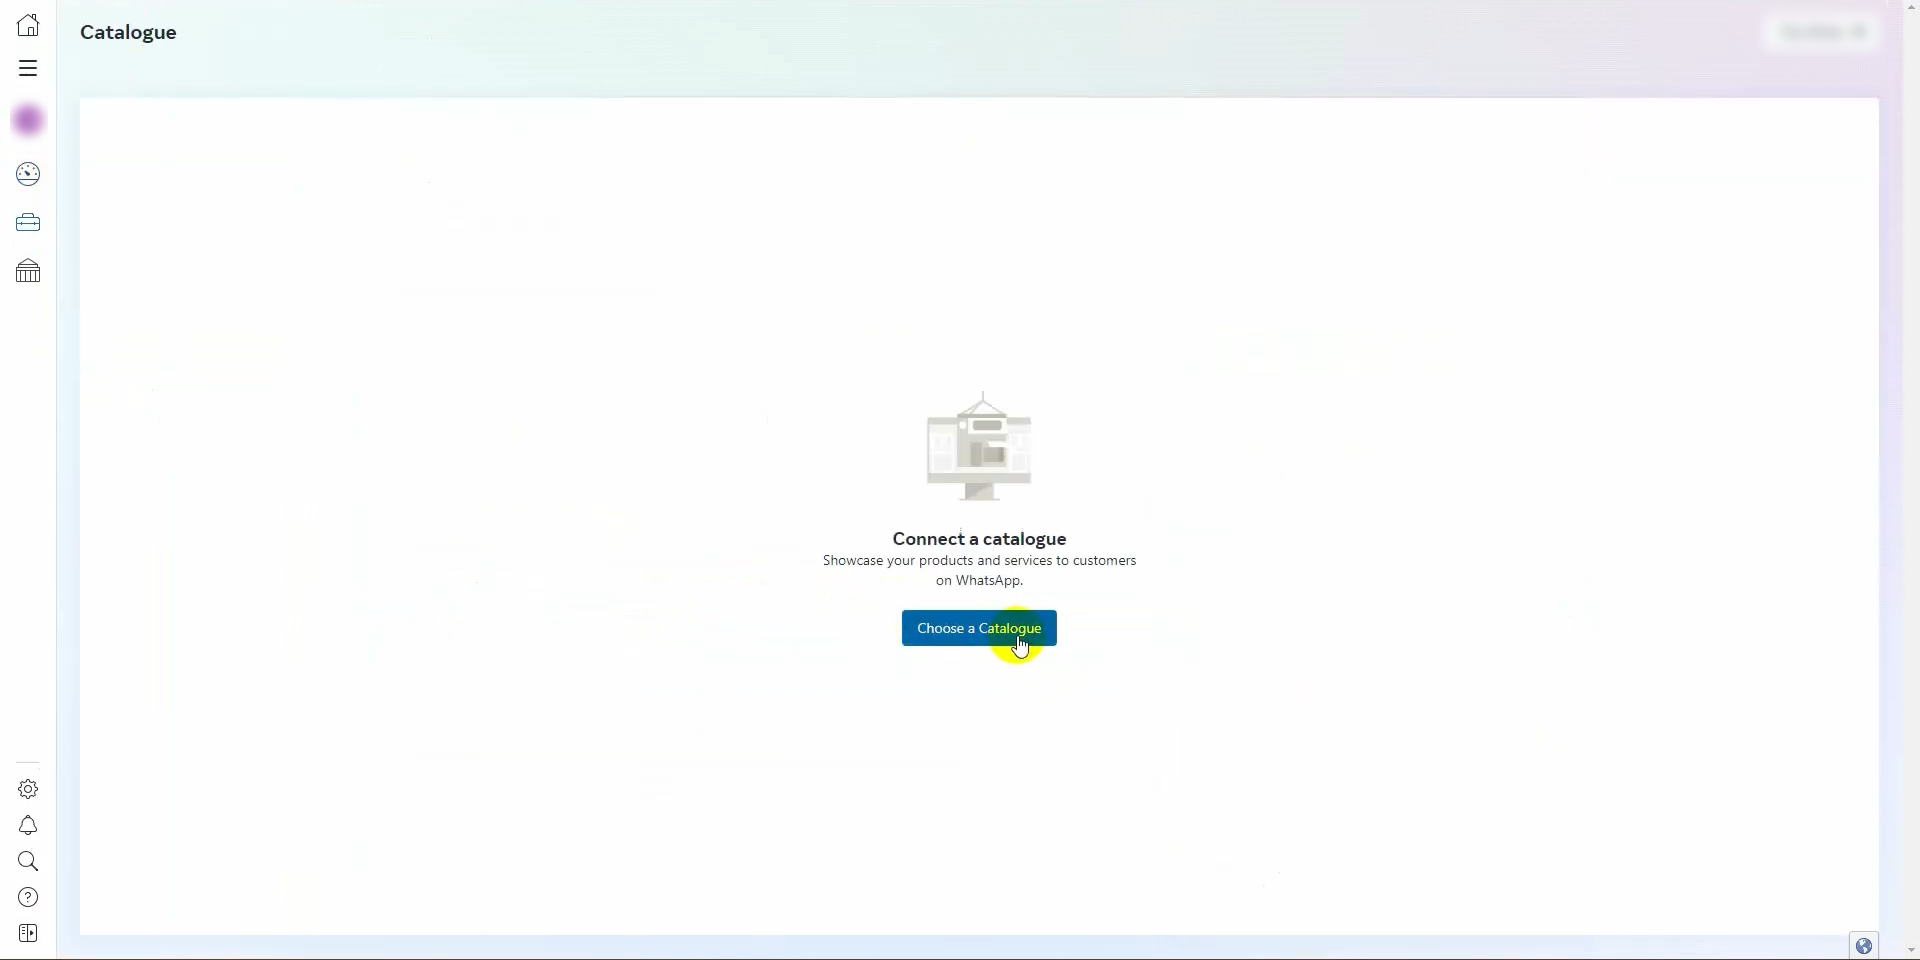
 then click on the choose catalog button.
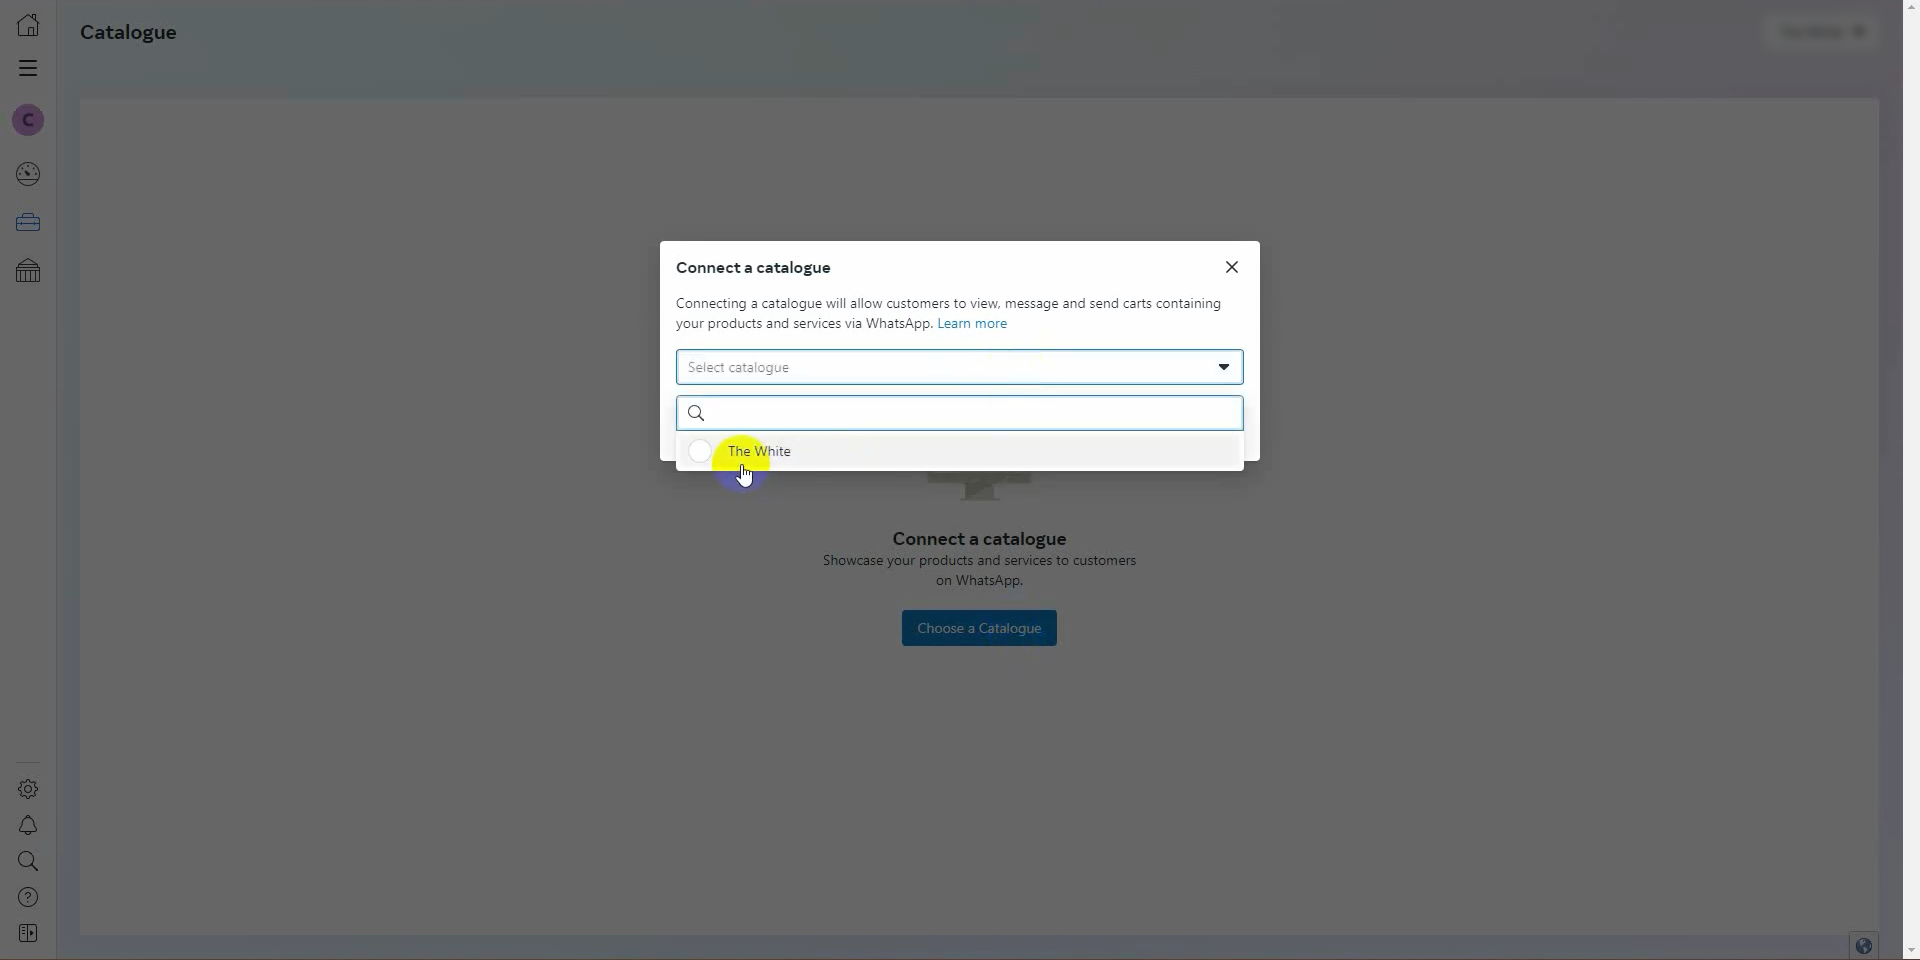
 Select the catalog.
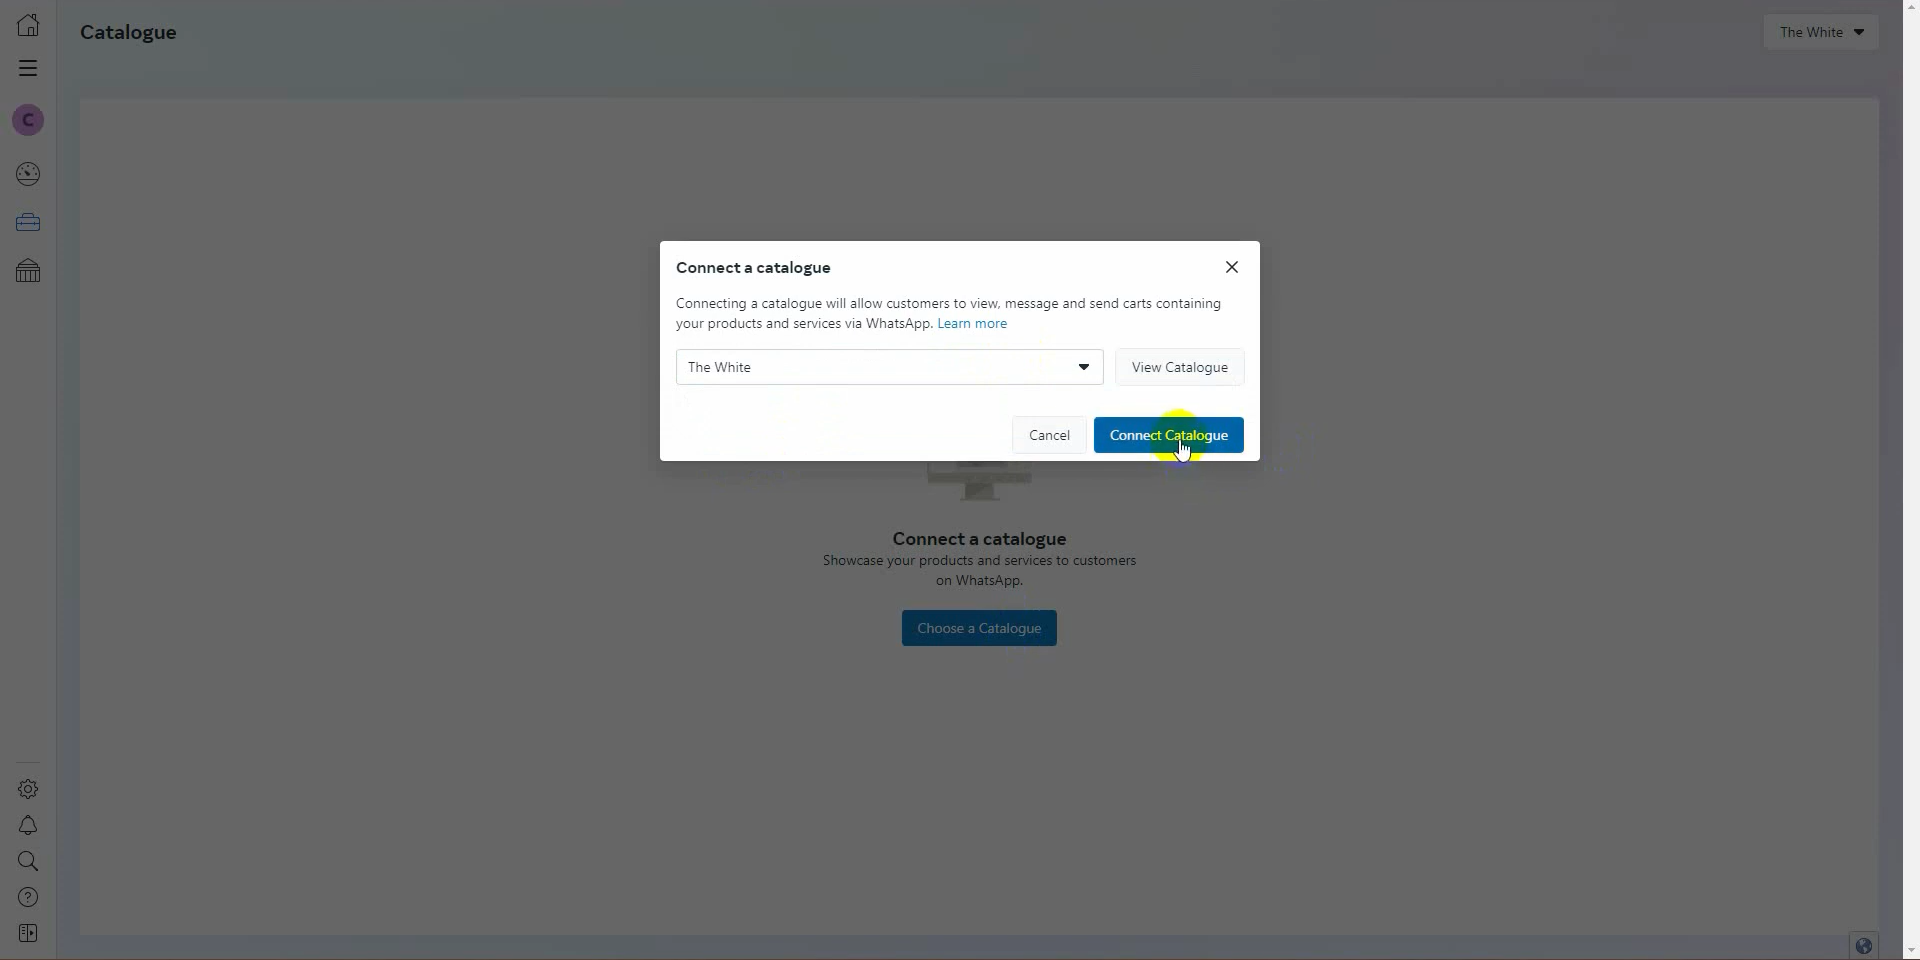
 Click on the Connect Catalog button.
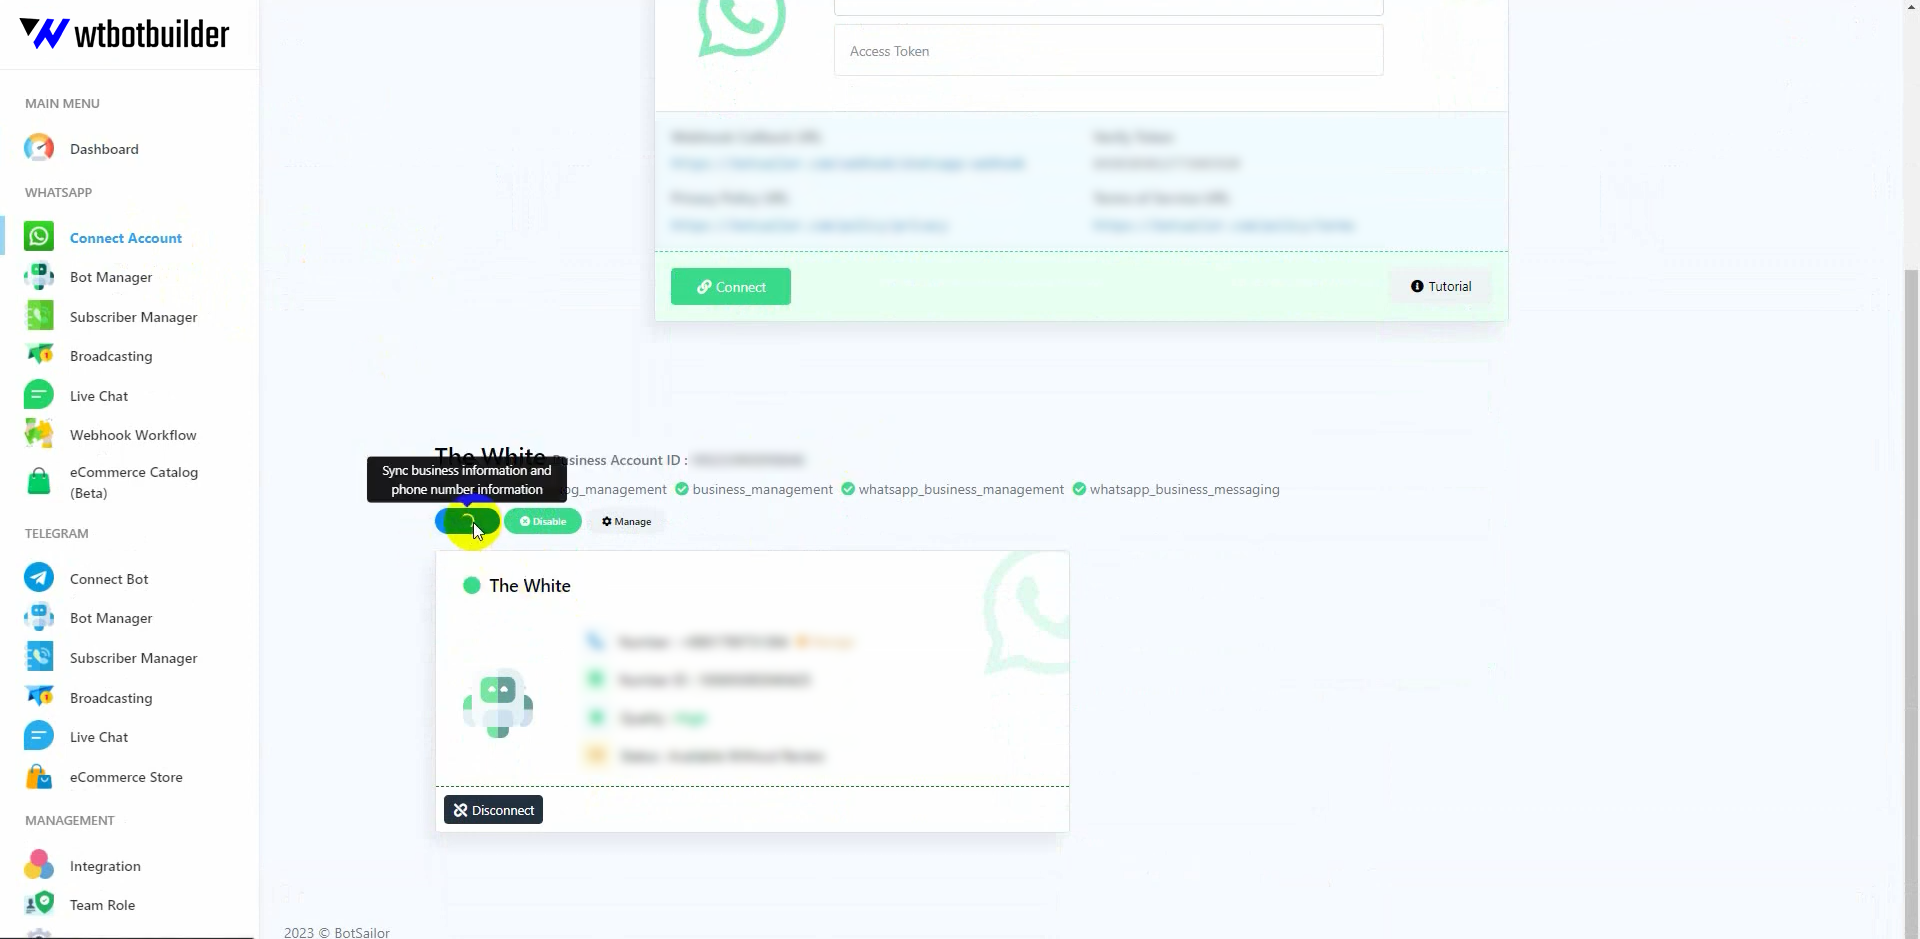
 That’s it. Now let’s see how to use the catalog on WhatsApp by using the WT Botbuilder. First, go to WTBotbuilder, and then go to Connect Account. Then go to the WhatsApp account. Just click on the synchronize button.
 Now let’s go to the e-commerce catalog.
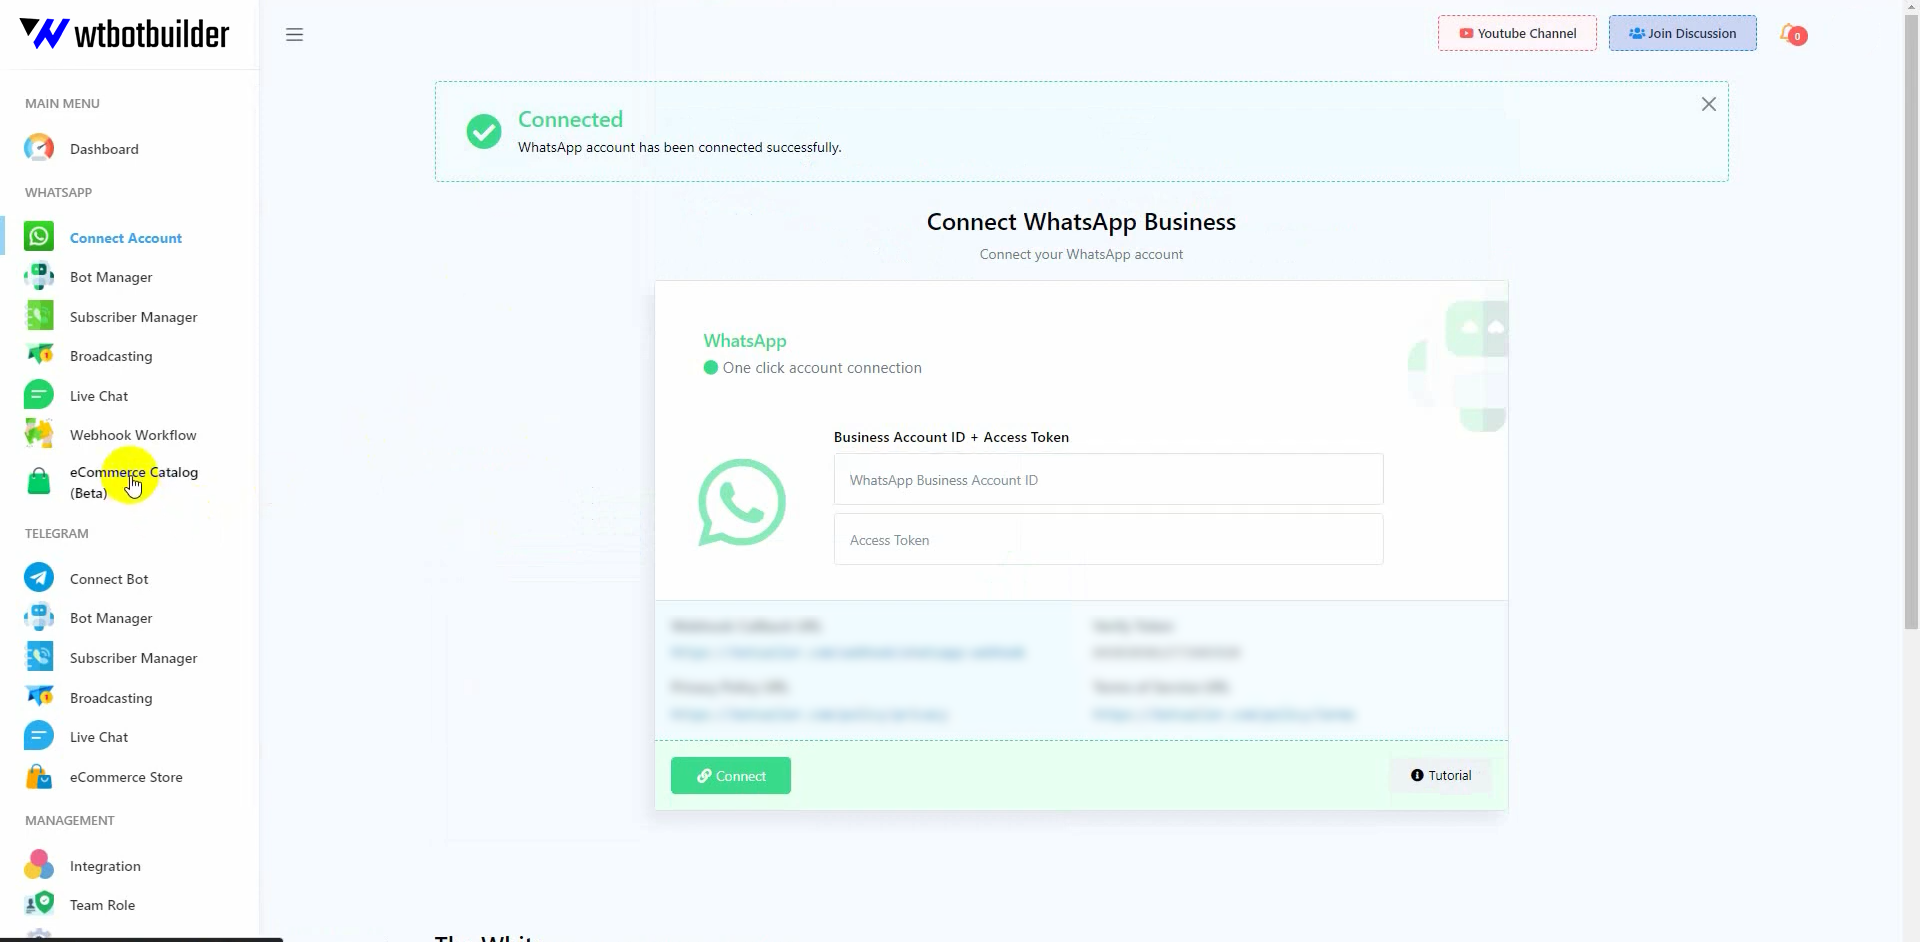 Yes. The catalog has been imported to the WT Botbuilder.
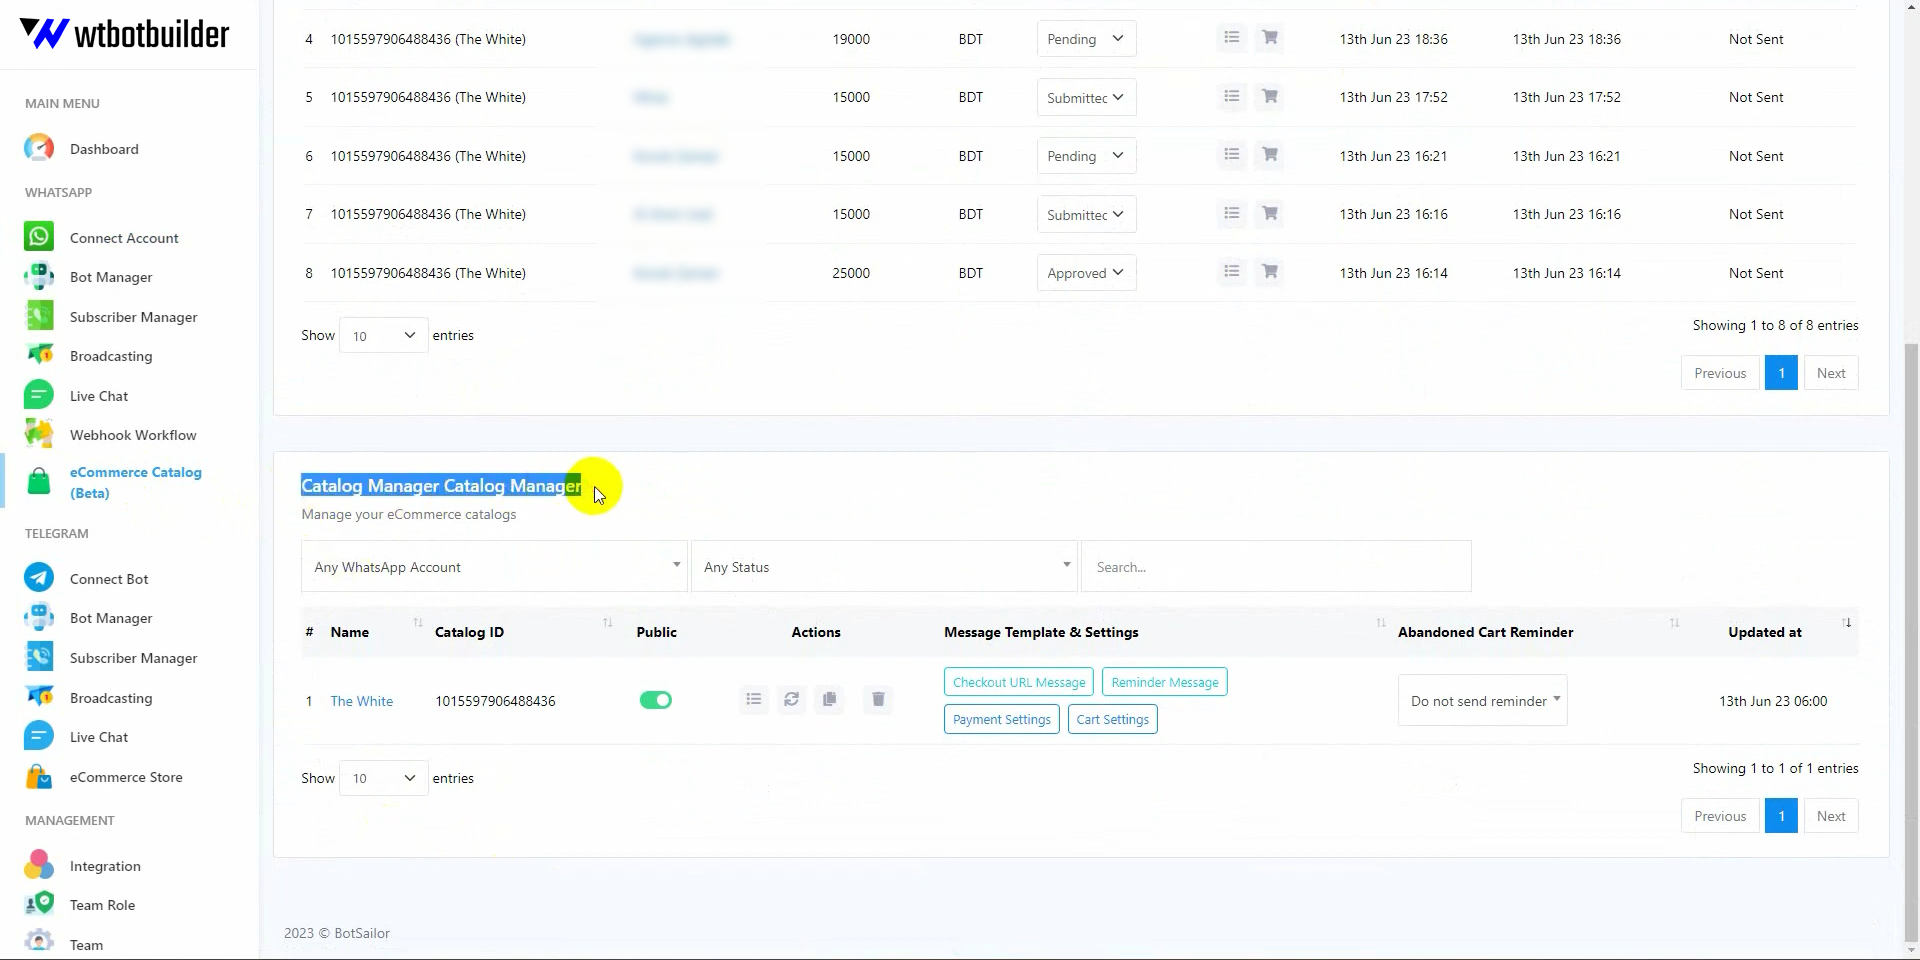 Here is the name of the catalog and ID. There is an option to enable and disable the public status.
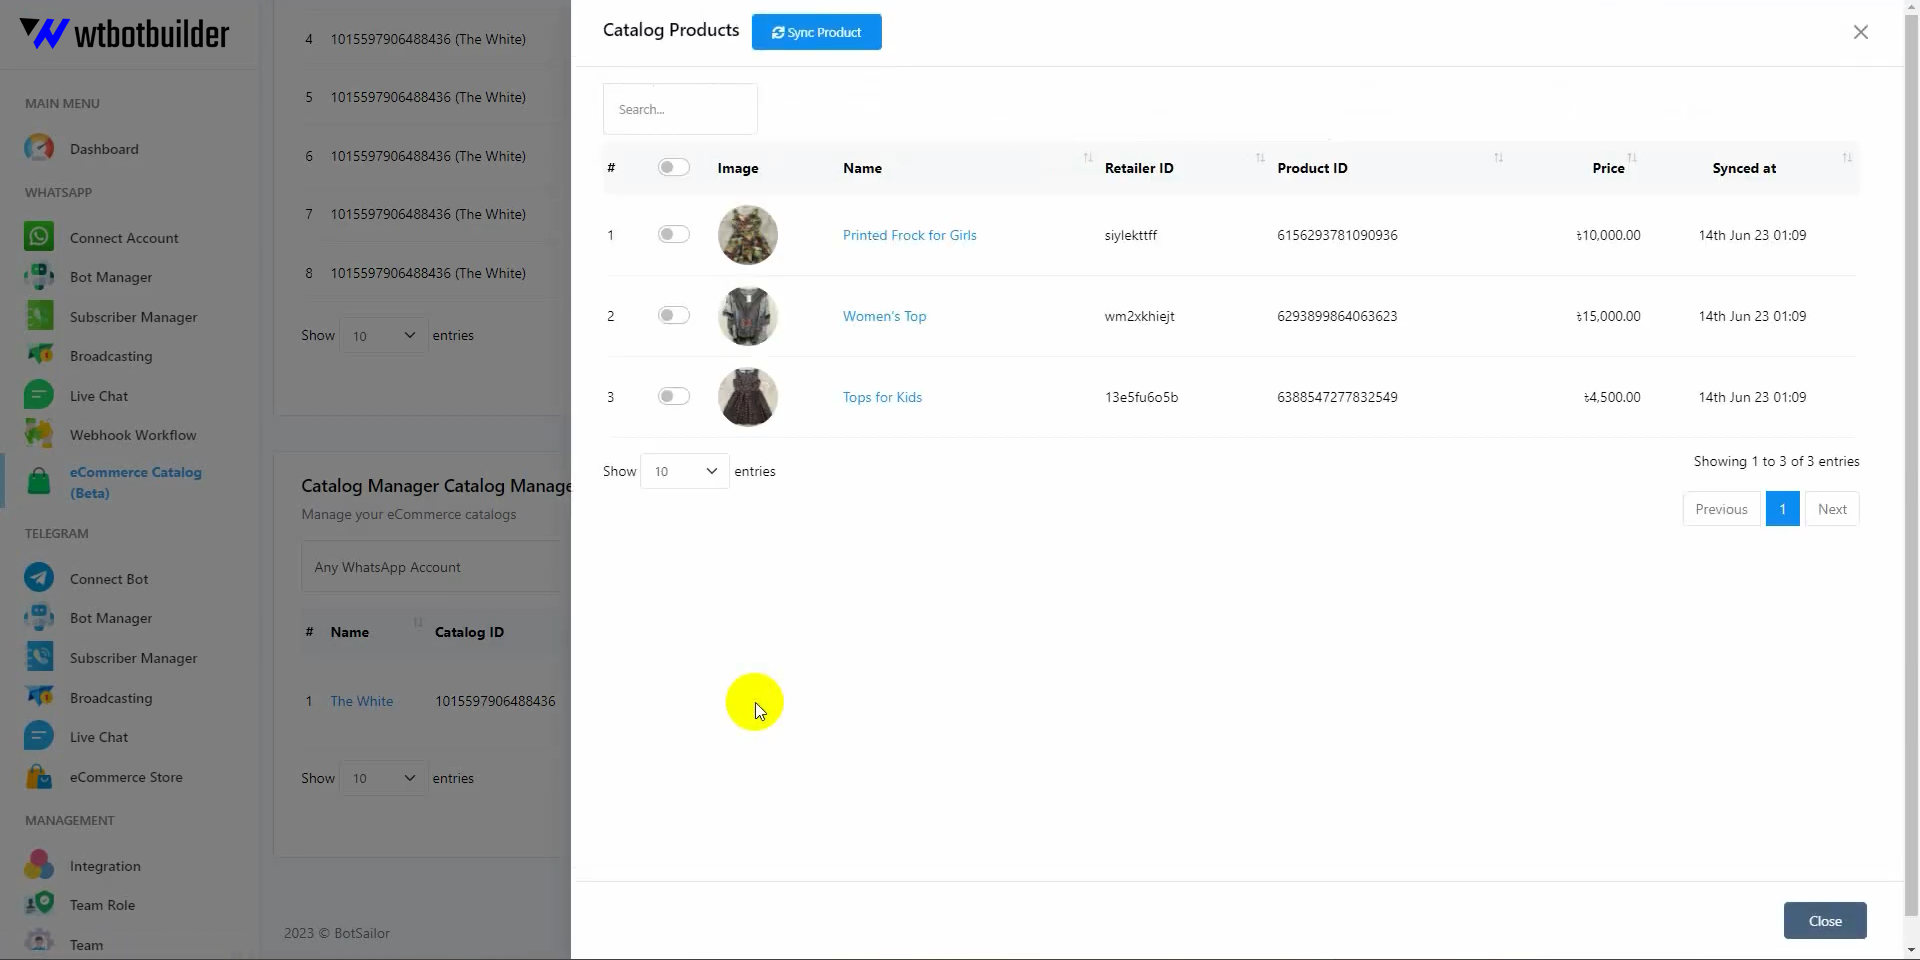 In the actions, there is an option to view the catalog products. You can synchronise any products that have been added later or have been updated.
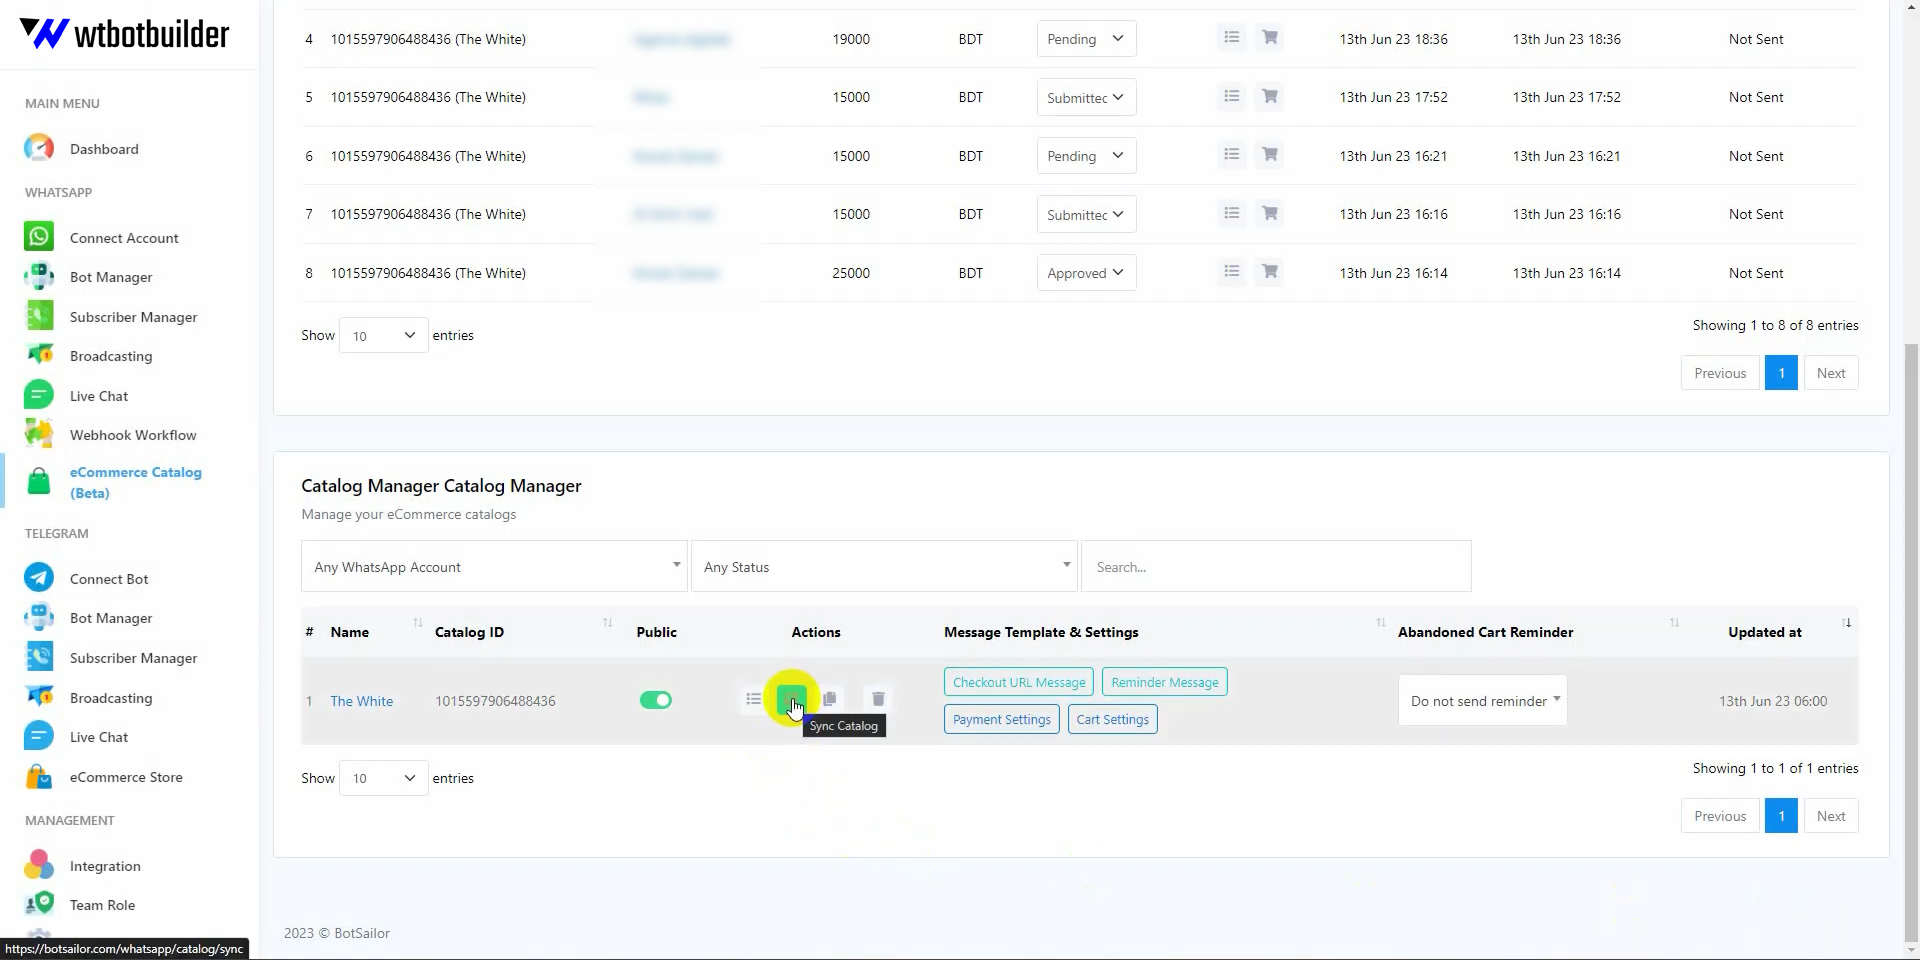 Select products and click on the synchronize button. You can also synchronize the full catalog by clicking this option. You can copy the catalog URL to share with your users. You can also remove the catalog by clicking on the delete button.
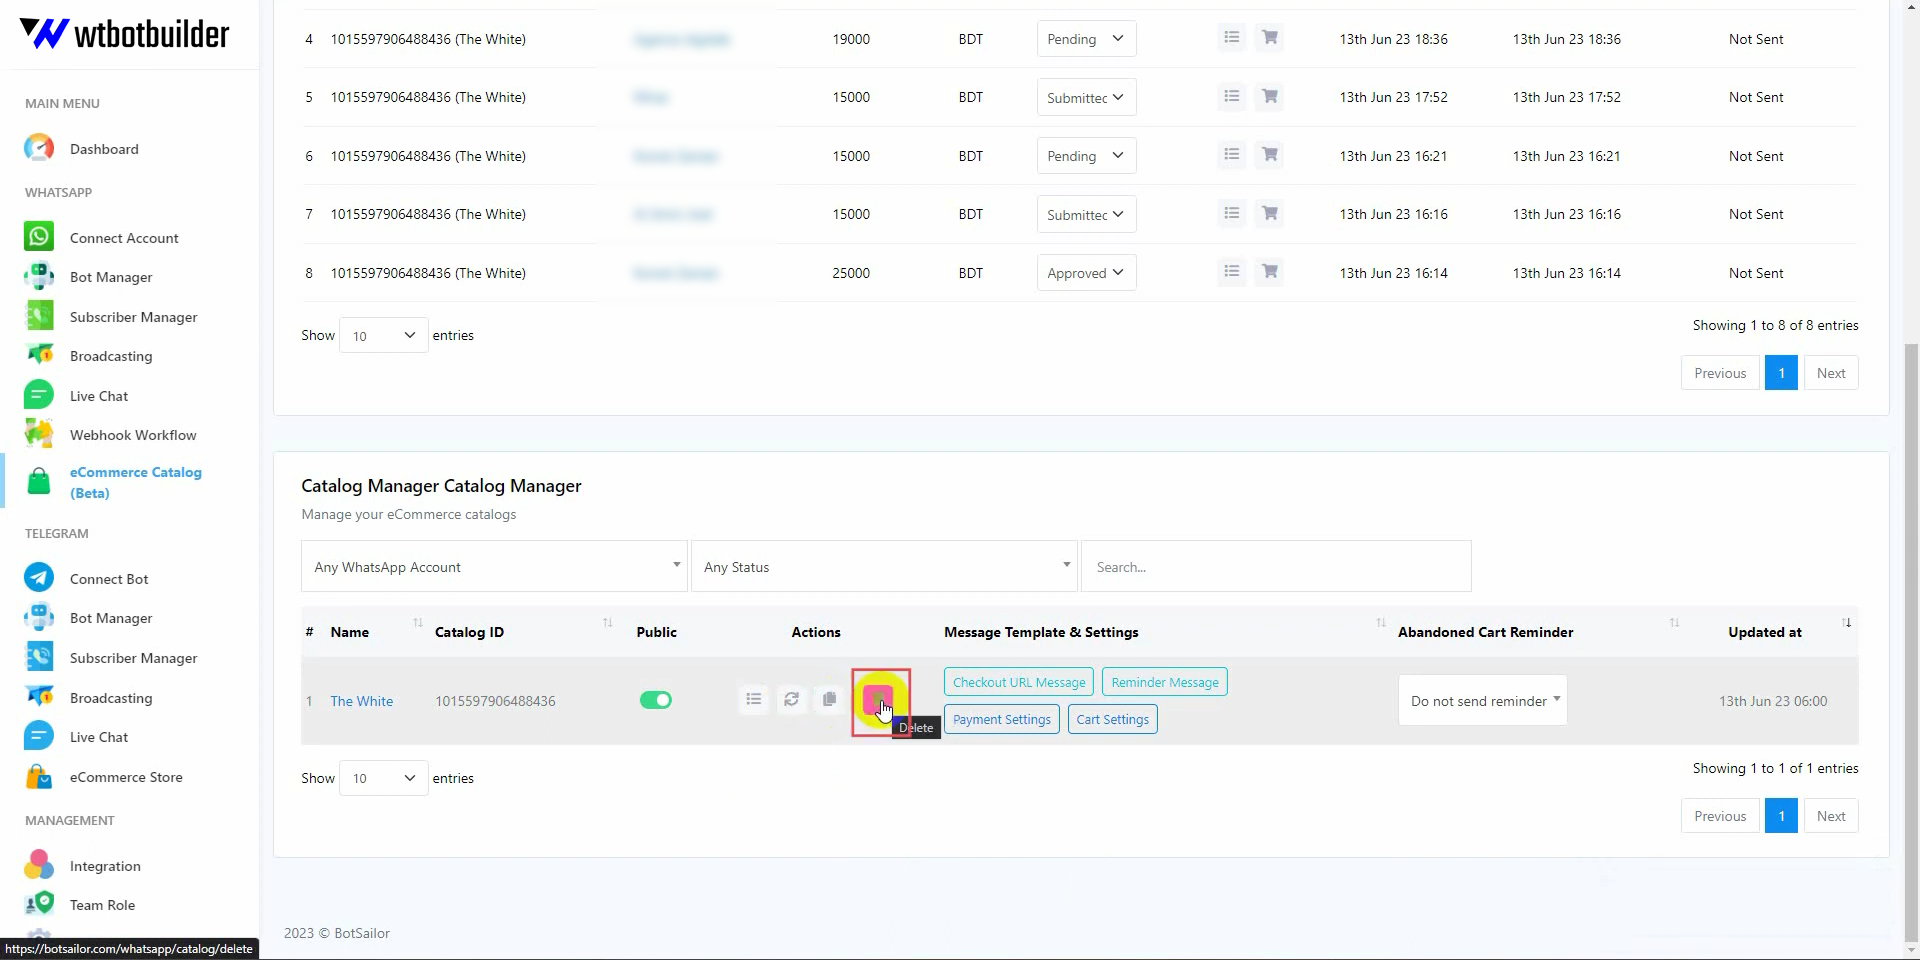 Then there is message, template and settings. From here you can edit the message for the checkout URL and reminder.
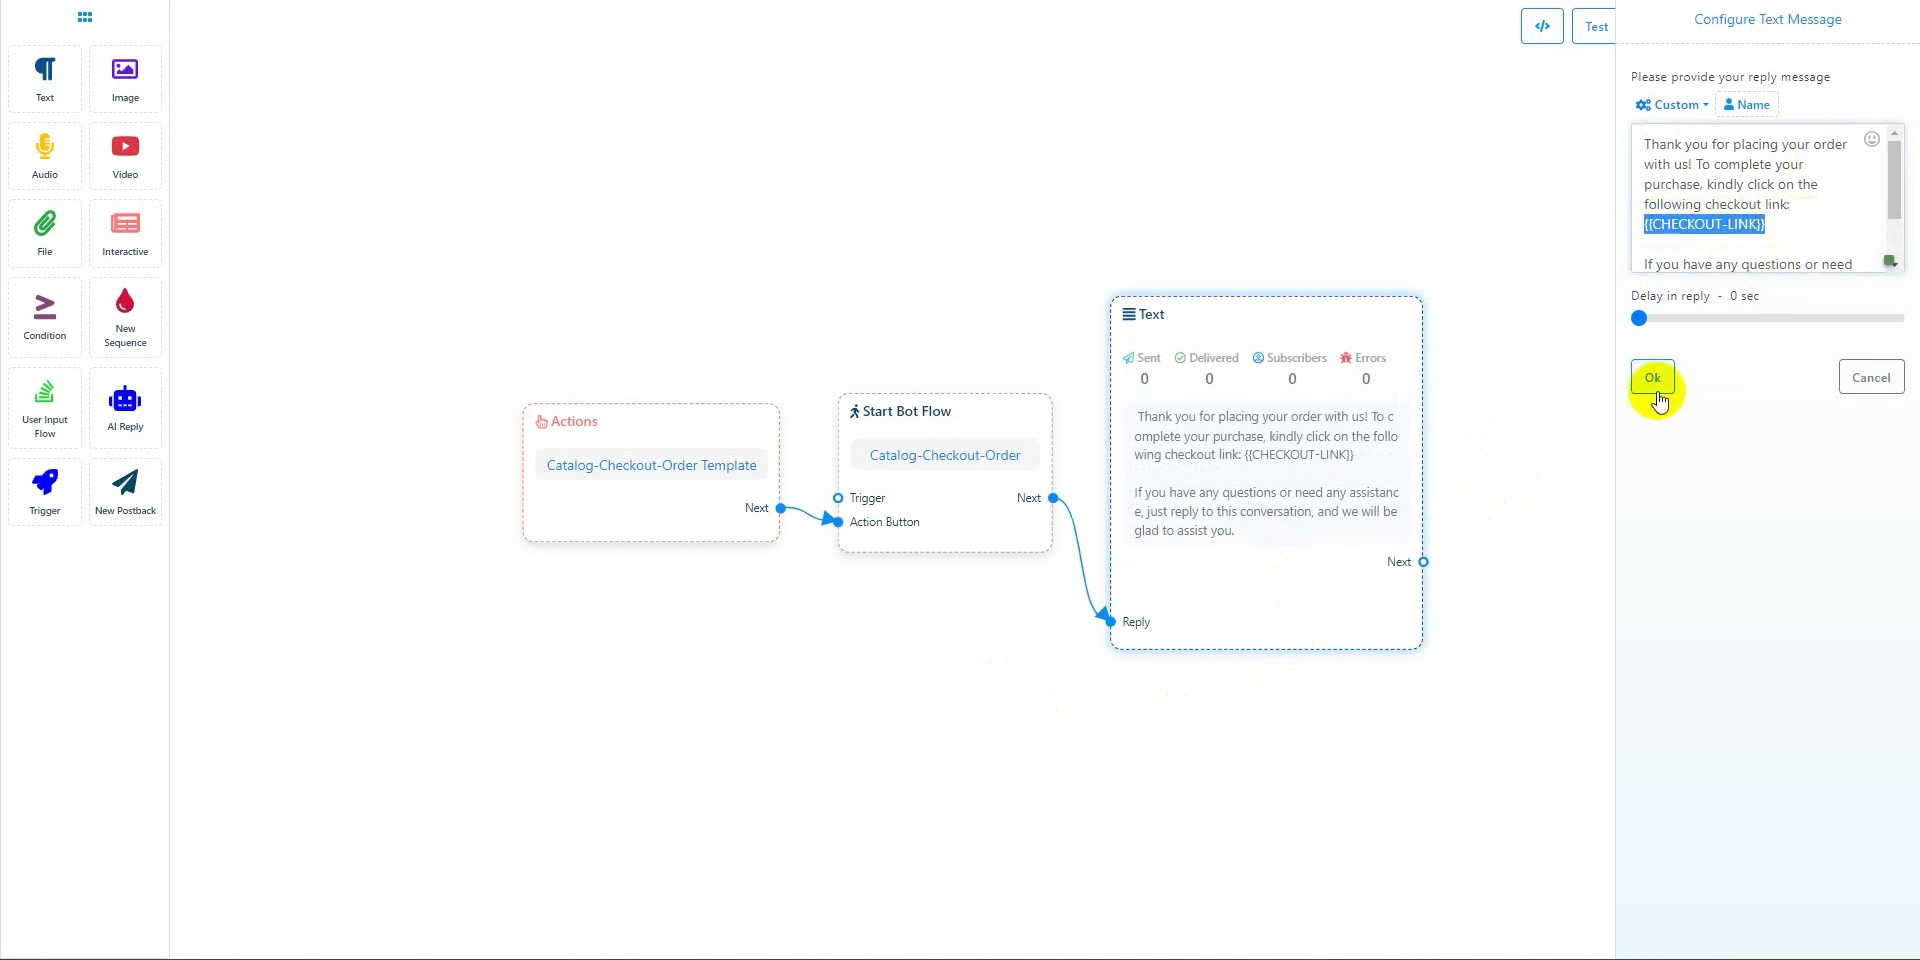
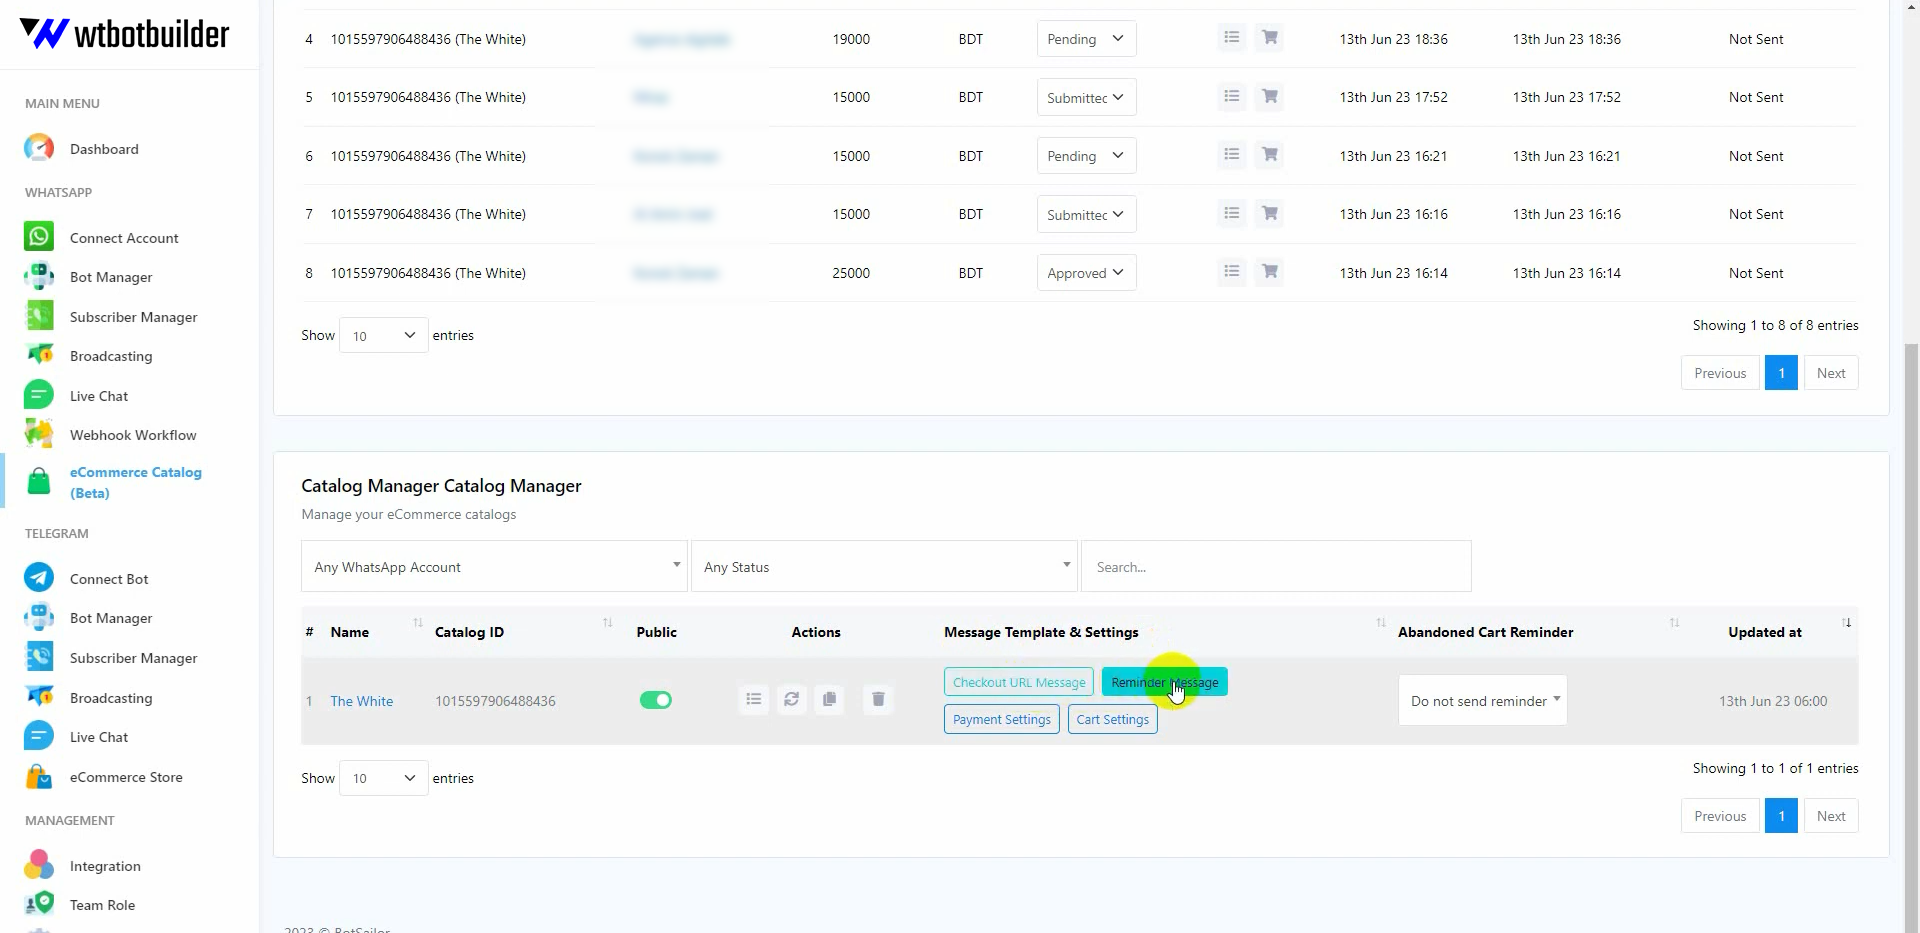 Let’s click to edit a message. You can rewrite the message, but don’t change the checkout URL.
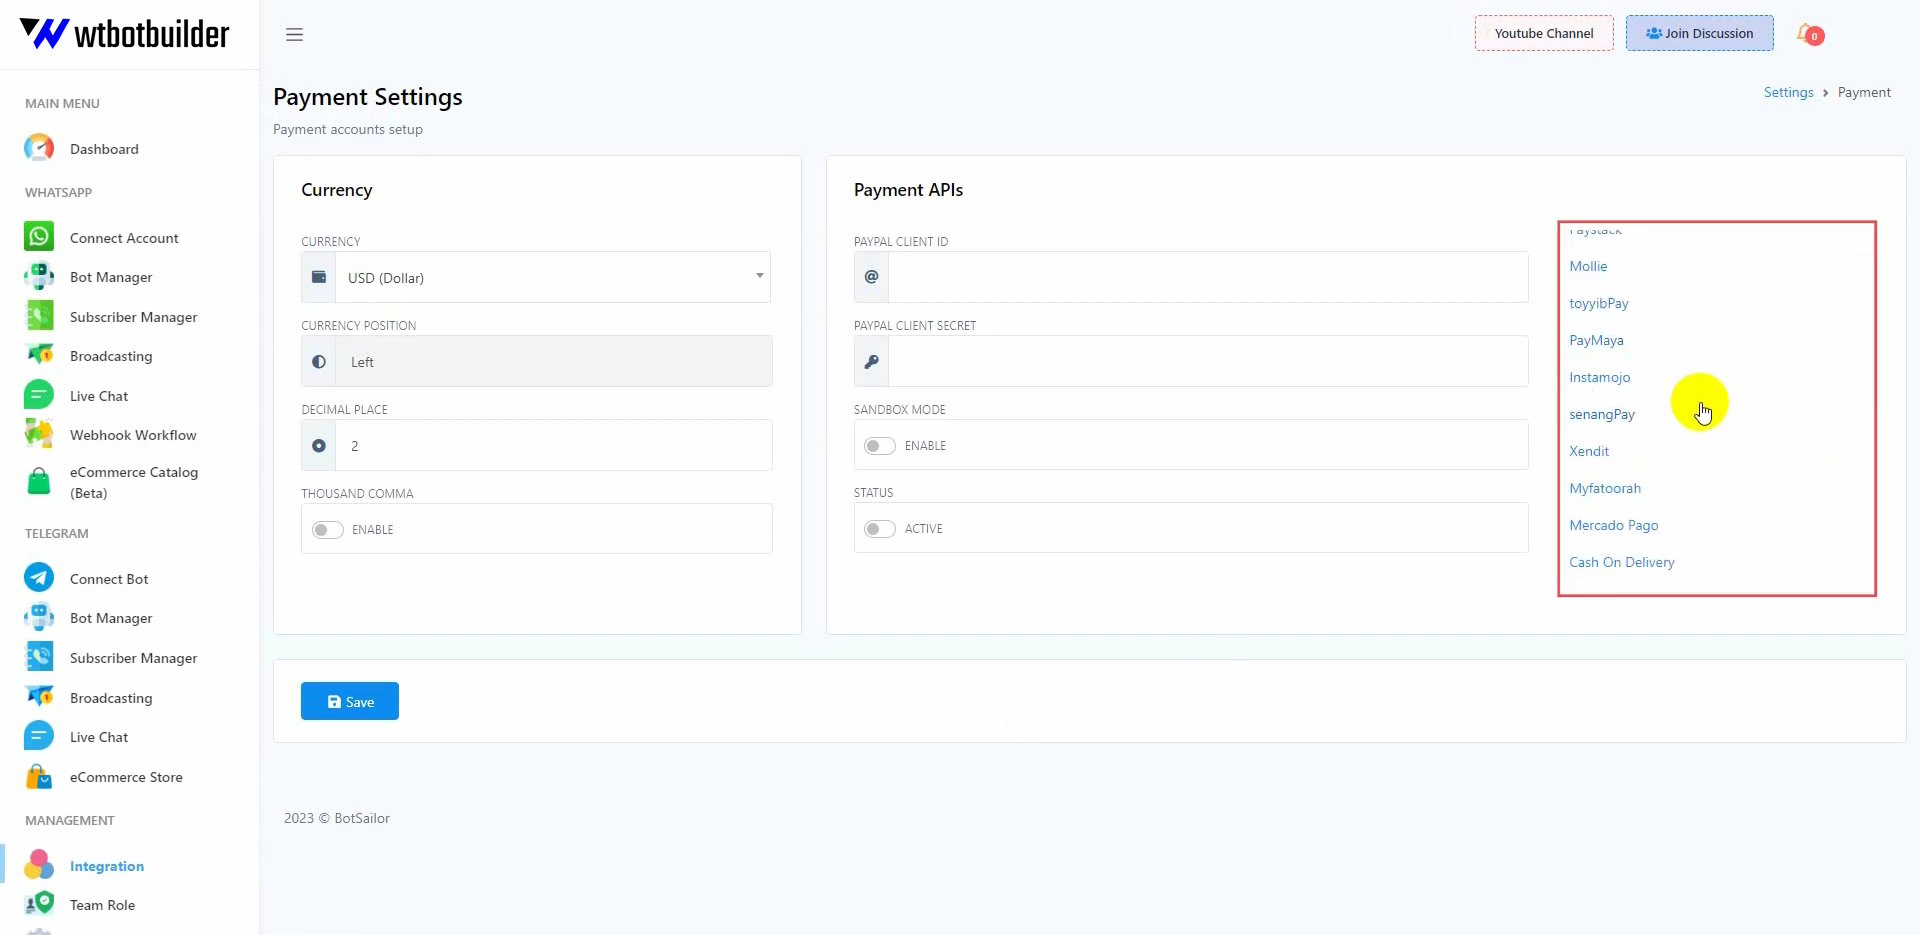
 You have to add the payment method to the payment settings.
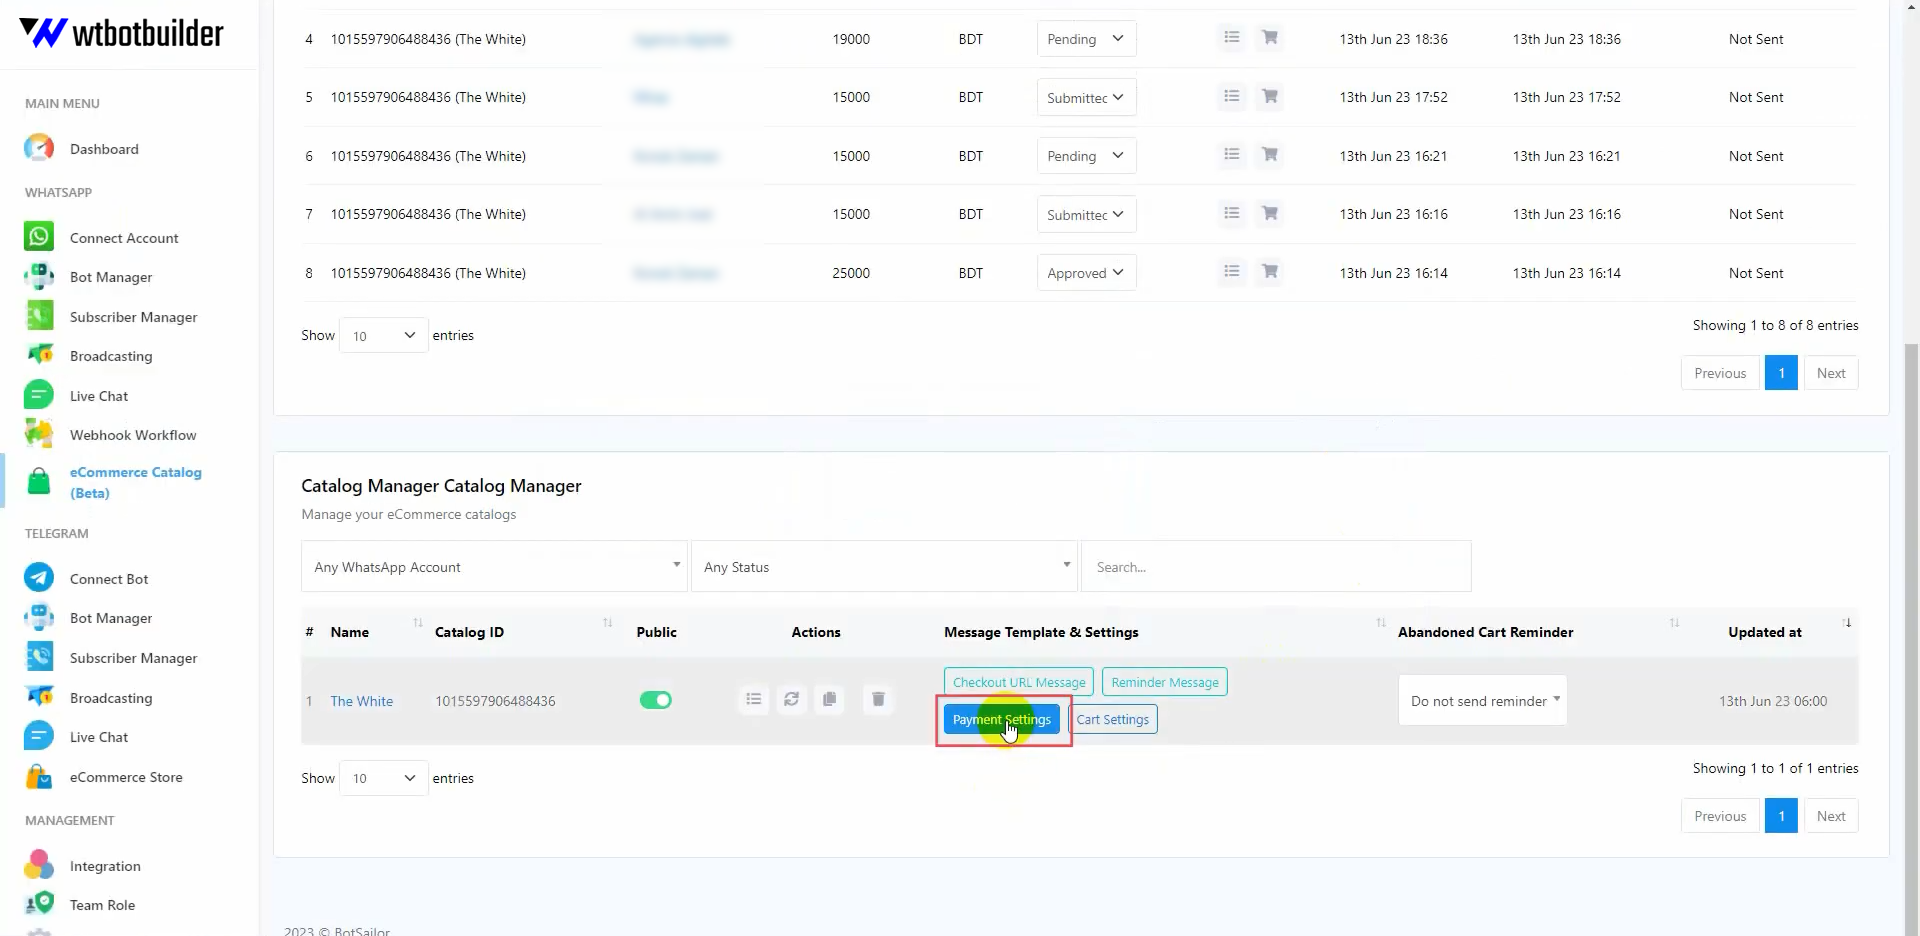 There are several payment methods that you can use for your catalog.
 Then there is cart setting. You can add text percentage if there is any.
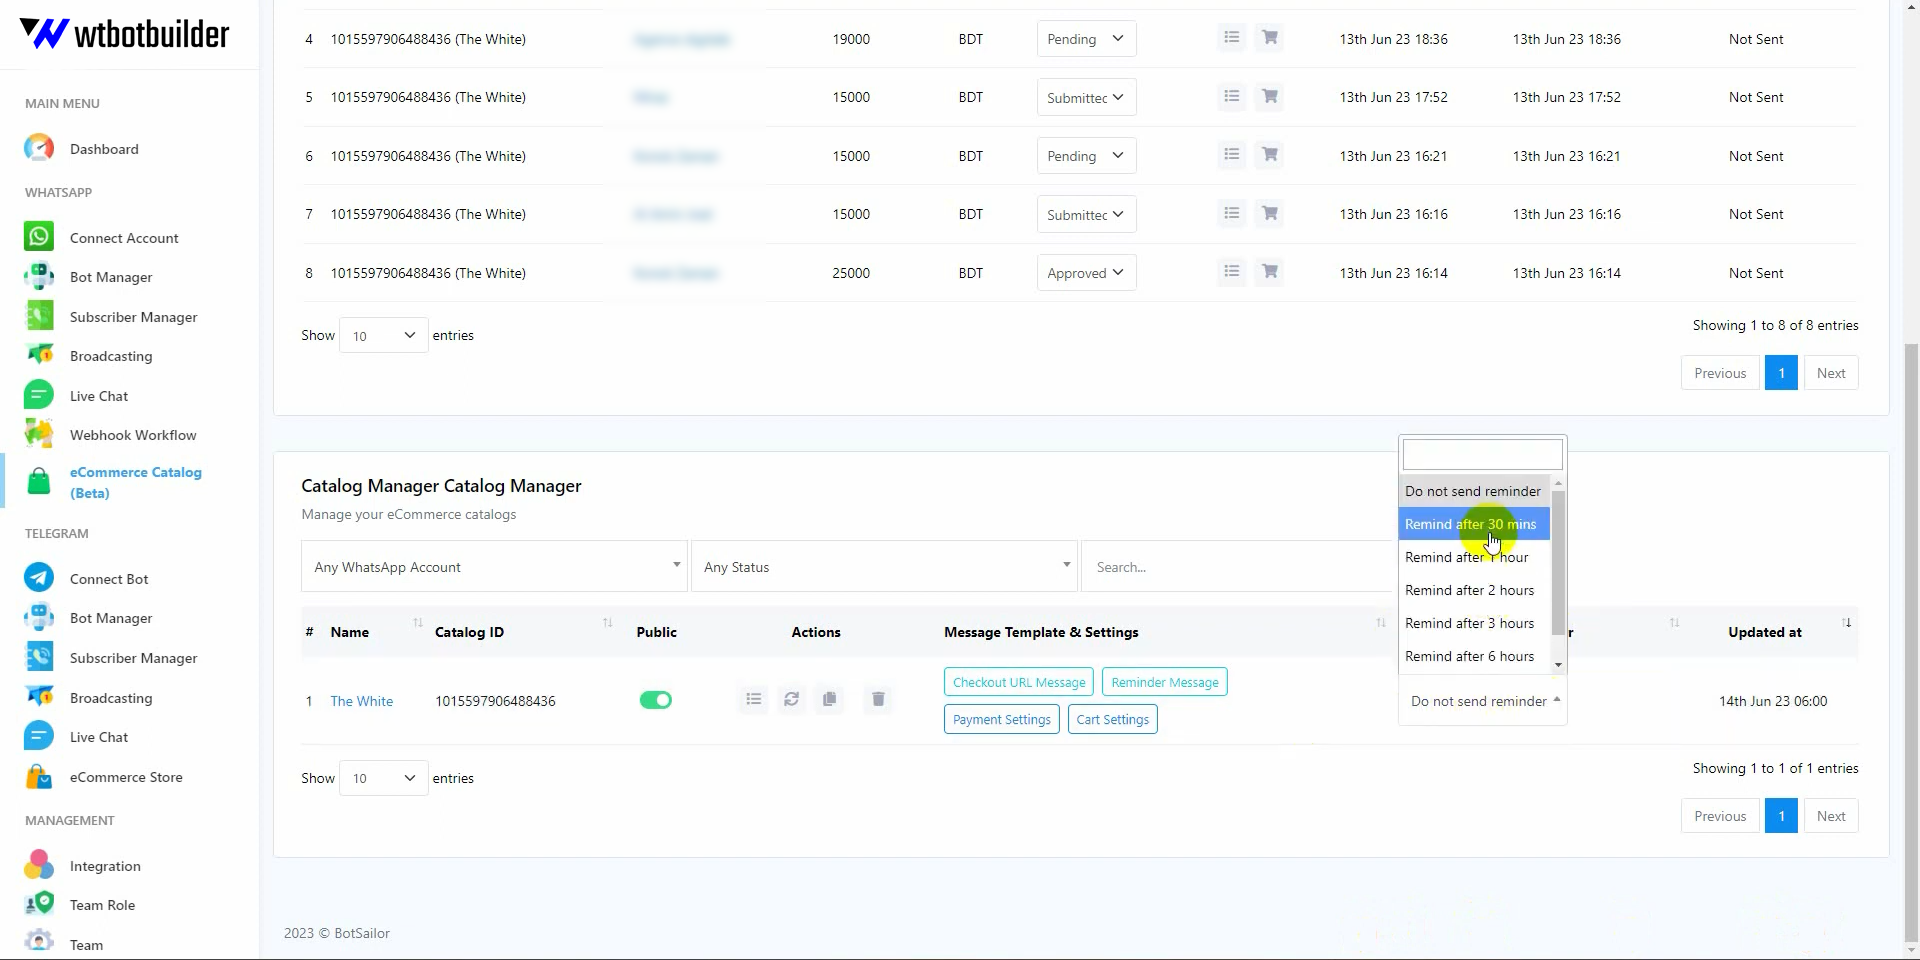
Also include the shipping charge, if applicable. 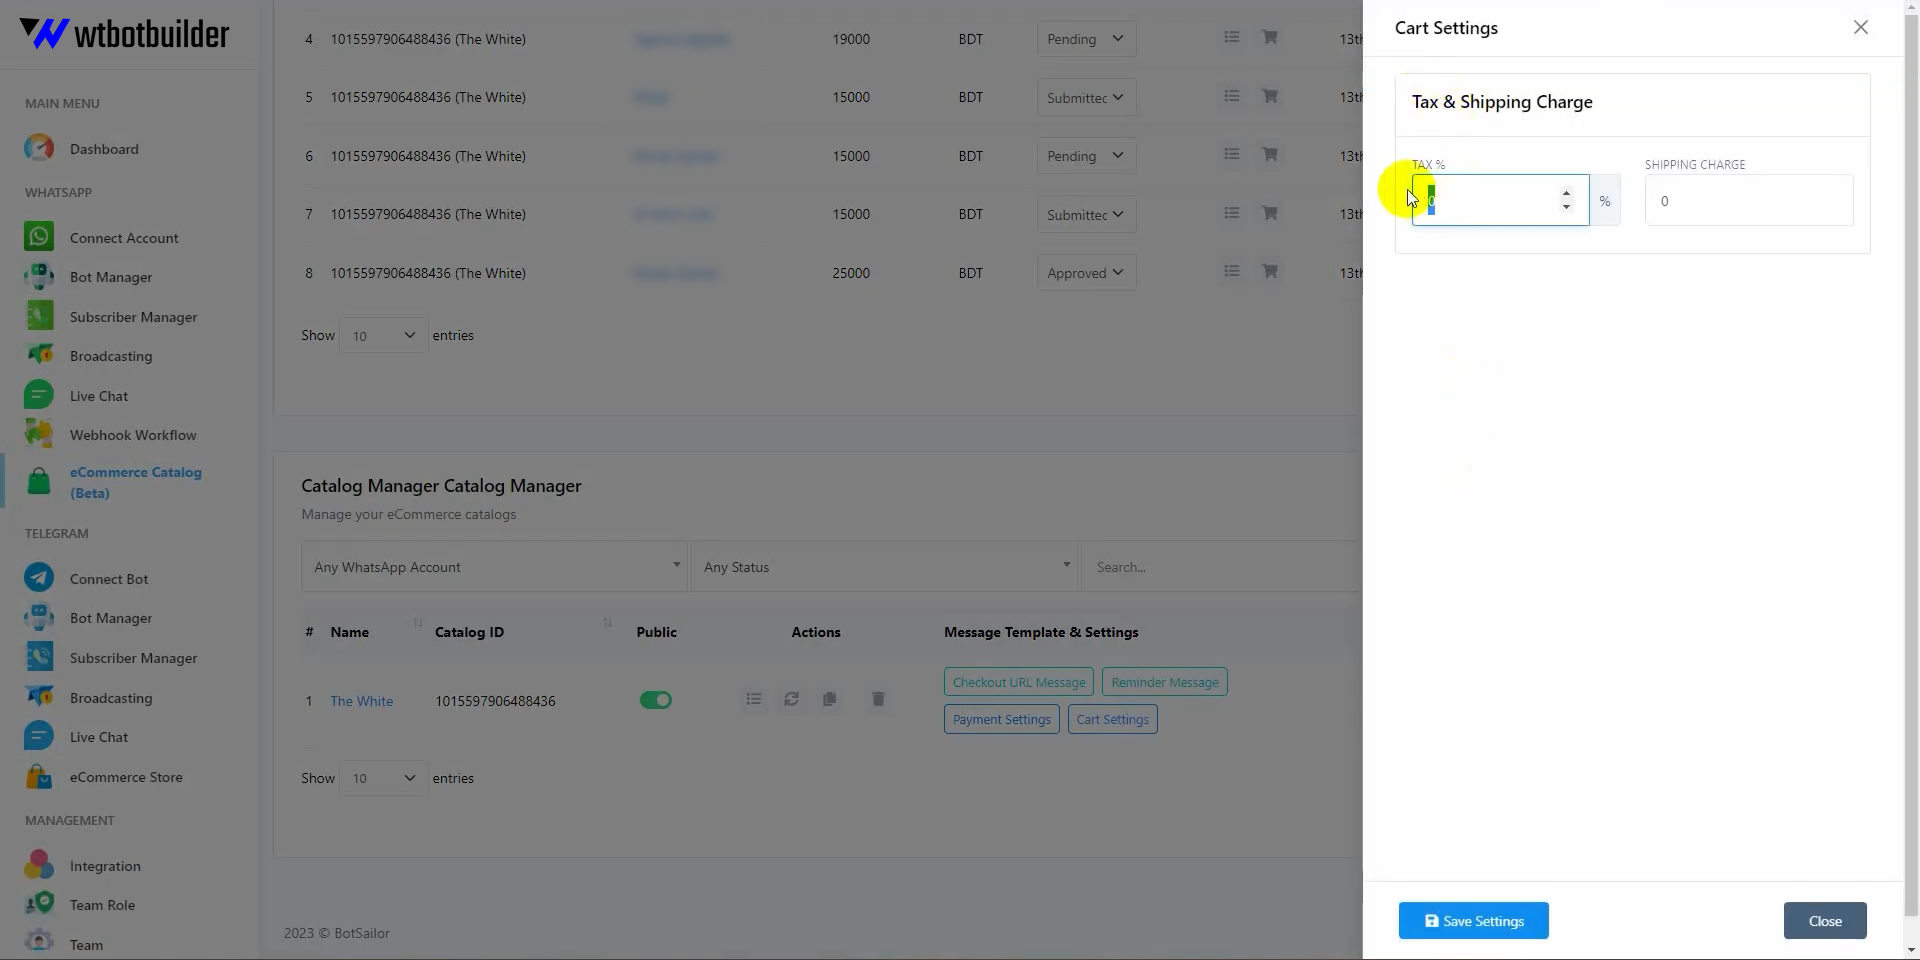 Then there is an option to send an abandoned cart reminder message. You can set the time from the dropdown list.
 Your catalog orders will be visible here. You can change the status of an order from the dropdown list.
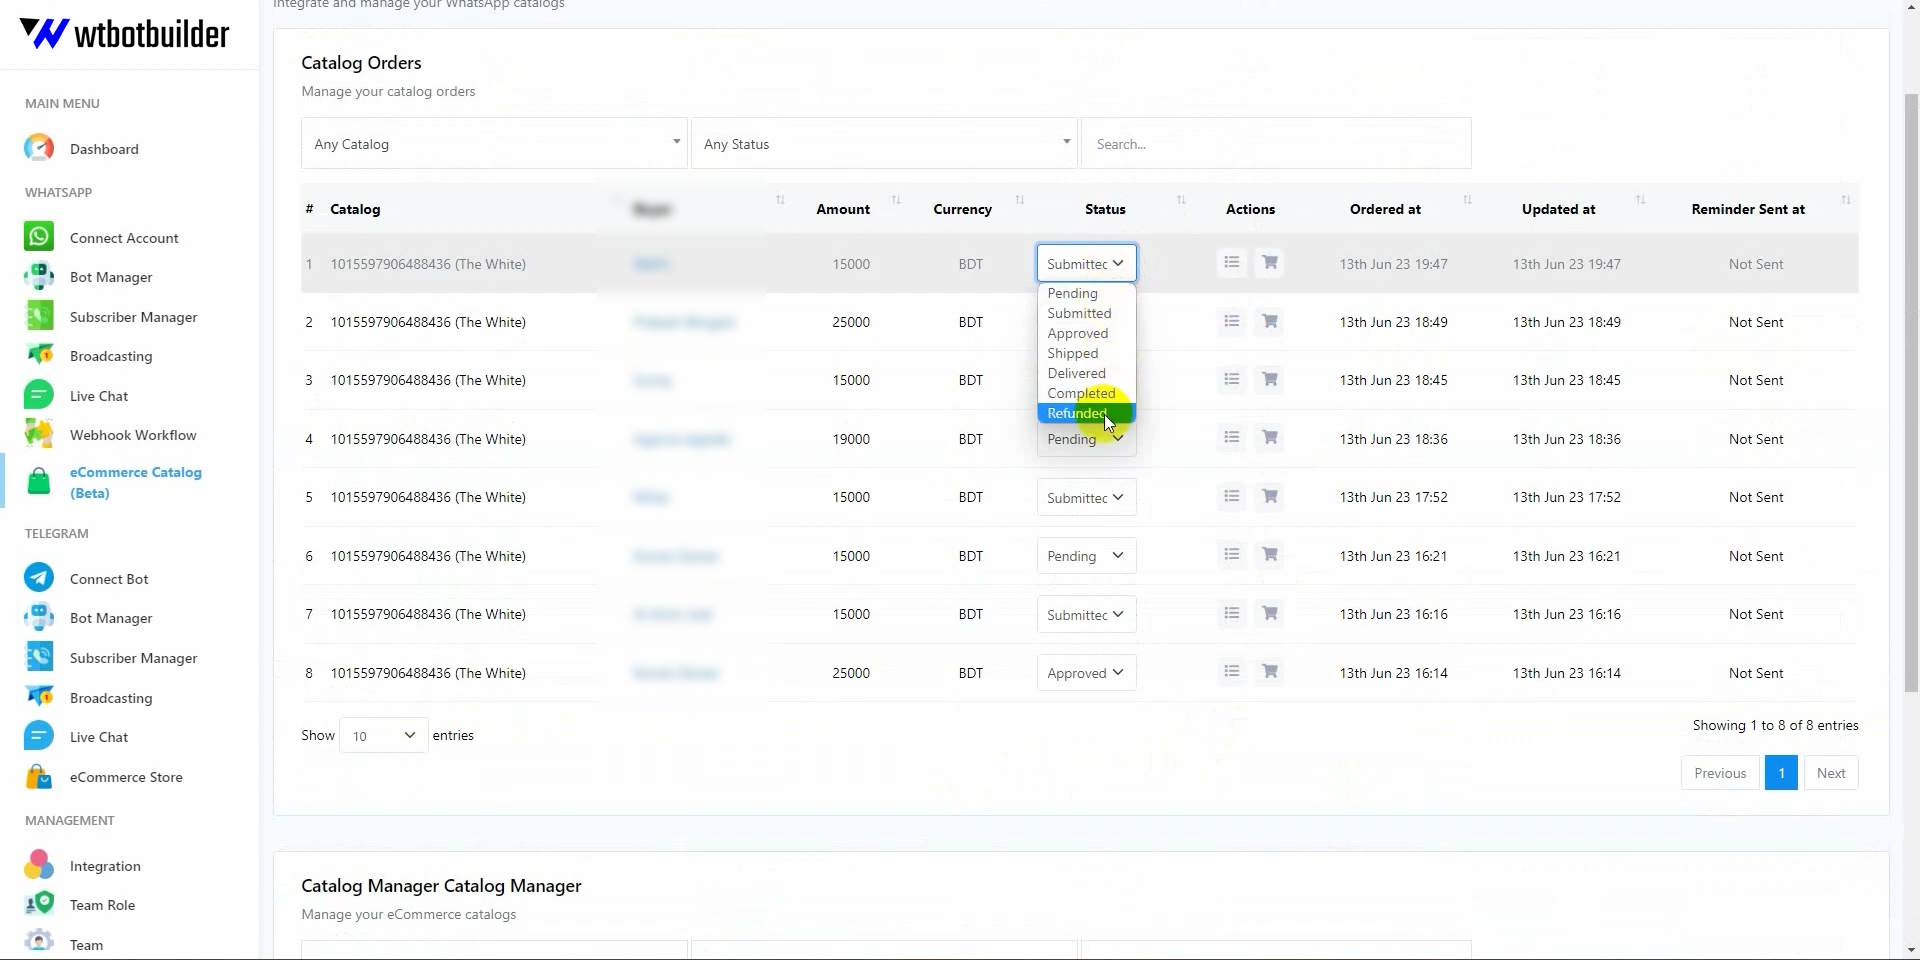 By clicking on the cart button, you can see the order details, including products and delivery addresses.
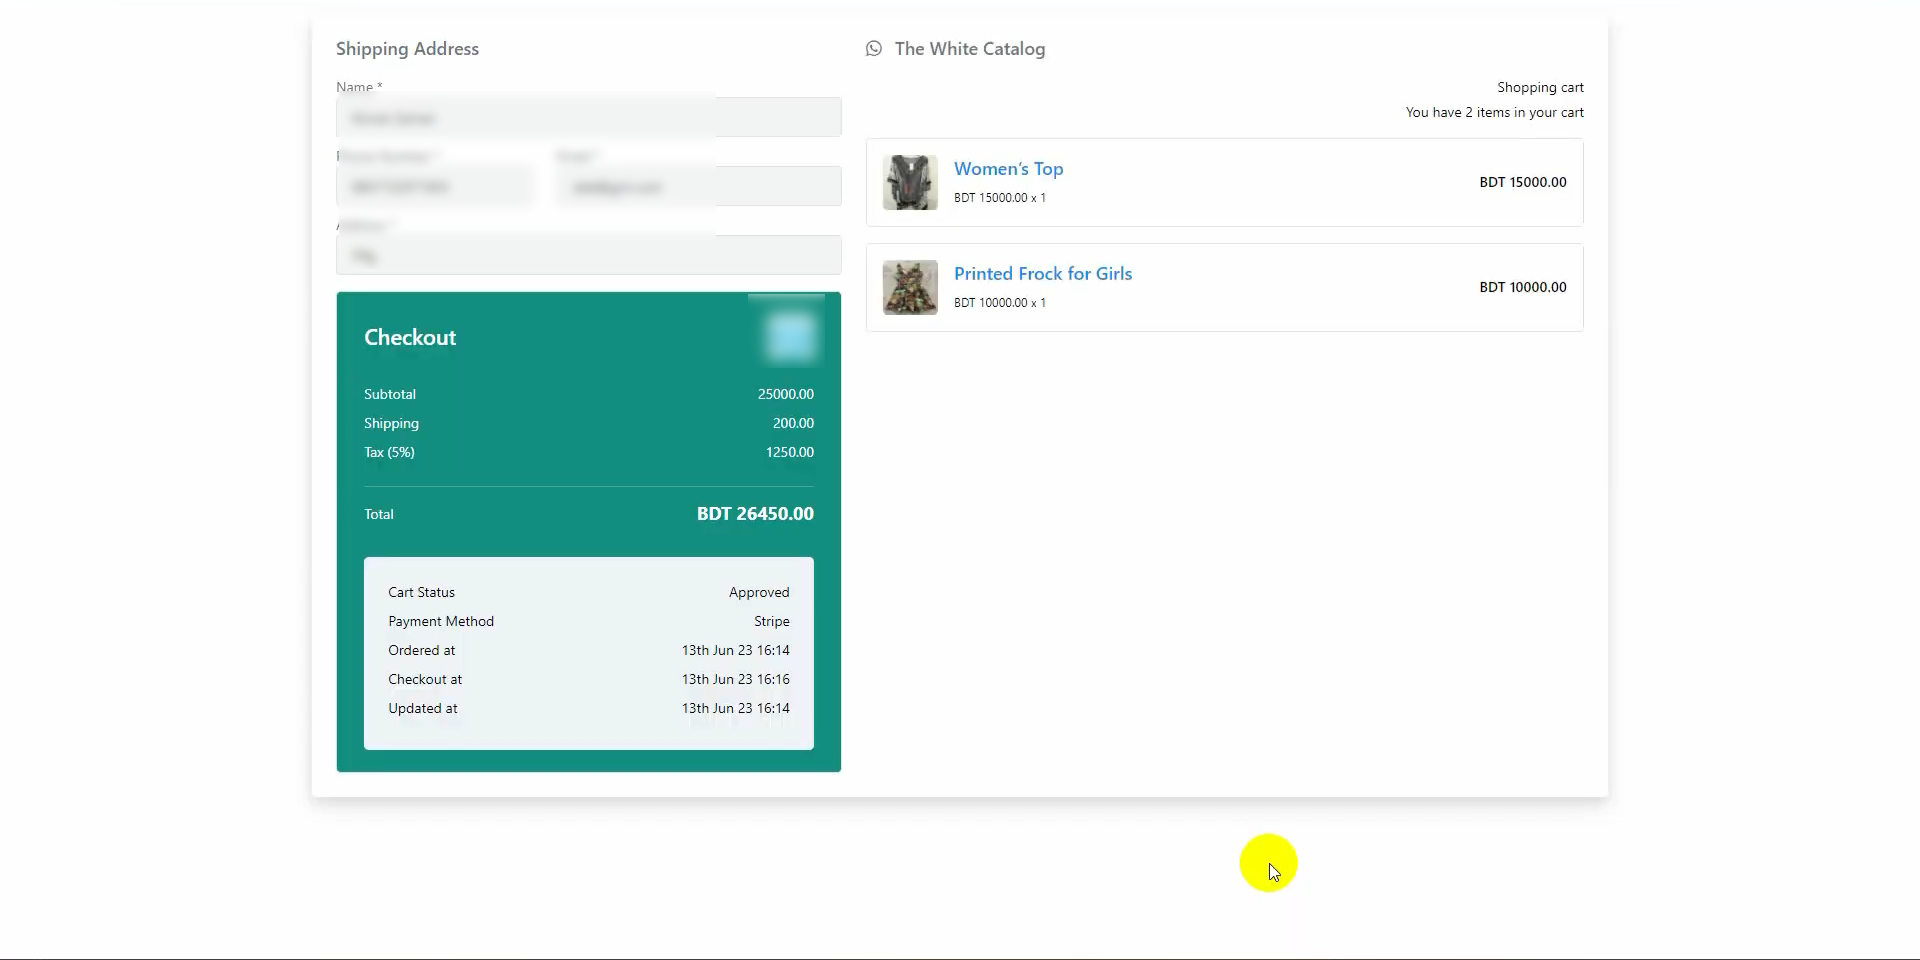 If any user clicks on the catalog link you share, the catalog will open on their WhatsApp. They can add products to the cart and then proceed to checkout. They will receive a checkout link on their WhatsApp. They will be able to complete the purchase on the checkout page. So this is how you can create a catalog on the commerce manager and add the catalog to your WhatsApp account. That’s all for today