
You can send Woocommerce Order Notifications to customers via WhatsApp by WTBotbuilder in a very easy and straightforward way.
Purchase order information send to customers is very essential part to confirm customers about their purchase. In past Email & SMS was widely used. But it’s old now. Email is boring & people open it rarely. SMS is also not suitable for rich content & communication. Here WhatsApp comes as a game changer. WhatsApp is the most appropriate communication channel for this purpose.
In this article, I will show you how to send order notifications to your woo commerce customer’s WhatsApp from WTBotbuilder.
To make WhatsApp able to send messages to WooCommerce customers, you have to complete these steps.
We have created a video blog on how to send WooCommerce Order Notifications via WhatsApp message by WTBotbuilder.
To do that, first, you need to create a message template in WTBotbuilder. And the message template will be sent to the WooCommerce customers. After that, you have to create a new Webhook workflow and add the Webhook to the WooCommerce store. After that, you have to map data.
After you have completed these processes, WTBotbuilder can send WhatsApp messages to Woocommerce customers just as they complete an order.
First, you have to create a message template in the WTBotbuilder. And the message template will be sent as WooCommerce Order Notifications.
To create a message template, go to the Dashboard of WTBotbuilder. Click on the Bot manager menu in the left sidebar of the Dashboard. Instantly, WhatsApp Bot manager page will appear.
Before creating the message template, you have to create three variables.
At the bottom of the page, you will see the Template variable section.

To create a variable, click on the create button. Instantly, a pop-up form will appear with a field called variable name. Provide a name for the variable in the field and click on the save button.
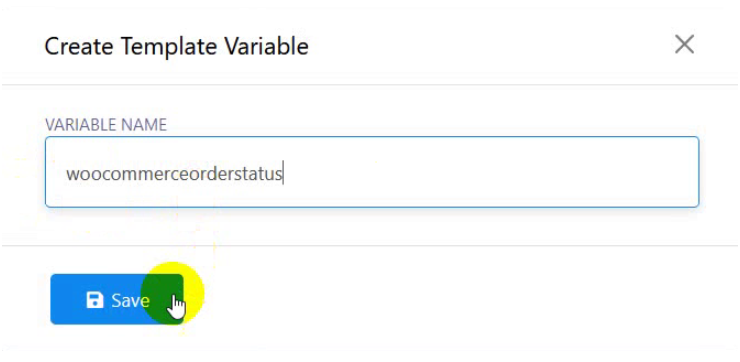
In this way, create three variables – Product list, Total price, and Estimated delivery date.
Now, you can create a message template that will be sent as WooCommerce Order notifications.
To create a message template, click on the create button in the Message template settings section. Instantly, a modal form called a Message template will appear. You have to fill out the modal form.
Provide a name in the template name field. Then write a message in the message body.
Then click on the save button.
Now you have to check the status of the message template. Click on the Check status button to see the status of the message template.
If the status is approved, you can use the message template.
Now you have to create a Webhook Workflow. To create a Webhook Workflow, click on the Webhook Workflow menu in the left sidebar of the dashboard.
Instantly, the WhatsApp Webhook Workflow page will appear with create button. Now click on the create button to create a Webhook workflow. Instantly, a section called new workflow will appear at the bottom of the page.
Provide a name in the Workflow name field. Then select the message template you have created to send it as a WooCommerce order Notification.
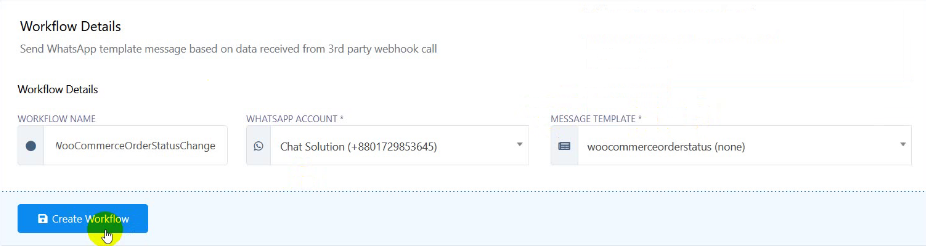
Now click on the save workflow button.
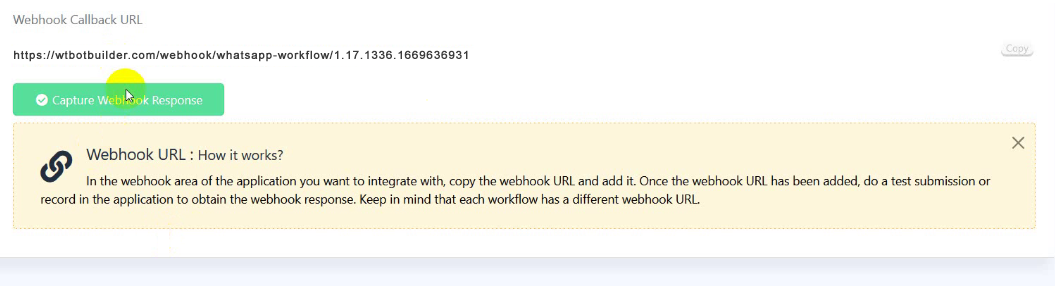
Instantly, a webhook callback URL will appear.

Now copy the Webhook URL. You have to use the Webhook callback URL in your WooCommerce plugin.
Now, go to your WordPress dashboard – admin dashboard. Then go to the WooCommerce plugin and then click on settings. Then click on the Advance tab.
Instantly, advanced settings will appear. Then click on the Webhook option.

Instantly, a page will appear with an add webhook button. By clicking on the add webhook button, you can add a webhook.

Now click on the add webhook button. Instantly, the Webhook data form will appear.
In the name field, provide a name. In the status field, select active as status. Select Order Created in the Topic field.
And in the Delivery URL field, paste the Webhook Callback URL that you have copied from the WTBotbuilder.

Now Click on the Save Webhook button.
Now the Webhook will be updated successfully.

Therefore, Click on the Capture Webhook Response.
Instantly, the Webhook Response Mapping page will appear with raw data.
Instantly, the Webhook Response Mapping page will appear with raw data.

It is sample data. When a Webhook is added, the sample data will be provided automatically.
Just ignore this data.
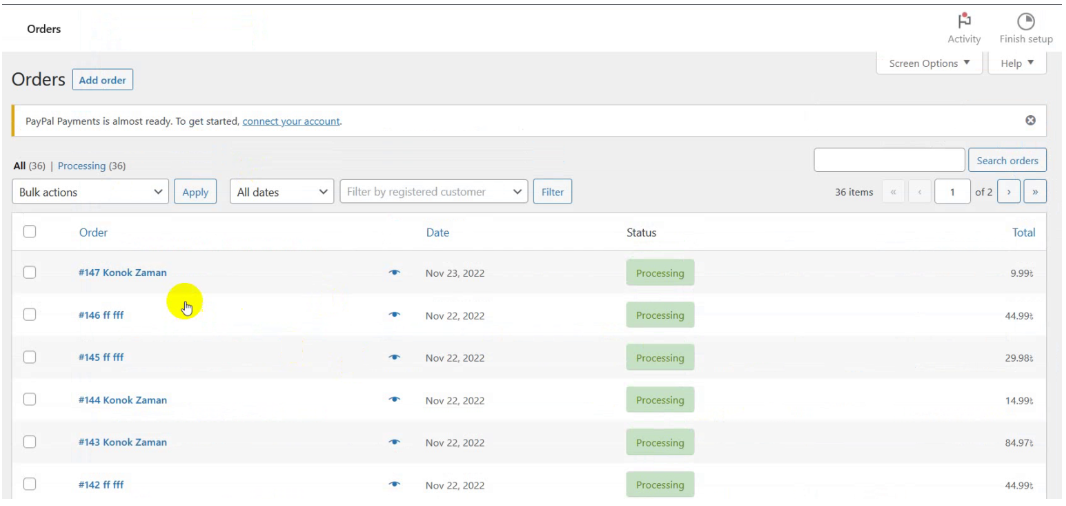
You need to send real data to webhook. To do that, go to the WooCommerce store. Then click on the preview store.
In the preview store, place an order.
Now return to WTBotbuilder and click on the Connection details button. And wait a few moments to get the real data collected from the order. To get the real data, you may have to wait sometime.
Ultimately, I have got the real data.
Now you have to configure the Webhook Response Mapping.
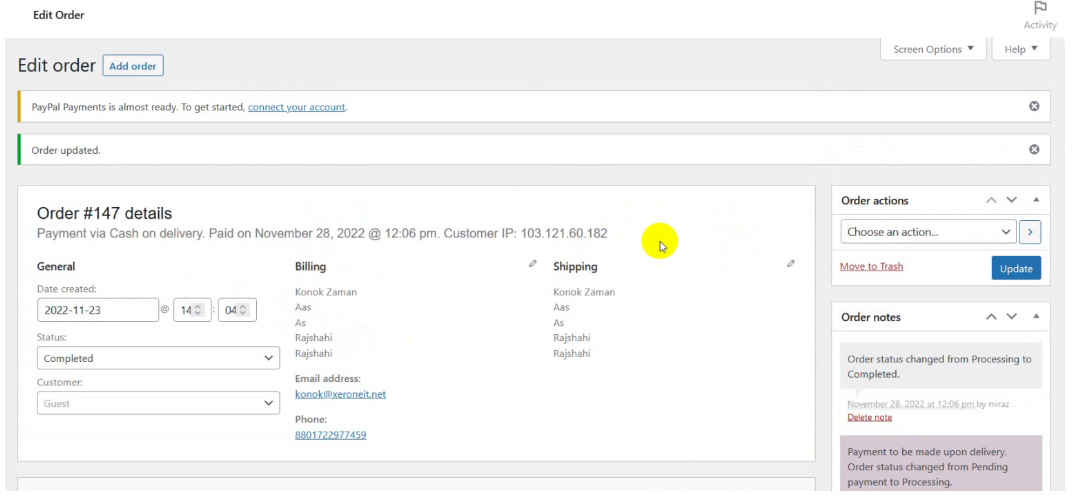
Now go to the WTBotbuilder and click on connection details button.
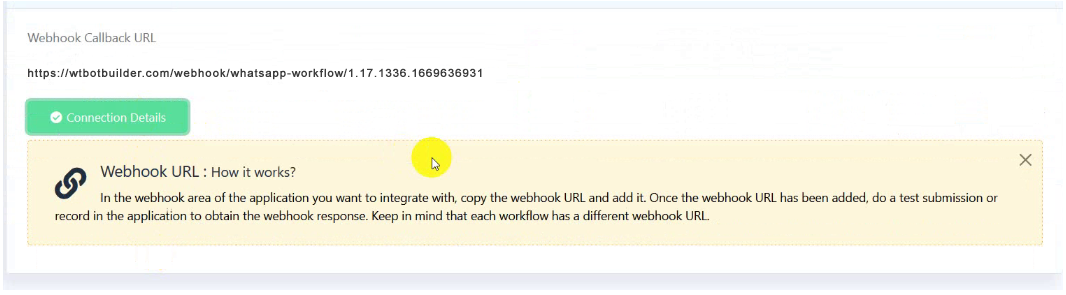
Now you will get the real data.

Now fill out the Webhook Response Mapping form.
In the phone number field, select billing->phone number.
In the VARIABLE: ORDERID field, select the id option.
In the VAEIABLE: WOOCOMMERCEORDERSTATUS field, select the status: Completed option.
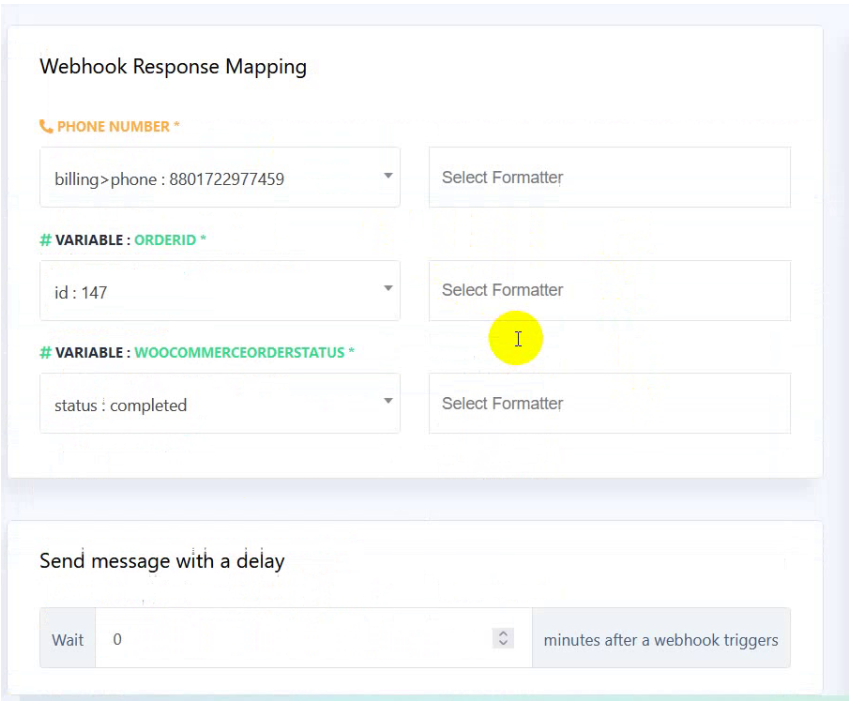
Now click on the Save Workflow button.
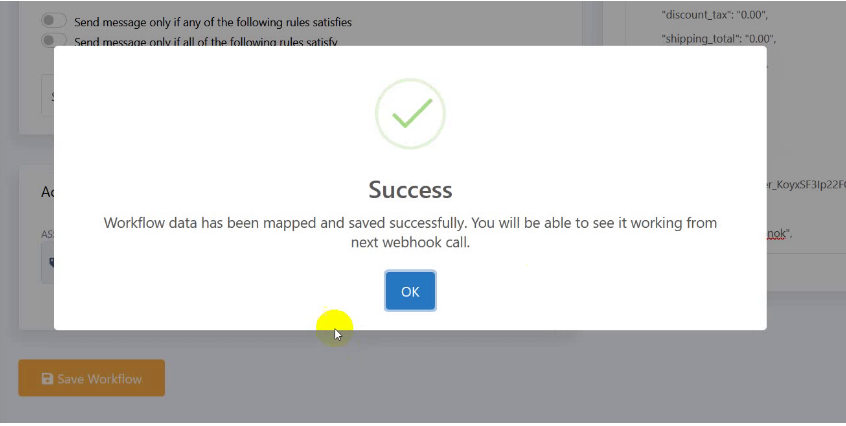
Now click on the Save Workflow button. Instantly, a successful message will appear.
Now check the workflow report.
No data is available in the workflow.
Now go to the WooCommerce Order page.
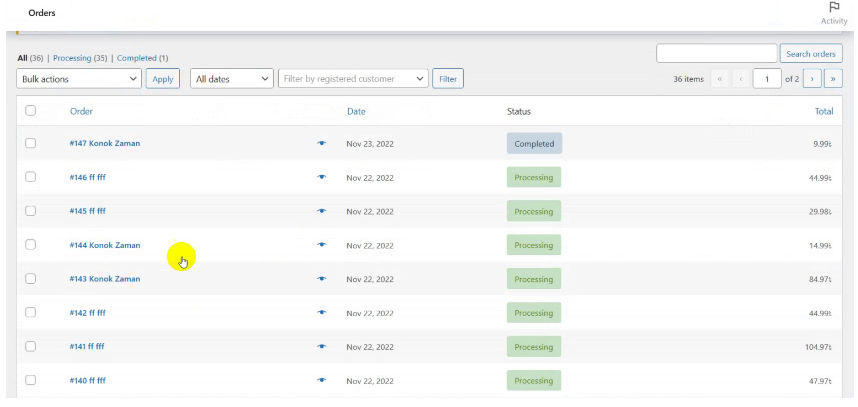
Click on an order. Then change the status of the order from processing to completed. Then click on the update button.
Now check the Webhook workflow report again. The status of the workflow is pending.
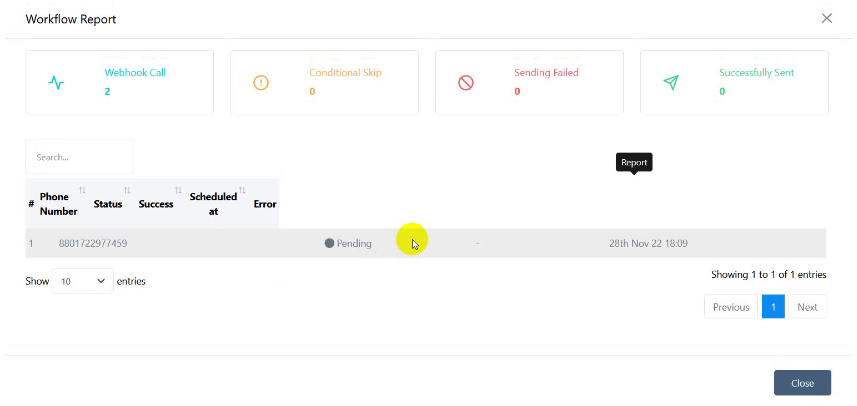
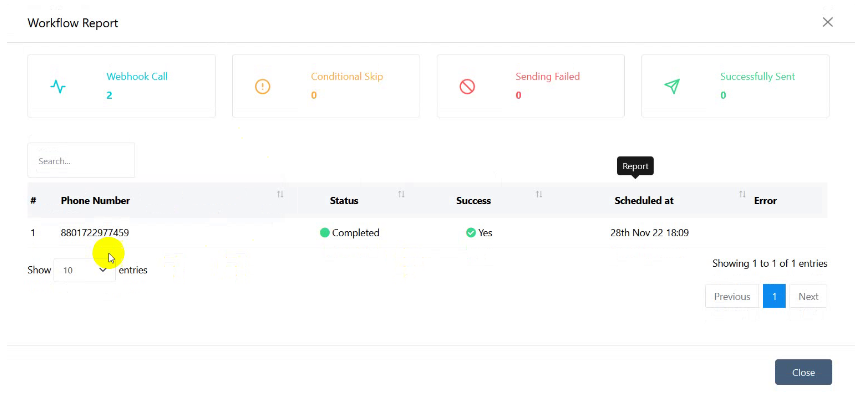
Now, wait for a moment. And check again.
Yes, the status of the workflow is completed.
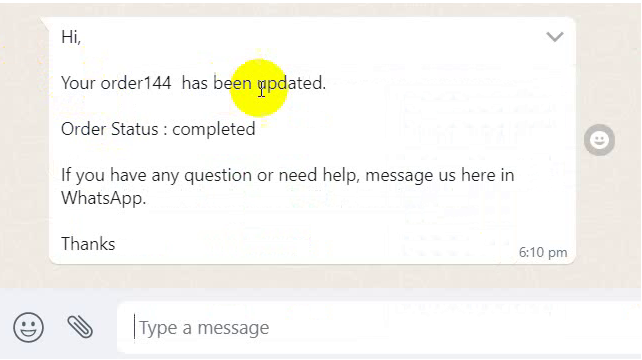
Now check your WhatsApp account.
Now check your WhatsApp account.
You will see that the order status update notification has arrived in the WhatsApp Account.
Thank you for reading the article.